
How to edit amazing looking photos in Lightroom Classic
Hi Cafe Crew!
In this tutorial, I’m going to show you the steps I take to edit a photo in Lightroom Classic.
Before and after image


I was lucky to catch this amazing sunrise recently. Here you see the before and after images, Let me show you how to get there.
This is done on Lightroom Classic, most of the settings are the same in Lightroom and in Photoshop’s Camera Raw.

Open the Develop module.
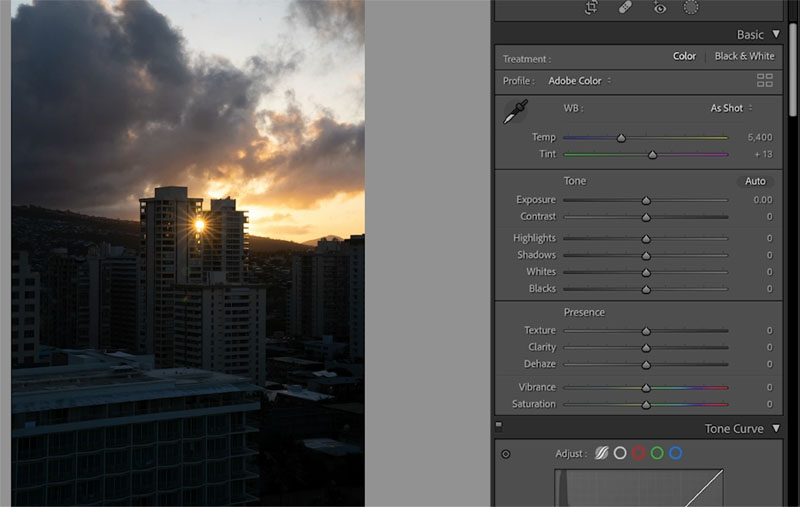
Adjust the highlights and shadows to recover highlight and shadow information. Be careful not to go too far with the shadows, or it doesn’t look real.
Adjust the exposure to get a nice exposure.
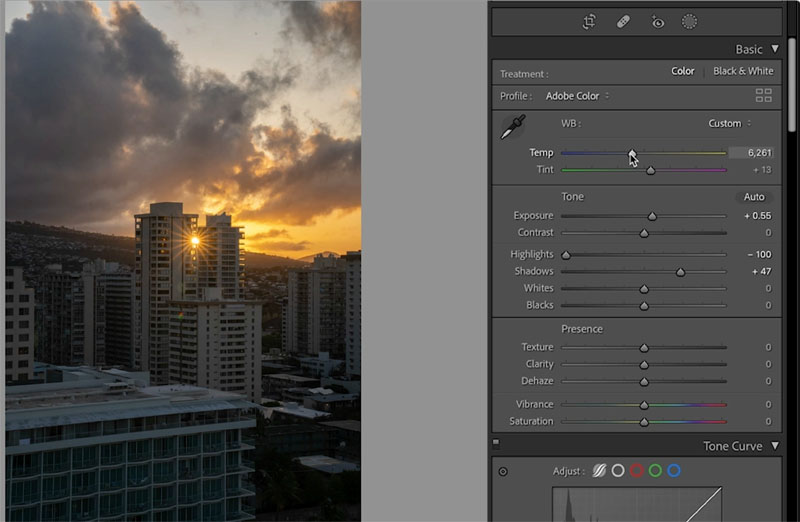
Slightly move the Temp to the right to warm the photo up (make it more yellow).
See how the details look better now.
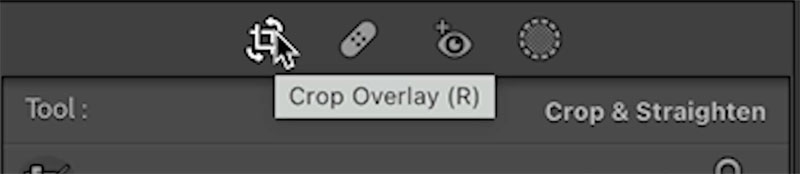
Next we need to crop this photo.
Choose the crop tool
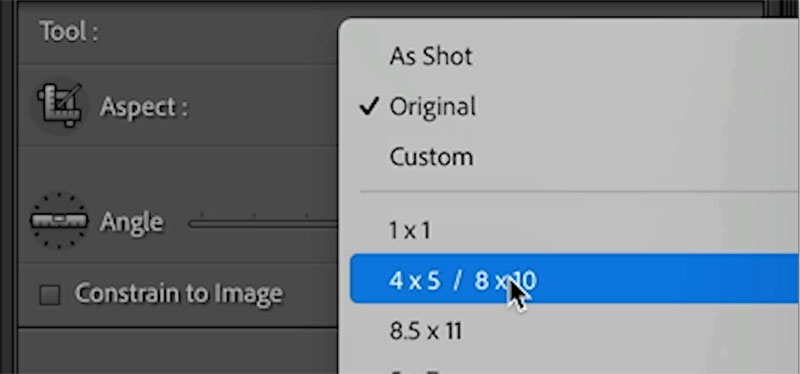
Choose 4×5 for instagram (It’s changing to 9×16 soon).
Drag over the area of the image we want to focus on.
We will crop out a lot of the distractions including the top of the building underneath. This makes the composition tighter.
Tip: keep pressing the O key to change the crop overlay
Rotate the crop to straighten the image (explained in the video)
Press enter to apply.

Let’s add a gradient to the bottom of the image to reduce distractions more.
Choose the mask tool
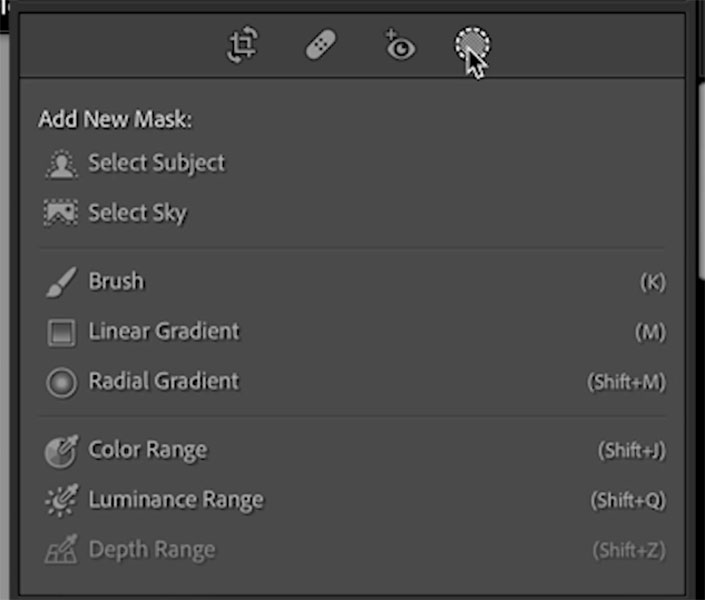
Grab Linear Gradient
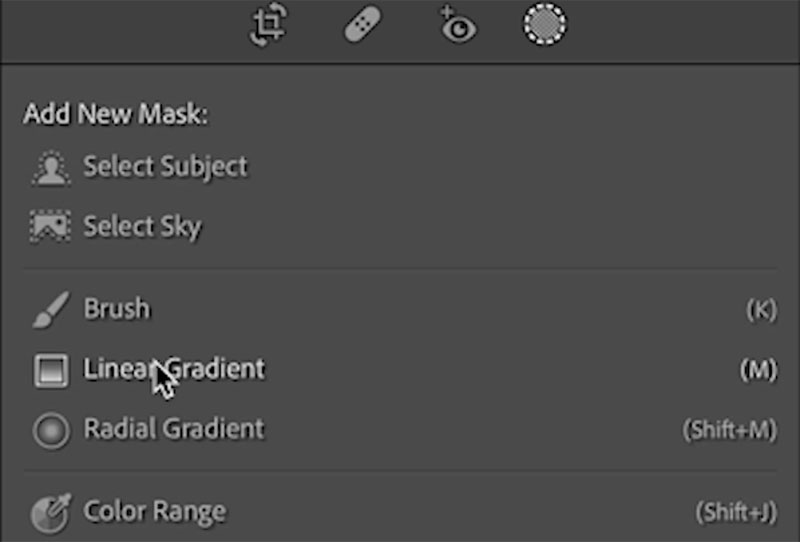
Start at the bottom and drag up about 1/3 way
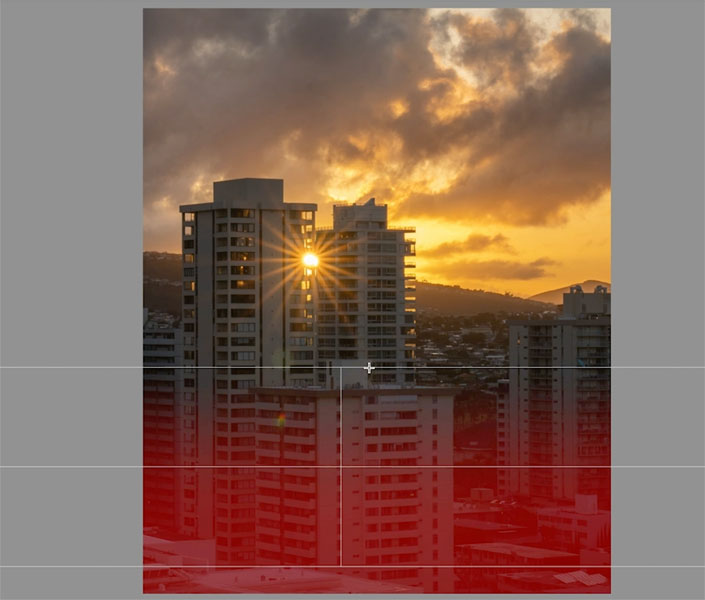
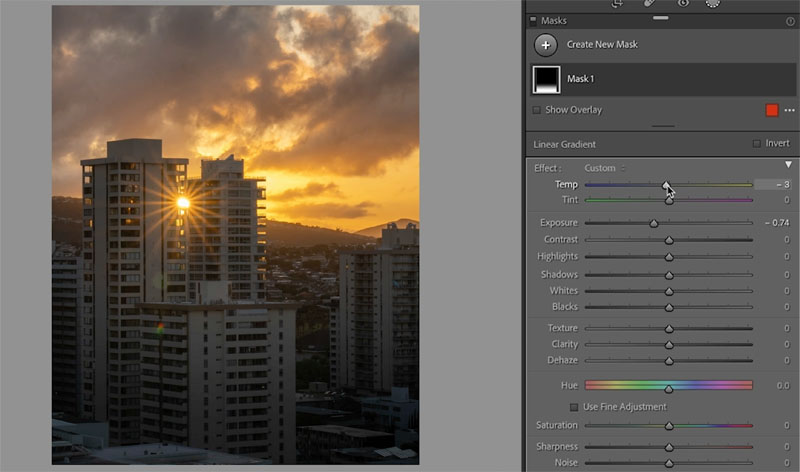
Reduce the exposure to darken the bottom and slightly cool the temp by moving to the left.
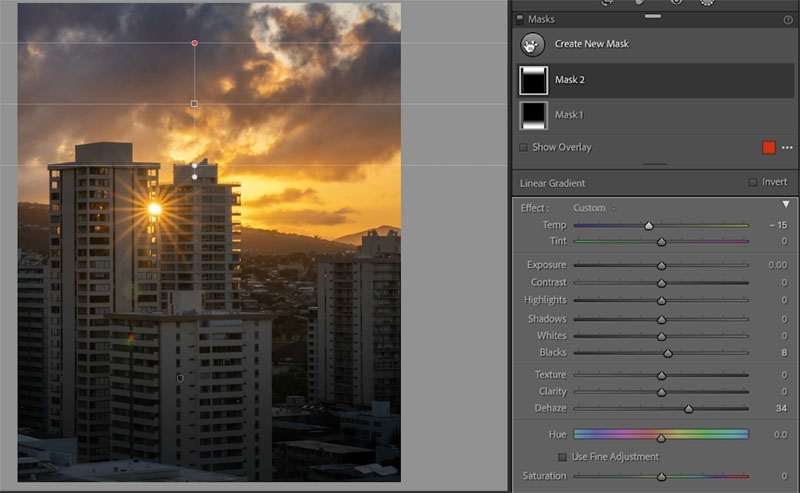
Let’s add a gradient to the sky
Click on Create New Mask (in the masking panel) choose Linear Gradient again.
This time drag down from the top.
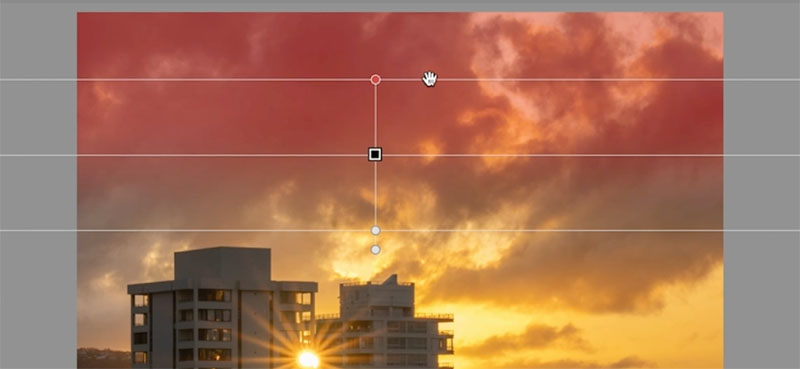
Add a little Dehaze. Dehaze makes clouds look awesome. Reduce the blacks a little because dehaze makes shadows too black.
Slightly cool the Temp by dragging to the left a touch. See the nice drama?
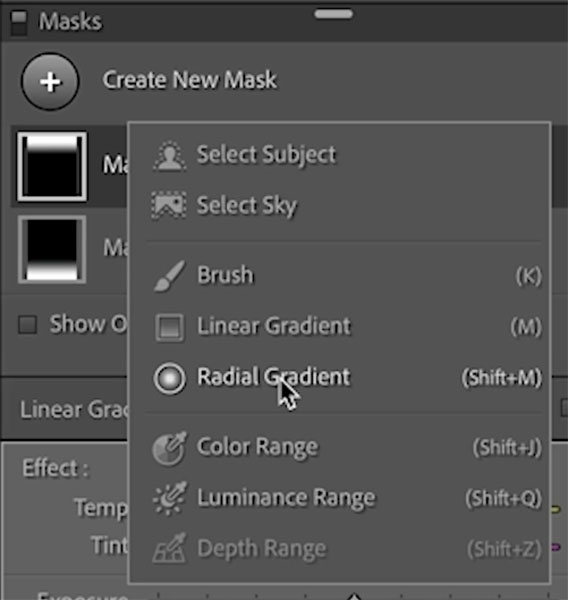
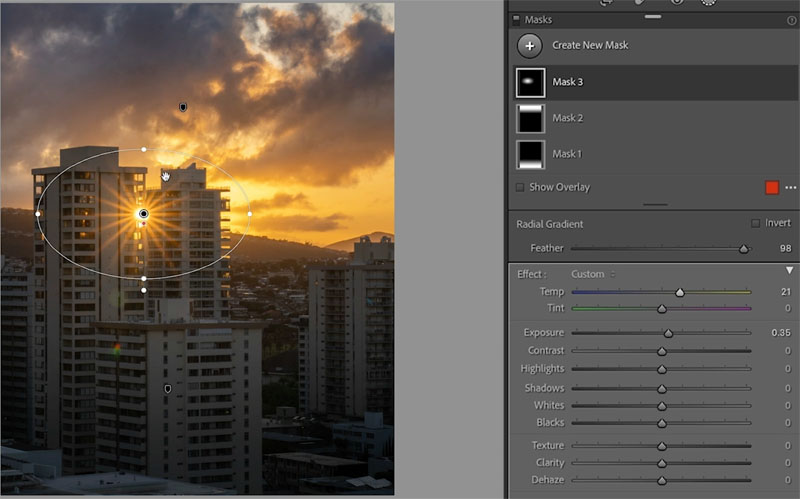
Make the sun rays pop
Create another new mask and choose Radial Gradient
Drag the gradient over the sun rays.
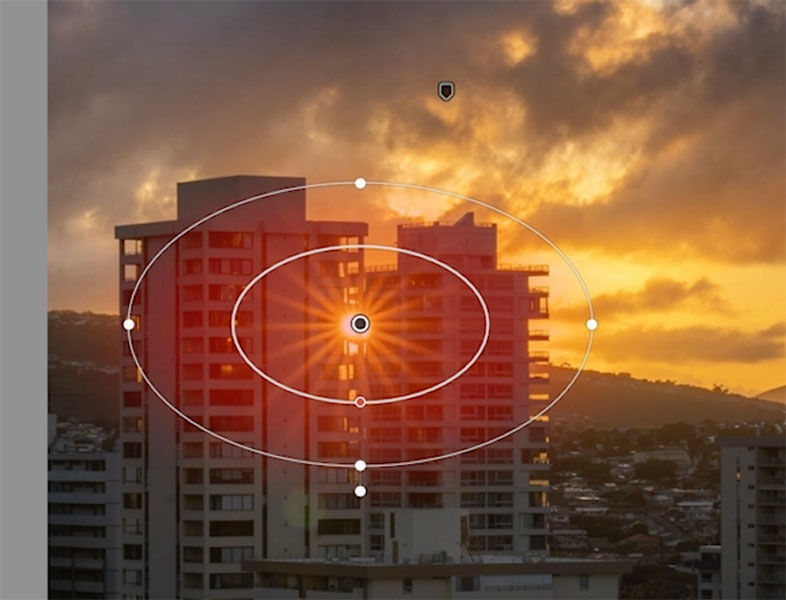
Slightly increase the Exposure and Temp. All of these moves should be subtle.
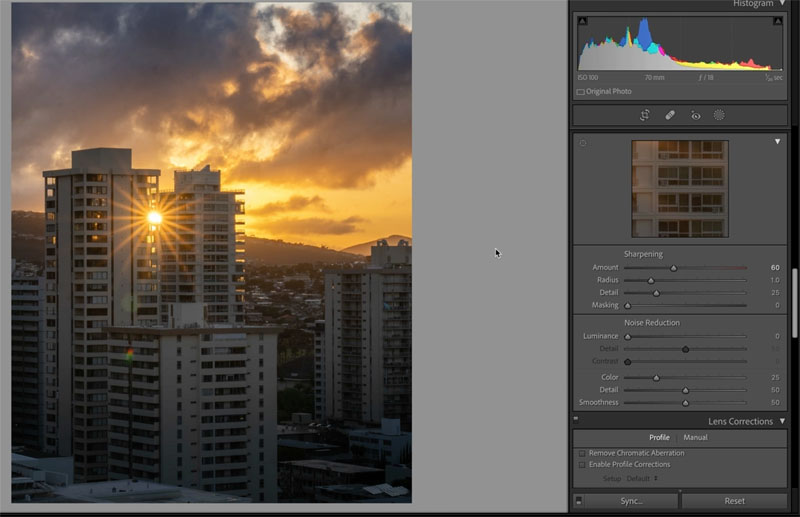
Try a smidge of Clarity and sharpening to finish it off.
And we are done. Check out the video at the top to see this process.
Thanks for checking it out!
Follow me on Instagram to see more of my photos
Colin
The post How to edit amazing looking photos in Lightroom Classic appeared first on PhotoshopCAFE.