
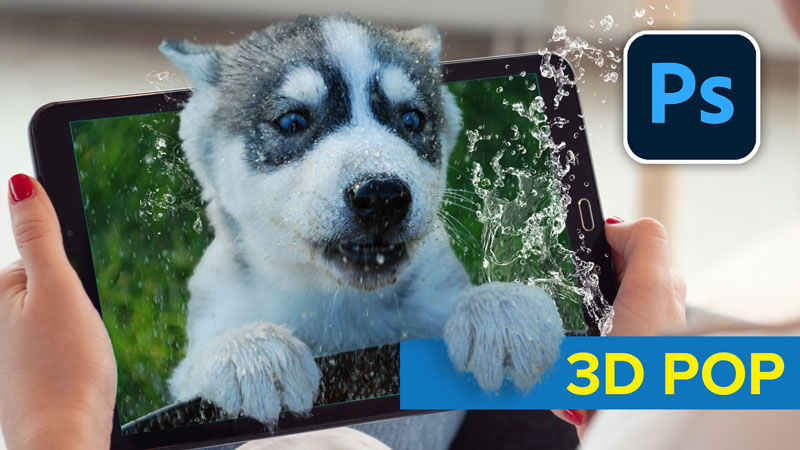
How to make the eye grabbing “out of bounds” or 3D pop-out effect effect is an easy way to add a ton of impact to an image, as the subject jumps out of the screen and grabs the viewer.
In a Nutshell. (This is a new thing I’m trying. Adding a quick reference at the top. Let me know in a comment if this is useful or not).
- Step 1. Cut out screen
- Step 2. cut out and mask photo
- Step 3. Combine images
- Step 4. Put the Original image at the bottom of the layer stack and extracted image on top (sandwich the screen layer)
- Final: Reposition and add a shadow
How to Create the 3D pop out effect in Photoshop: AKA Out Of Bounds Effect
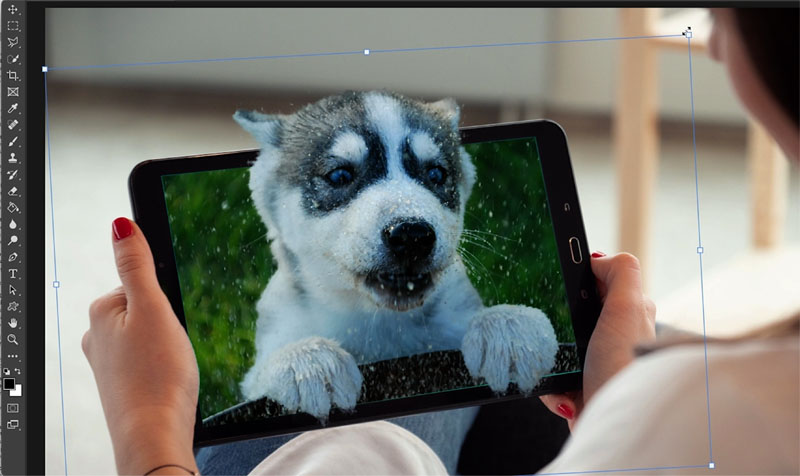
Step 1, cut out the screen

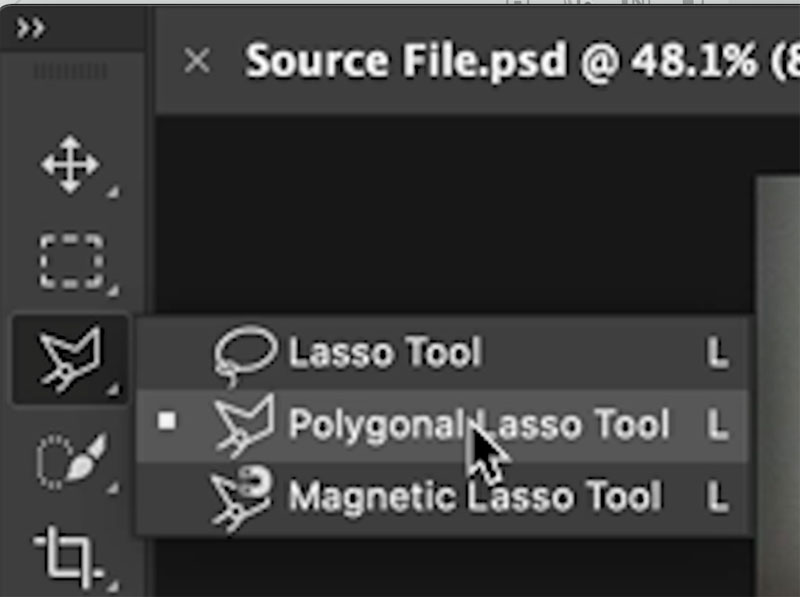
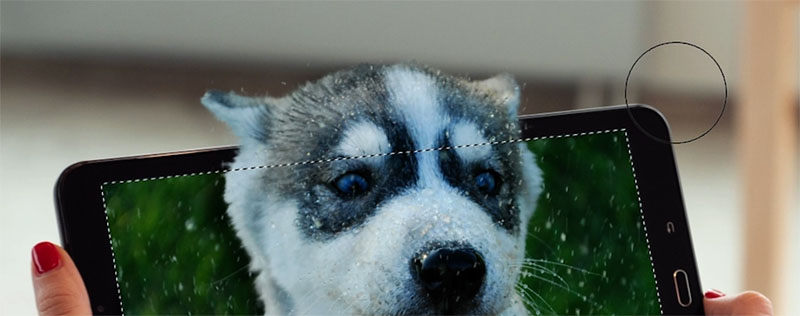
Choose the Polygon Lasso tool
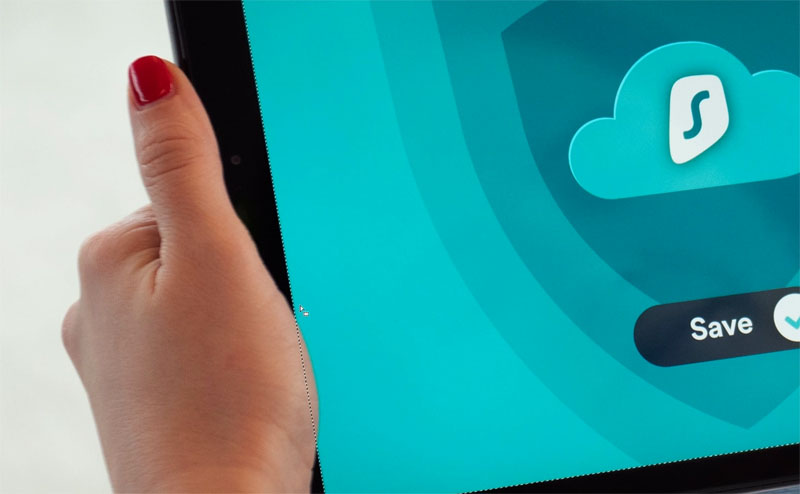
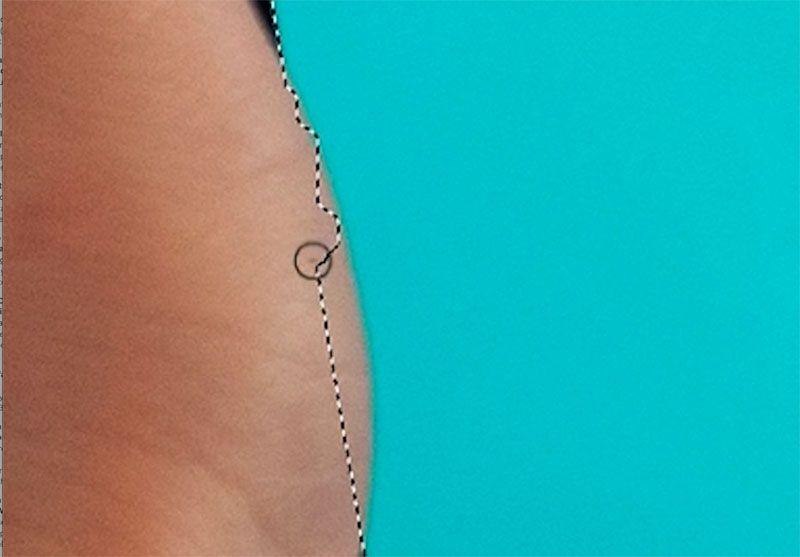
Click on each of the 4 corners of the screen. On the last corner, you will see a circle indicating this is the start/finish point.
When you click, the selection will be complete

You will see the marching ants selection is active,
Notice, the hand is overlapping. We need to fix it.
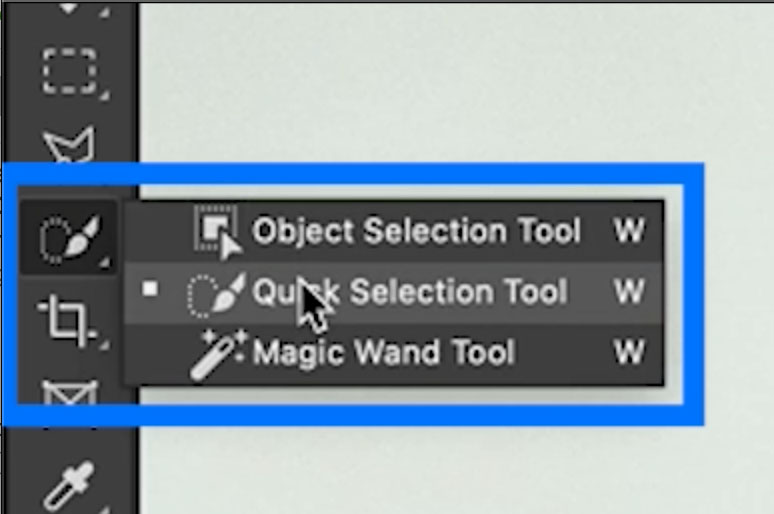
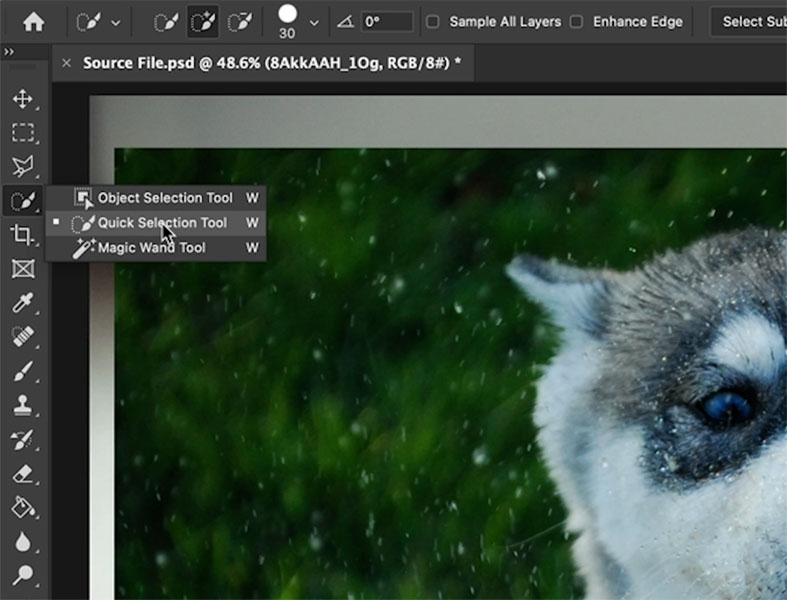
Choose the Quick Selection tool
Hold down Alt/Option to turn it into minus or subtract mode. You will see the + turns into a – in the center of the cursor.
Drag on the area to remove.
After you have applied the tool, it will make the selection.
To cut out the selection, we will add a layer mask, but wait.
We want to hide the selected area, so hold down Alt/Option as you click on the layer mask button.

We have transparency on the screen. Perfect!
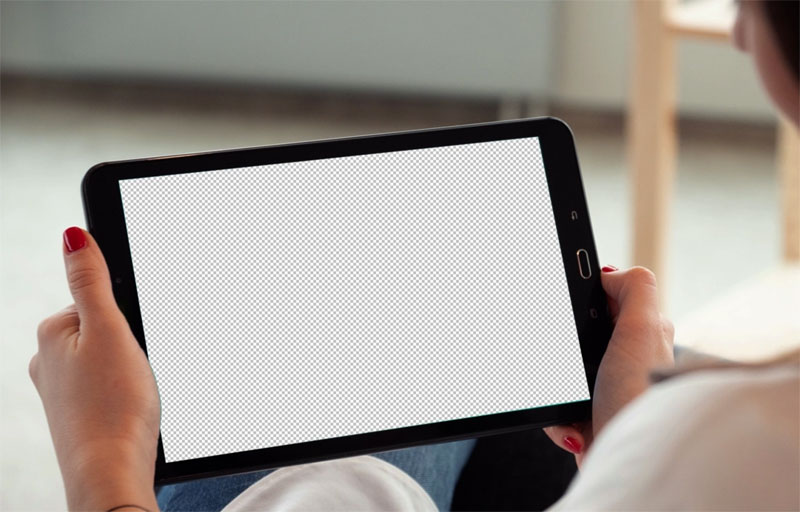
In the next step, we will prepare the subject that will jump through the screen.
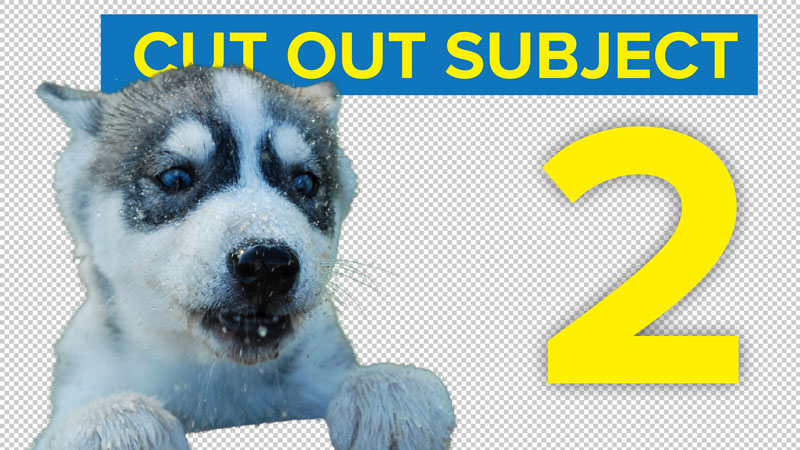
Step 2: Cut out the Subject from the background
Combine the 2 Images into the same document.
The key to the image choice, that will be extruded, is having an area that will stick out beyond the screen once we have removed the background
Choose File>Open
With the move tool (v) drag the image into the tab of the image that contains the screen. (how to combine images in Photoshop)
Don’t let go yet, the second image will pop open. Drag your cursor into the center of the image and then release your mouse button (or lift your pen if using a tablet).
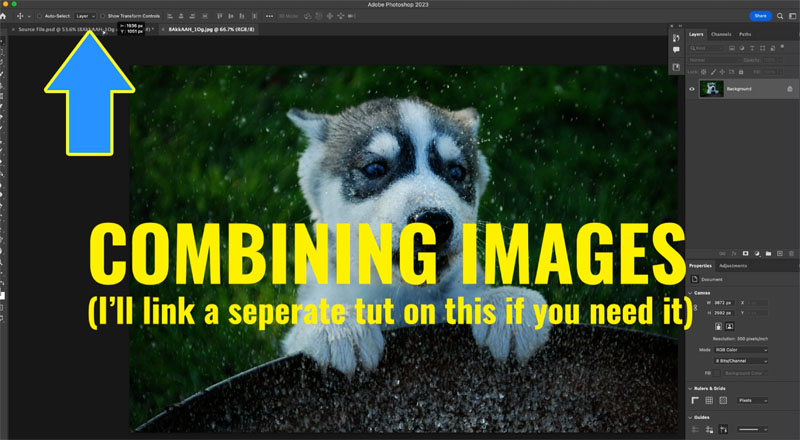
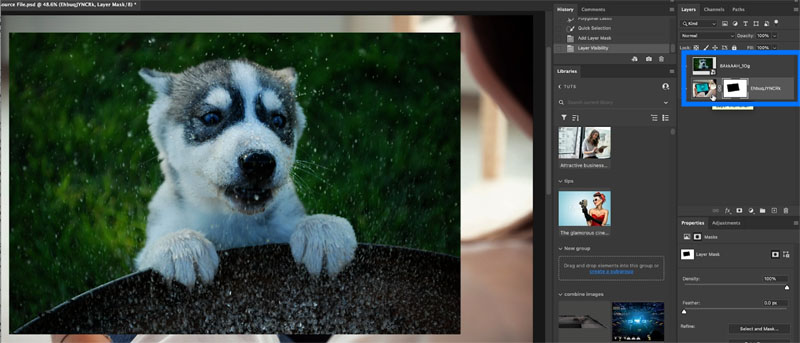
You will see the 2 layers on the same document.
Let’s remove the background from the dog.
Choose the Quick Selection tool
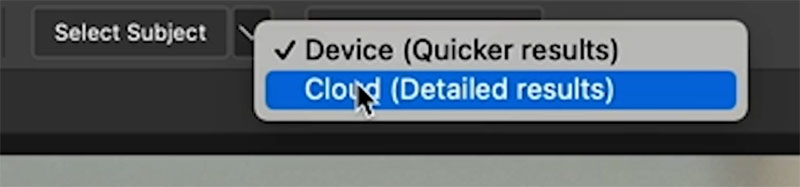
At the top (if you have the option) by select subject, choose Cloud. If you don’t see this option, this will still work, just not quite as well.
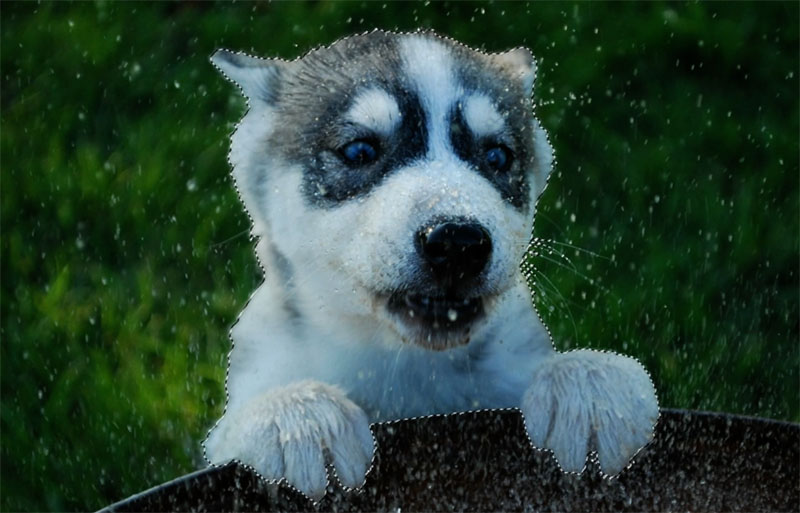
Click Select Subject
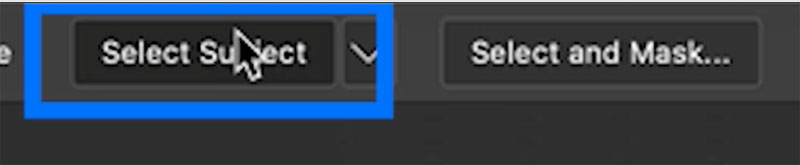
You will see a selection around the subject (the dog).
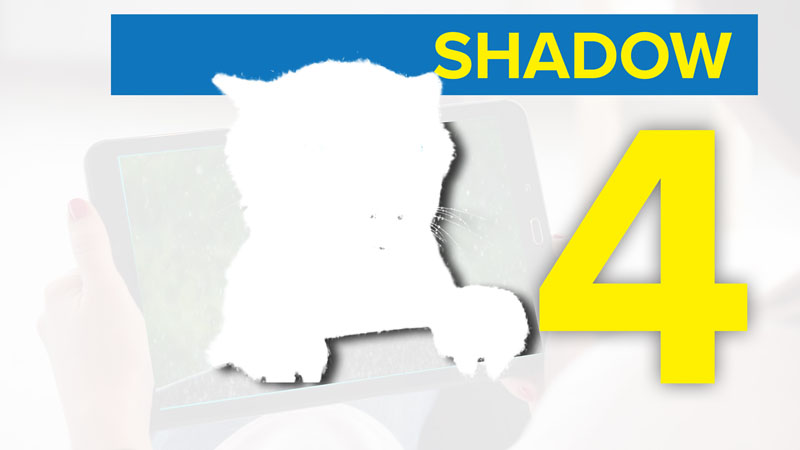
Let’s make the fur selection edges look better,
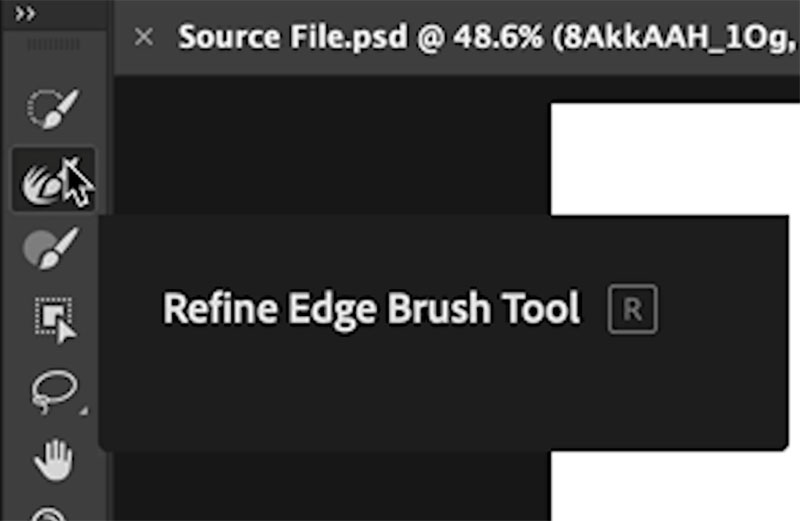
Choose Select and Mask

Grab the Refine Edge Brush (it will be selected by default).
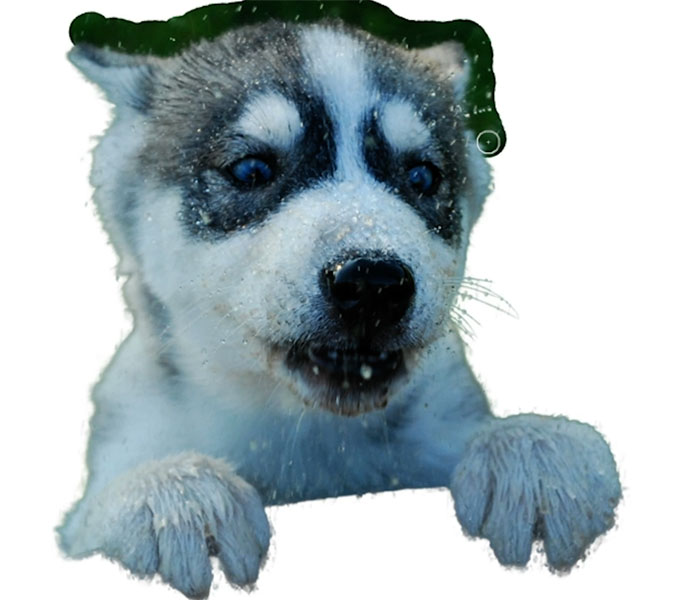
Drag the brush around the edges of the fur. Make sure the brush is positioned 3/4 outside the subject for the best results as you paint (at least this 3/4 seems to work best for me)..
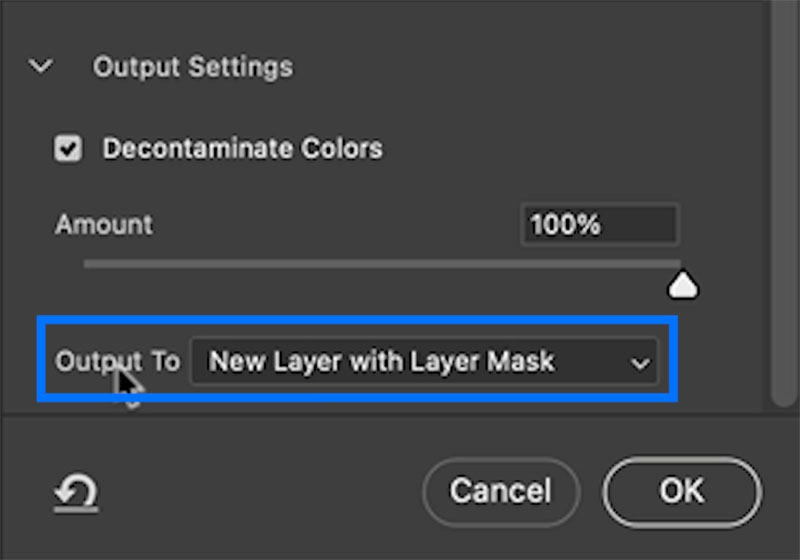
On the bar on the right of Select and Mask, click Decontaminate colors. This will reduce the colored fringes.
Choose New Layer with Layer mask as output.
Click ok
Step 3: Arrange and Position the cutout

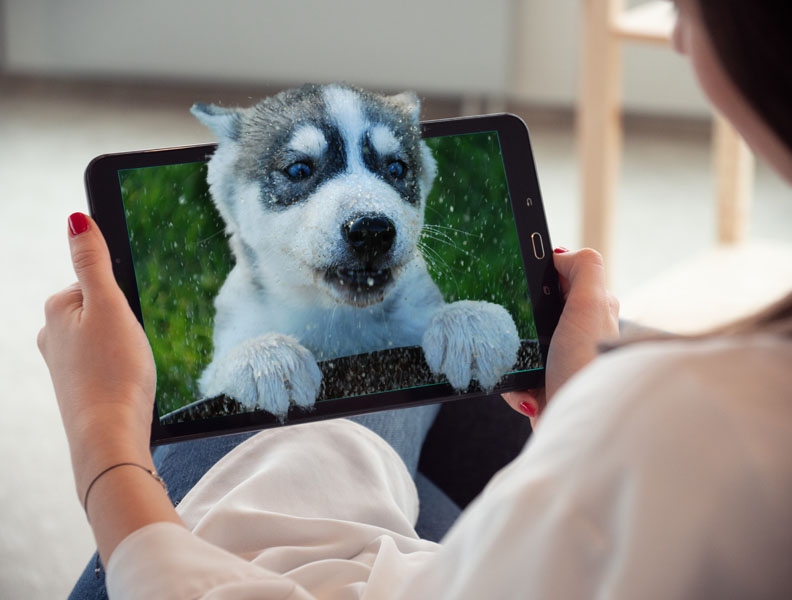
You will see something like this. Do NOT reposition or scale anything yet!
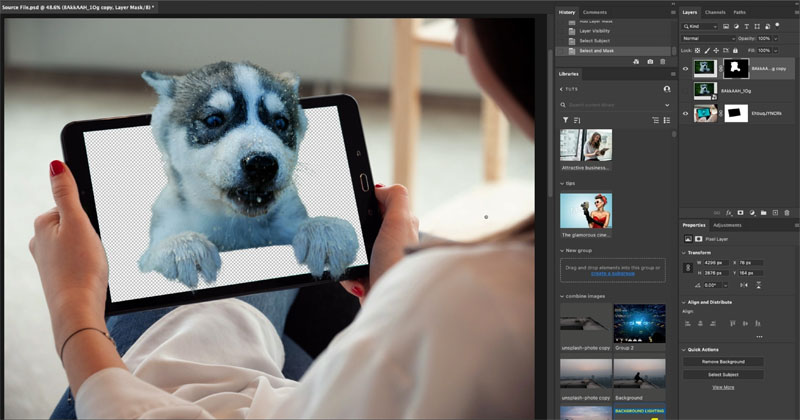
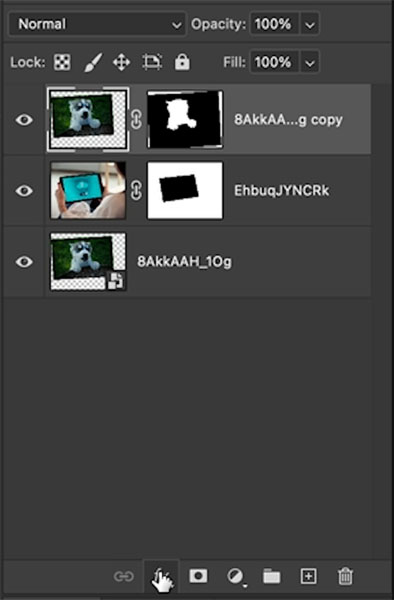
Make sure all layers are visible, by clicking the eyeball.
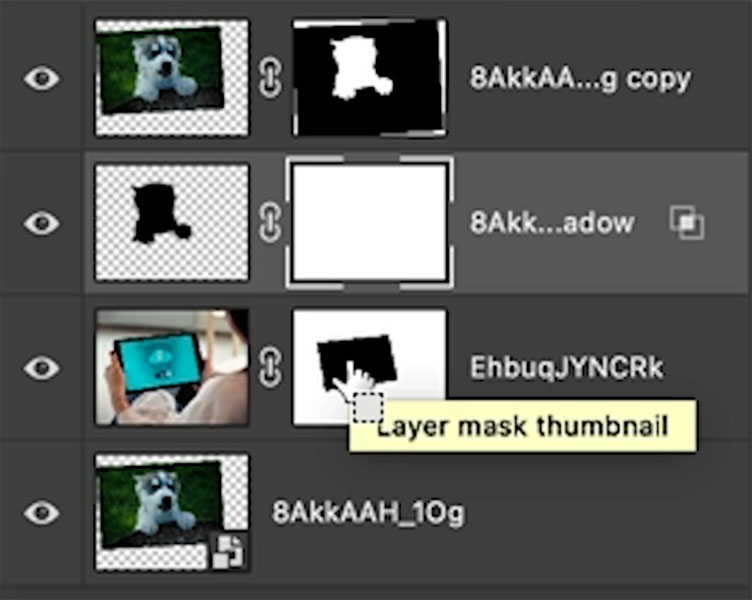
Drag the Original dog layer to the bottom.
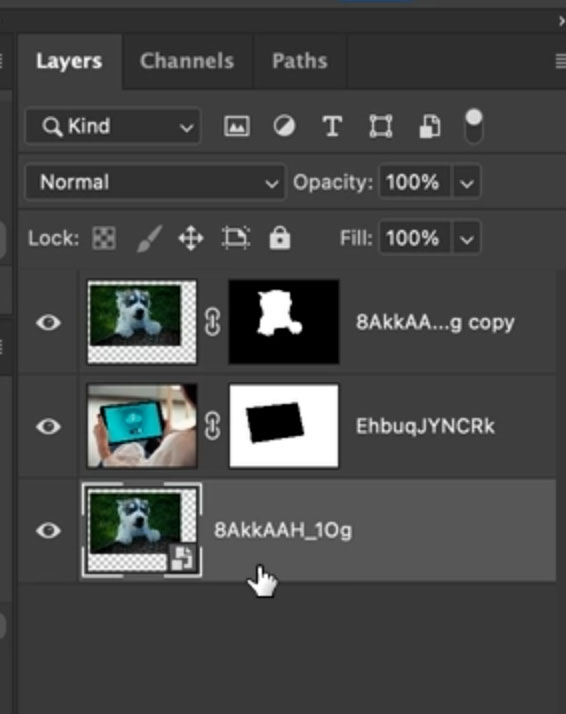
You screen should now be sandwiched between the extracted dog layer and the original dog layer. The original layer will show through the hole in the screen, but the extracted layer is on top, so it can overlap.
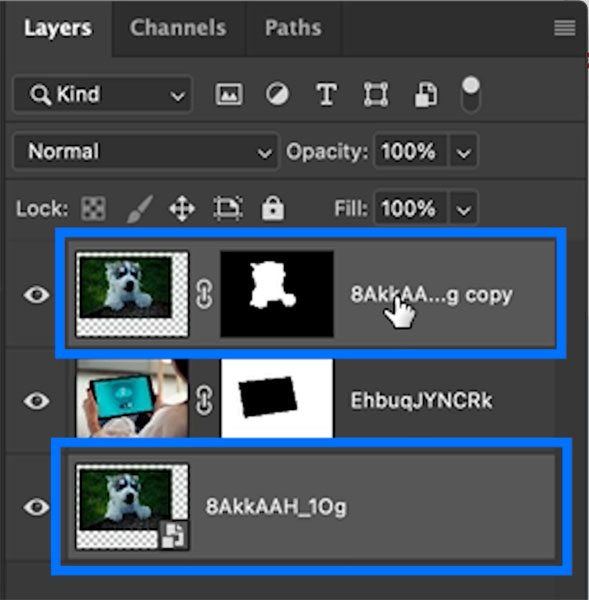
The key is to make sure the 2 dog layers are always selected together.
Hold down the Ctrl/Cmd key and Click on the name of the other dog layer in the layers panel
Both Dog layers should be selected as shown. (I added the blue boxes to show the layers).
Press Ctrl/Cmd+T (Ctrl+T Windows / Cmd+T Mac).
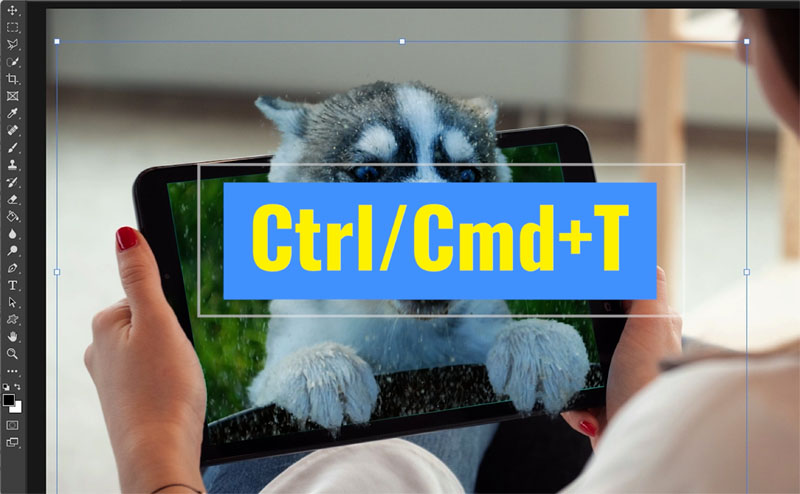
You can now drag to reposition the layer, or grab the handles to resize or rotate the layer.
The next step is optional depending on the image. But usually, this will make it look better.
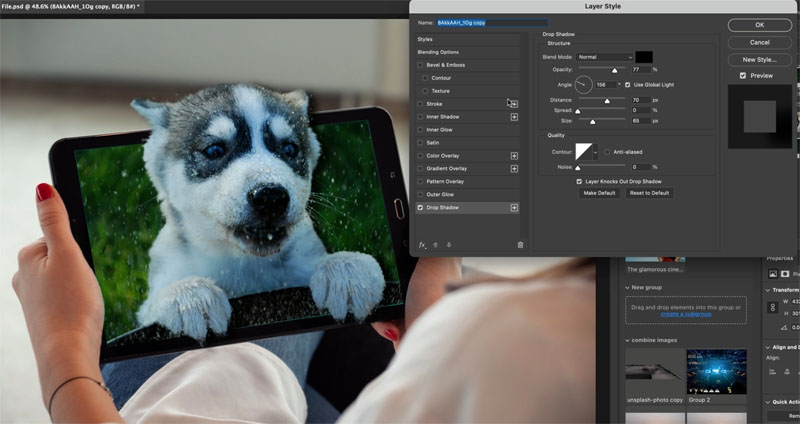
Step 4: Add a shadow
Choose the top layer
Choose fx in the layers panel
Select Drop Shadow
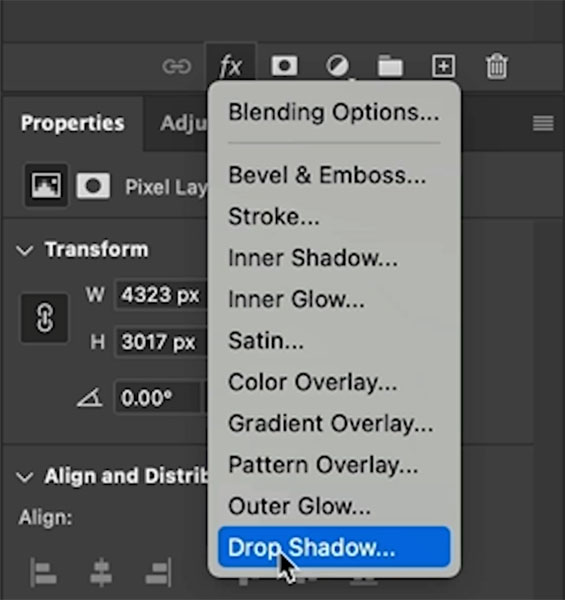
A shadow will appear
Change the size to soften the shadow and opacity
Drag on the shadow in the image to reposition it
Click ok to apply
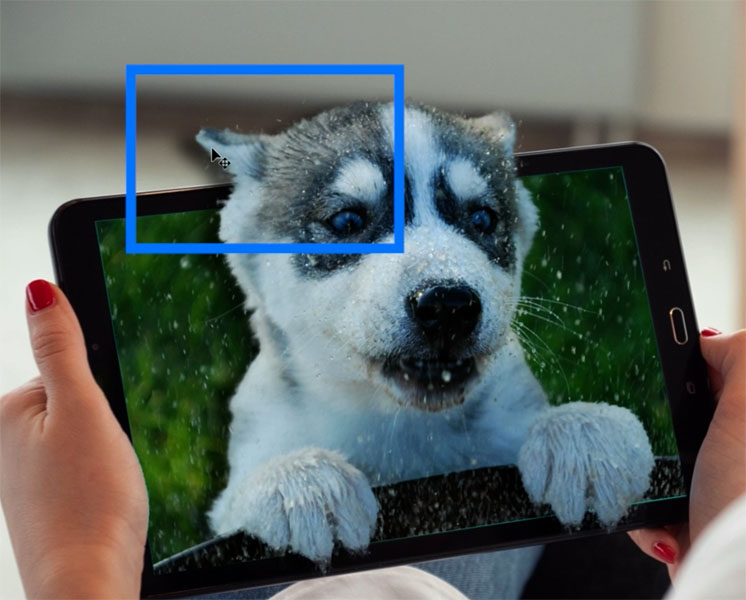
The shdow work on the screen because it makes it appear to come off the screen. But we need to remove it outside of the iPad boundaries. Shadows don’t float in the air.
Click on the word effects in the layers panel
Right-click
Choose Create Layer
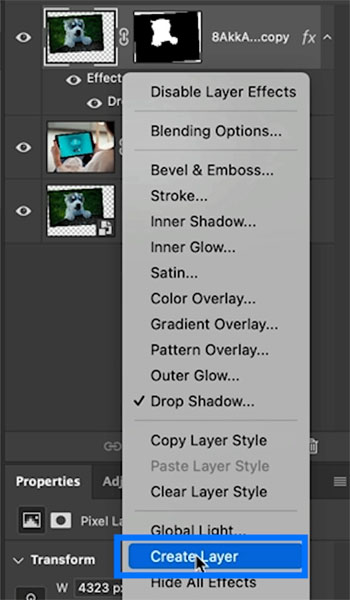
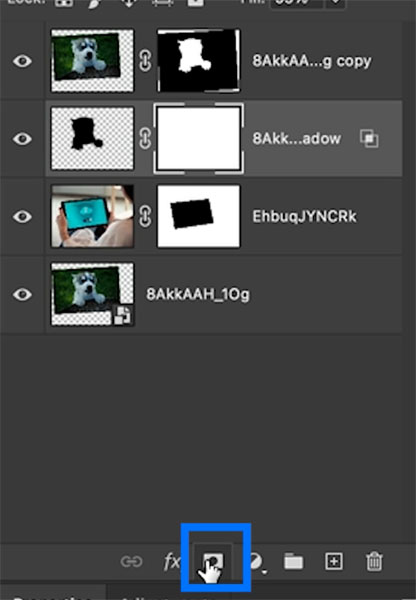
You will see the shadow has been converted to a regular layer and is no longer an effect,
Click on the mask button to add a layer mask to the shadow layer. We will use this mask to paint away the shadow where we don’t want it.
We can use a previous selection as a stencil to help us with our masking.
With the Shadow mask still the active layer; hover over the thumbnail for the iPad screen mask. You will see a dotted square.
Click to load the selection.
See the selection on the image.

Choose a brush (B key)
Set the foreground color to Black.
Set opacity and flow to 100% at the top of the screen.
Paint on the top of the image to remove the shadow from the top of the dog.
(If nothing is happening, try inverting the selection. Select>Inverse)
And here is out 3D pop out effect.
For the thumbnail, I added some water splashes. For this I just used a brush. See other tutorials on Custom brushes.
Thanks for joining me on this tutorial. I hope it was easy to follow (watch the video at the top) and that you had fun!
Share your creations with us on our Facebook community.
Drop a comment and let me know.
Welcome to the CAFE
Colin
I also have some free Photoshop extras ($250 value) to give you as part of the Photoshop Vault. (If you are on our mailing list, you already have access and don’t need to sign up again look near the bottom of each newsletter for a direct link to download all the goodies)
The post How to make 3D pop out effect in Photoshop in 4 simple steps appeared first on PhotoshopCAFE.