How to make a Page peel effect in Photoshop
I’m going to show you how to create a realistic page peel effect inside of Photoshop, complete with highlights, shadows and curls. This is made in Photoshop 2021, but it will work with almost any version of Photoshop.
For notifications when I post new tutorials and livestreams, join our mailing list
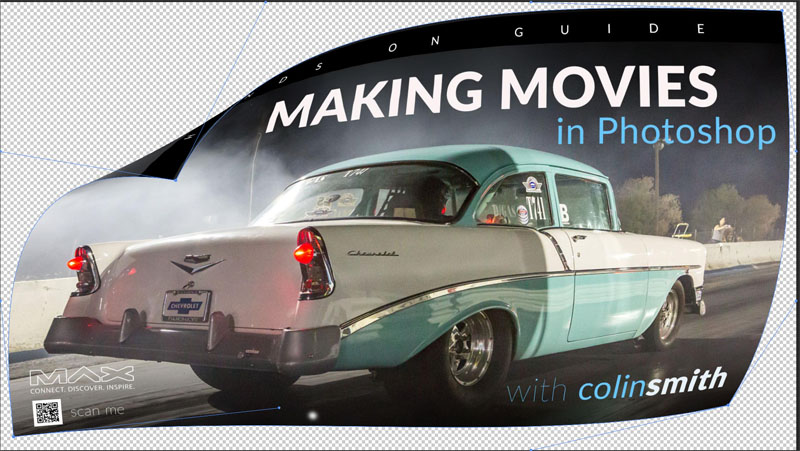
Making a Page curl in Photoshop
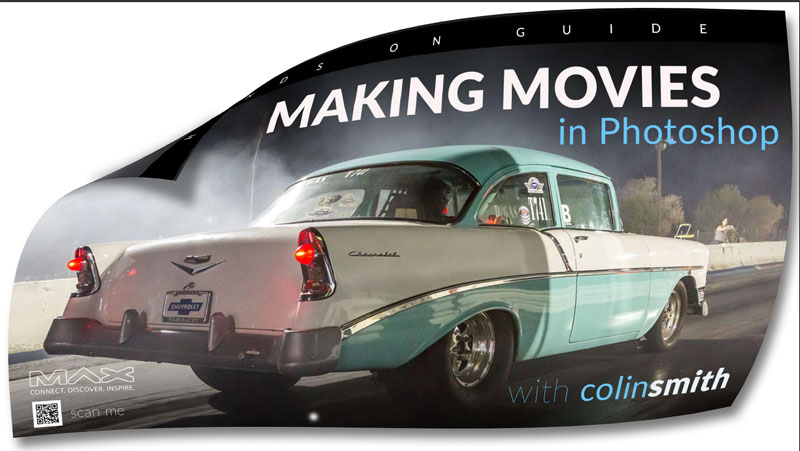
Let’s start with this little poster I created for my session at Adobe Max. To get a file into Photoshop, just choose file>open navigate to the file
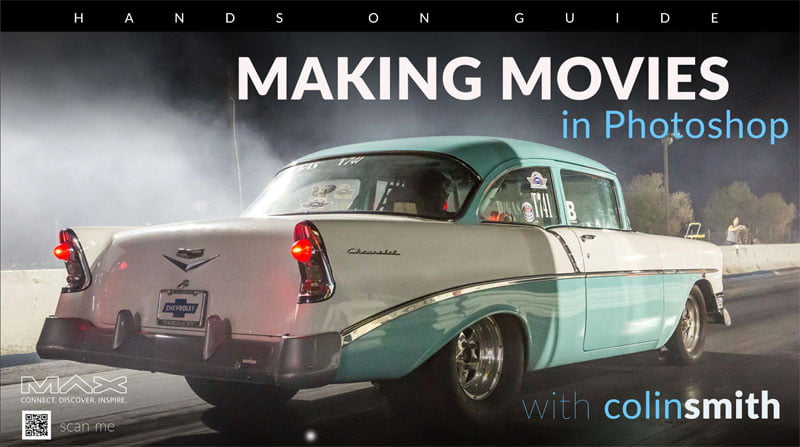
1. We are working on a background and need to convert to a regular layer. The easy way to do that is click on the padlock in the Layers panel.
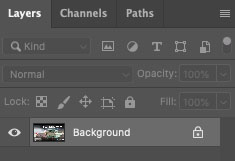
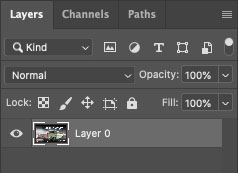
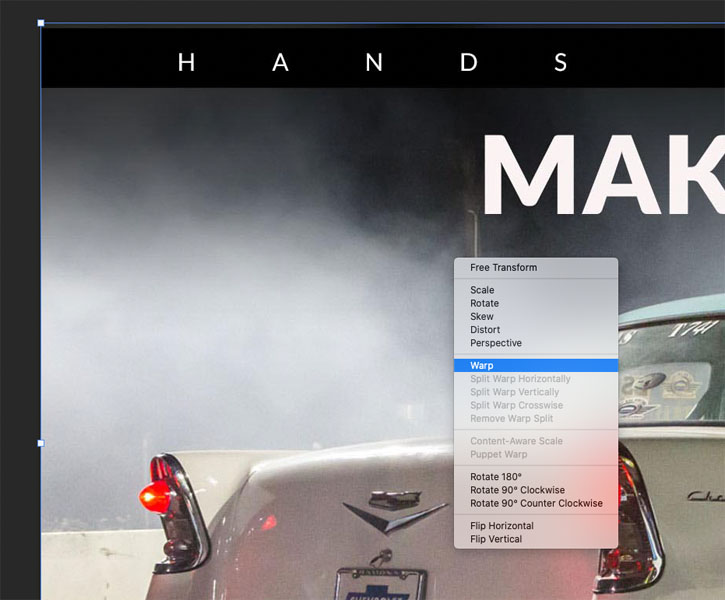
2. Ctrl/Cmd+T takes us into free transform mode.
Right-click and you’ll click on the option that says Warp.
3. Grab a corner and drag ito and it will curl over
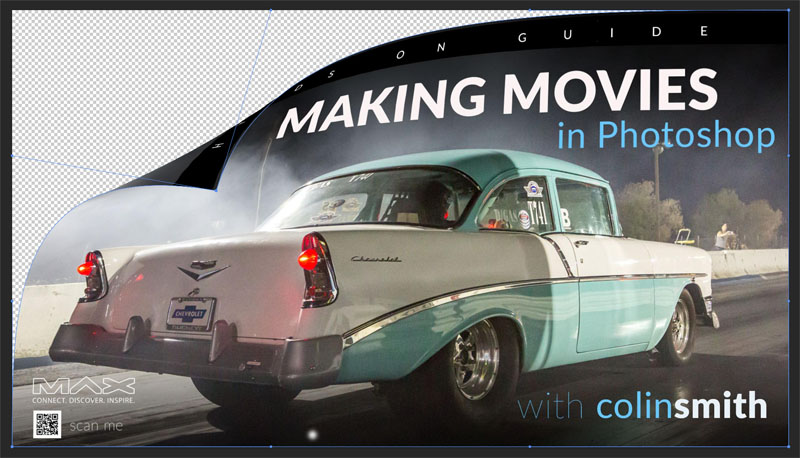
Tip: If you want a smaller curl, Alt/Option Click in the shape to split the grid and drag a smaller segment.
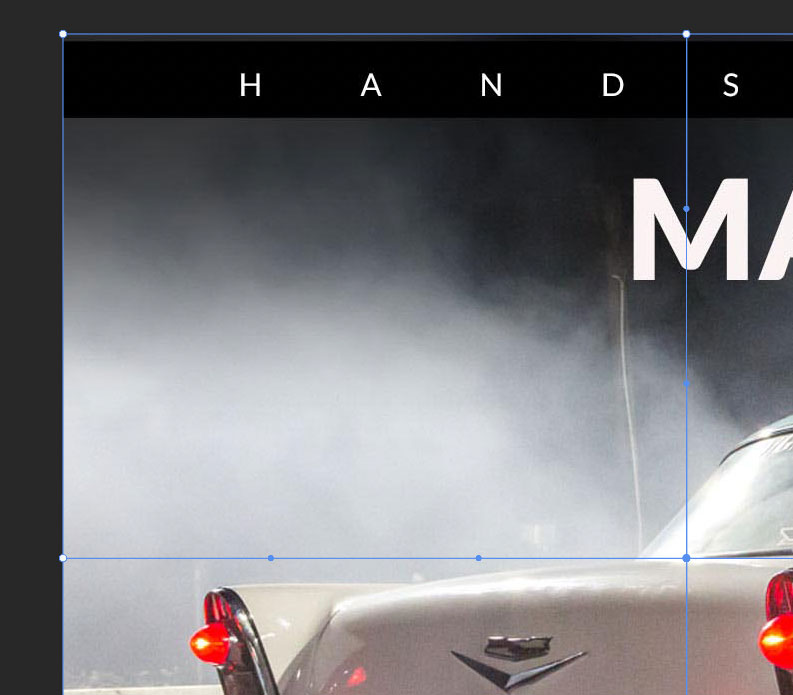
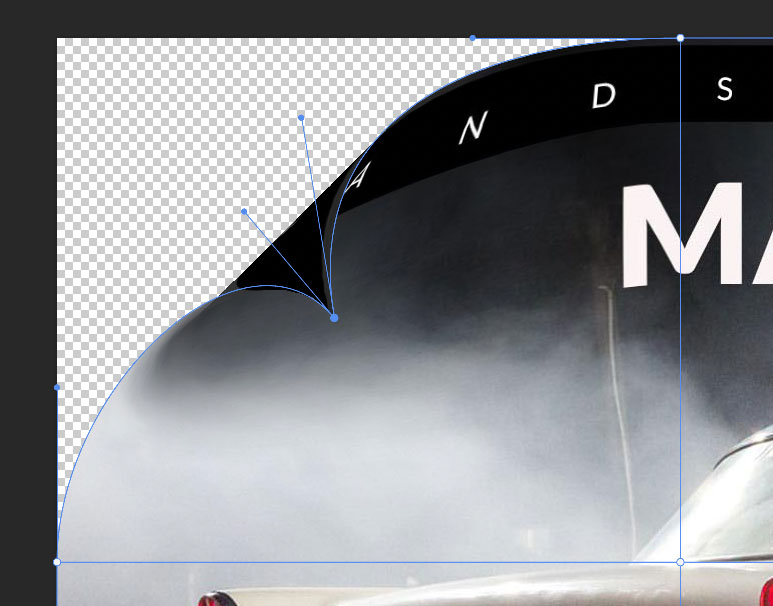
4. Why don’t we do a curl at the bottom as well.
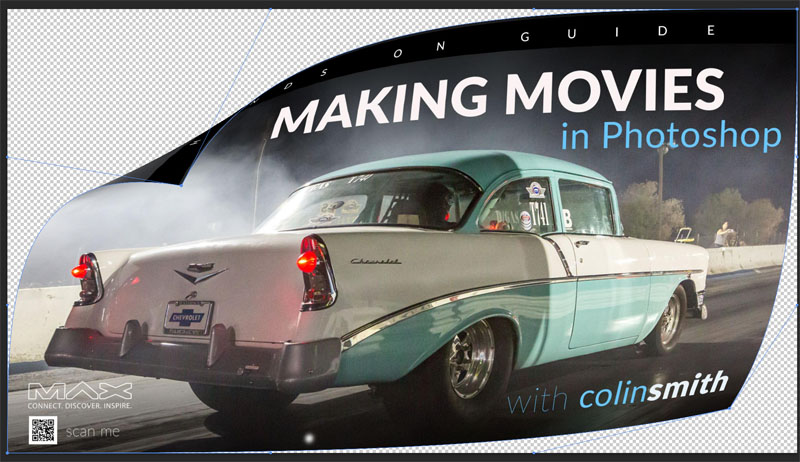
5. Drag the handles on the edges to add a little bit of movement to it, more of a wave instead of the straight edges.
To apply click on the checkmark at the top or press Enter.
Part 2: Adding realism
There’s a couple of things we need to do to add to the realism, and that’s adding light and shadow.
6. We want to make a selection out of it. Choose our object selection tool, if you’re on an earlier version of Photoshop, just use a quick selection.
![]()
Change the mode to lasso. Make a selection around that dog ear.
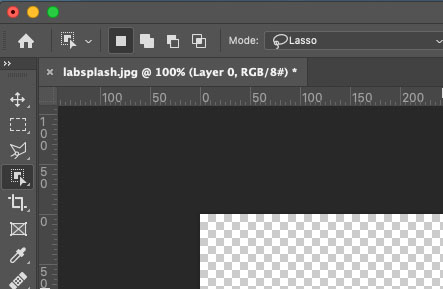
7. If you need to clean up the selection, use Shift to add to the selection and alt/Option to subtract.
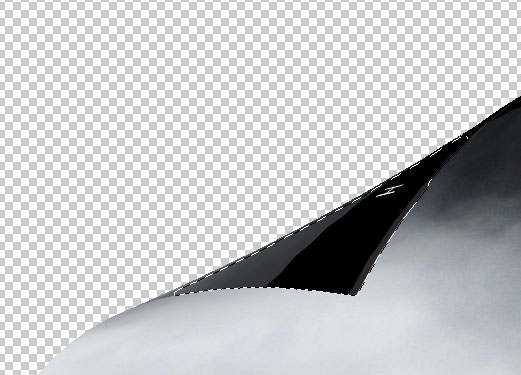
To get a better selection, use the pen tool (how to use the pen tool in Photoshop) Also included on the video at the top.
8. Press Ctrl/Cmd+J to copy the selected pixels to a new layer.
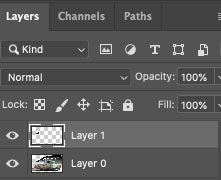
9. Lets add the add the shadow underneath.
In the Layers panel, choose fx, go down to drop shadow
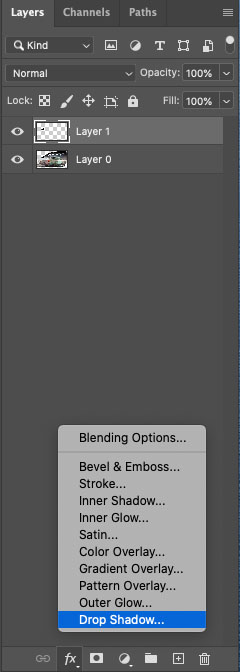
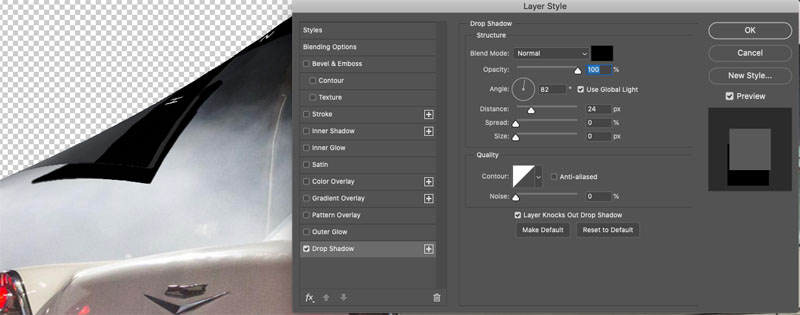
Notice you can drag with the drop shadow. So we can position it wherever we want,
10. Turn the size down to 0 (Normally we would make a soft edge, but we need to transform it, so we can soften it later). Turn opacity all the way up, or high enough to see it easily.
11. Right click on Effects the layers panel and choose create layer.
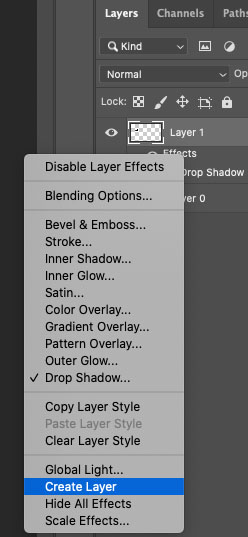
12. Now the dropshadow is converted to a regular layer. Click on the drop shadow layer in the layers panel.
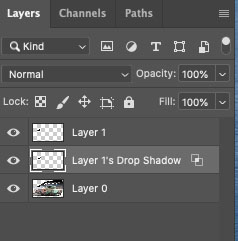
13, Press Ctrl/Cmd+T for free transform. Right click and choose distort.
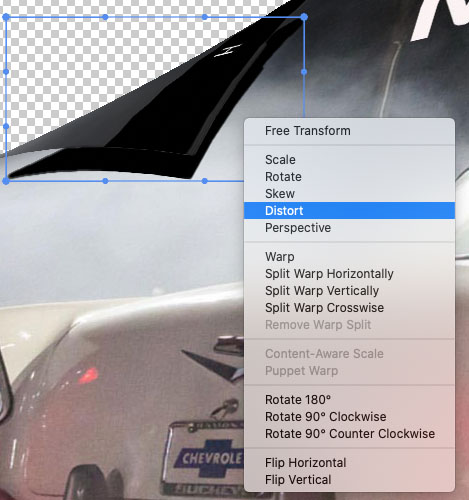
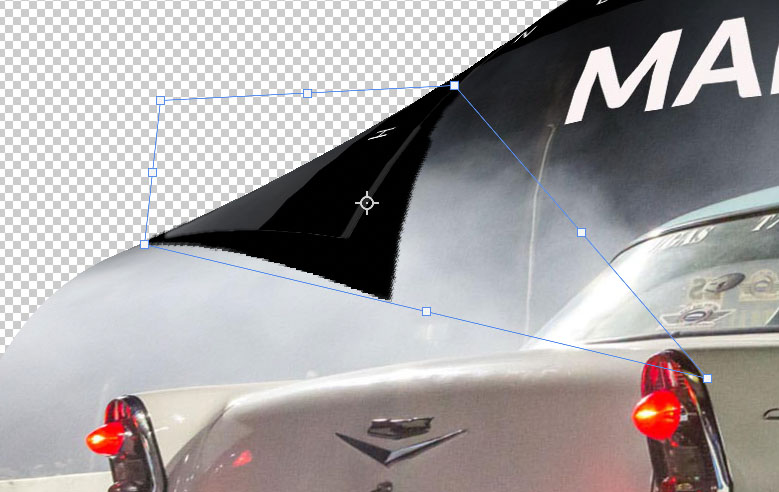
14. Drag the corners up to touch the edges of the dog ear and drag down on the middle to pull out or corner. Press enter to apply the transformation.
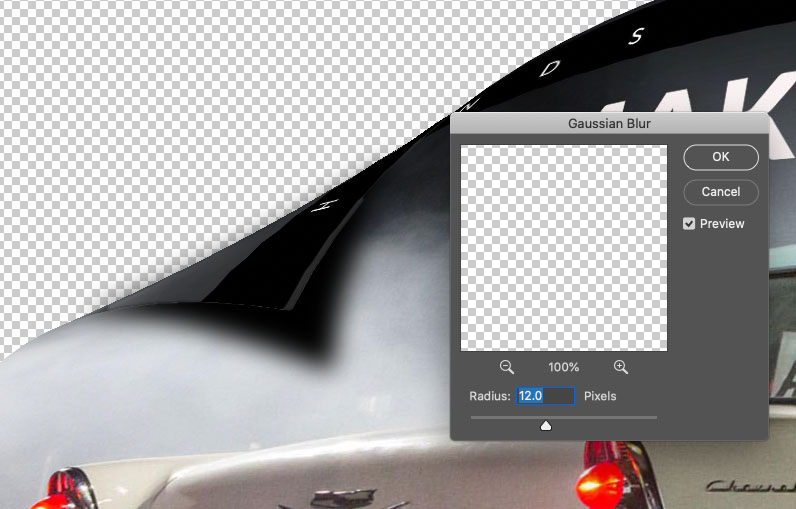
15. We now need to soften it, Filter> blur>Gaussian Blur. Now it starts to look more like a shadow.
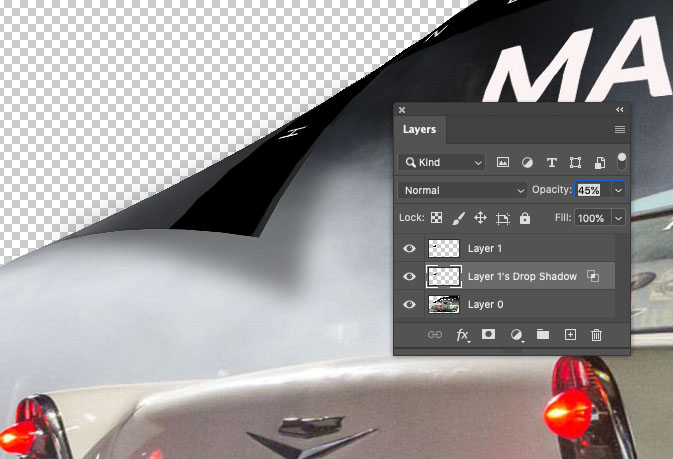
16. Lower the opacity to suit your tastes. In this case 45% looks good to me.
The second shadow is going to be much easier.
17. Select the bottom layer and choose effects, drop shadow
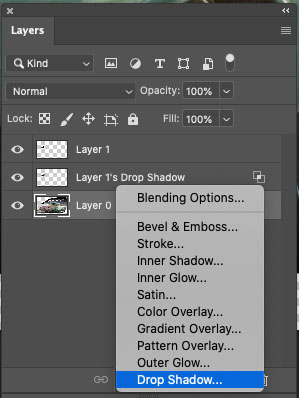
18. Drag the shadow to match the direction of the top one. Also adjust size (soften) and opacity to match.
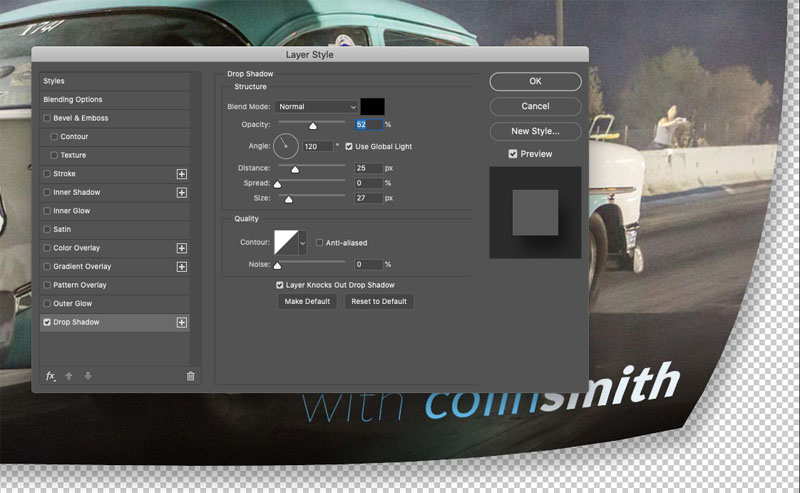
To make it easier to see our shadow, we will make a white background.
19. Click the new layer icon and drag the new layer to the bottom of the layer stack. (Tip: Holding down Ctrl/Cmd as you create a layer, will put it under the existing layer, instead of on top)
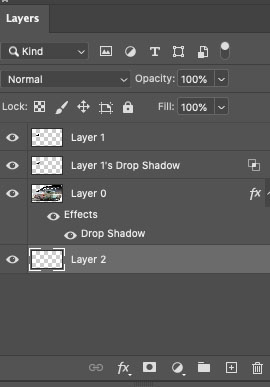
20. Press the D key to reset the color pallets. White should be the background color. Press Cmd+Shift+Delete (Ctrl+Alt+Backspace on Windows) to fill with background color.
Making the highlight reflections
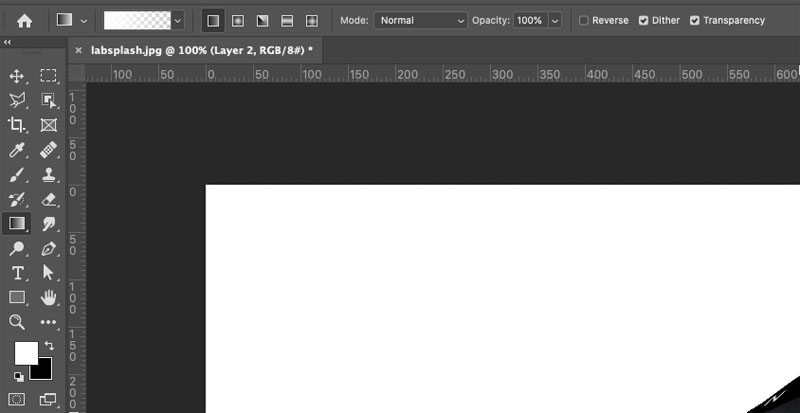
21. Choose the gradient tool. Set the foreground color to white. Make the gradient linear and make sure transparency is turned on.
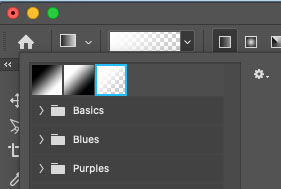
22. Choose the foreground the transparency option. (It might be in the basics group).
23. Create a new Layer and place it above the dog ear.
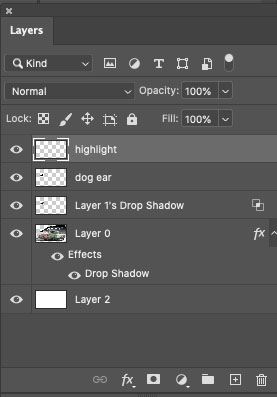
24. With the highlight layer active, hold ctrl/Cmd and tap on the dog ear layer to loads its selection.
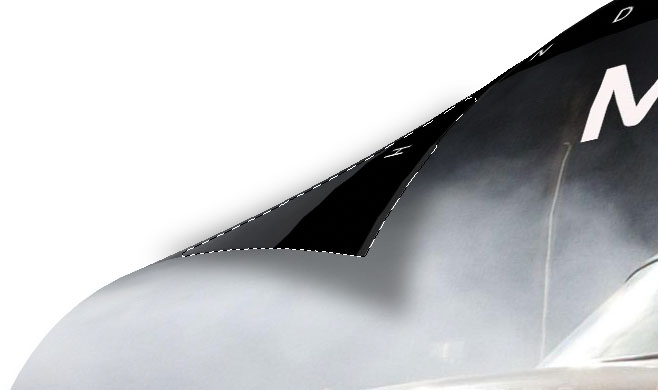
25. With the gradient tool, start a little bit outside and drag it halfway through the dog ear. That gives it a bit of a sheen. Adjust the opacity of the layer if you like.
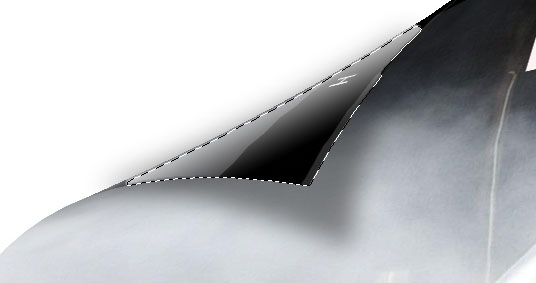
Press Cmd/Ctrl+D to deselect.
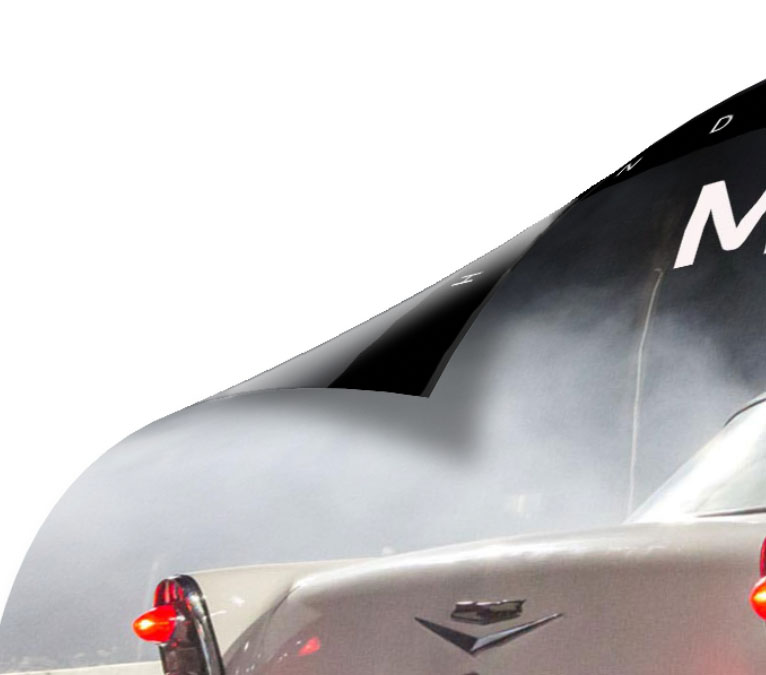
26. Now we want to add some sheen to the bottom. Create a new layer and name it highlight 2 and put it directly above our poster layer.
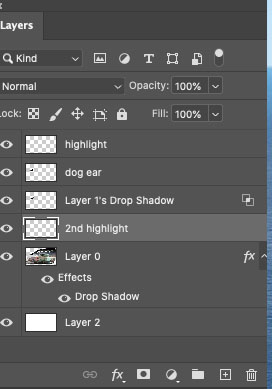
27. Hold Ctrl/Cmd and tap on the poster layer to load the transparency.
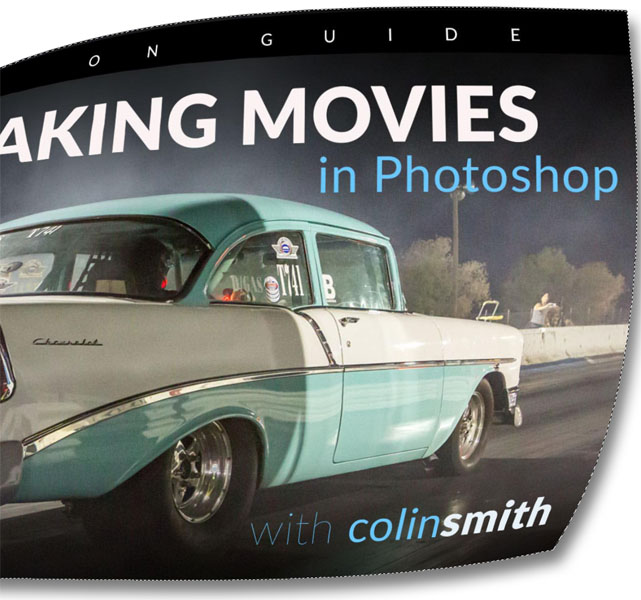
28. This time drag from the lower right in a diagonal direction to the middle.
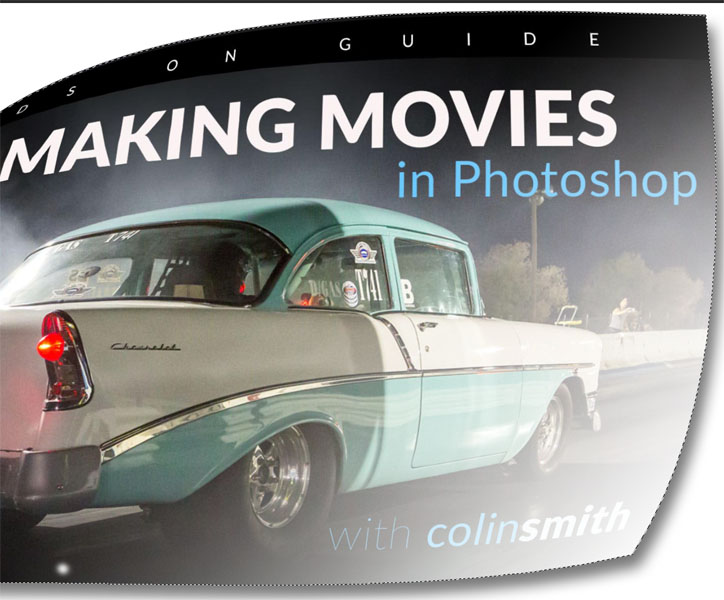
29. Drop the opacity on this sheen to suit your taste. For more options, watch the video at the top.
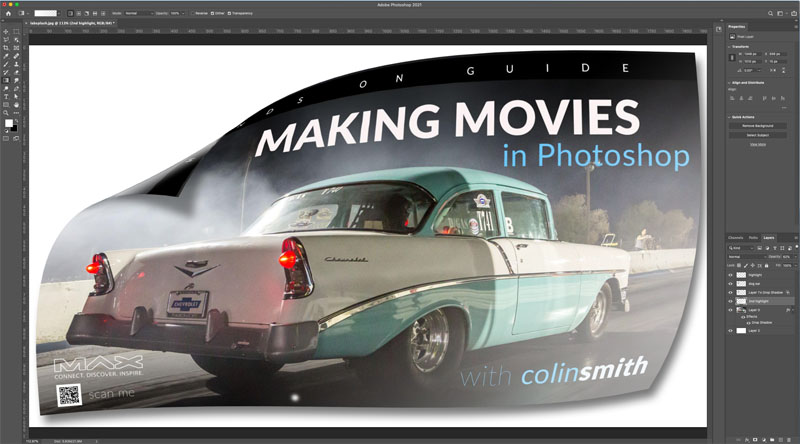
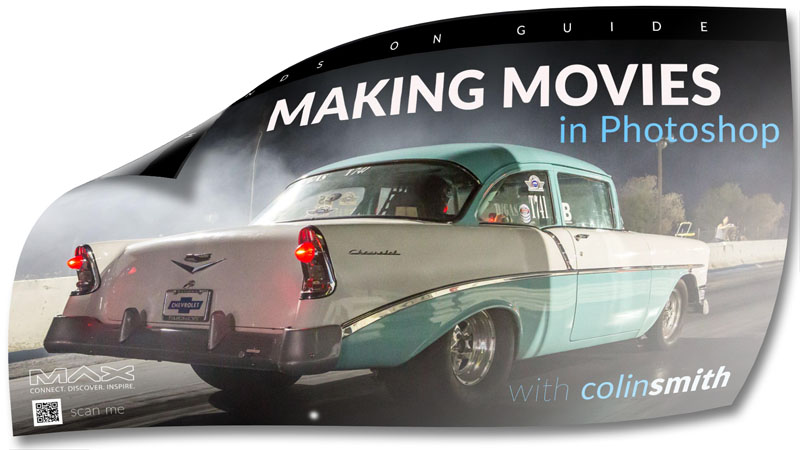
That’s how to create an advanced page peel effect in Photoshop.
So anyhoo thanks for checking it out. Till next time, I’ll see you at the CAFE.
Browse our hundreds of other free tutorials here, or search for what you are looking for in the search at the top of the page.
You can also browse by topics in the free tutorials menu.
If you are ready to get serious about Photoshop, see our full length courses here
For notifications when I post new tutorials and livestreams, join our mailing list
Keep the conversation going; follow us on Social Media:
Great to see you here at the CAFE,
Colin
The post How to make a page turn effect in Photoshop appeared first on PhotoshopCAFE.
