
How to sync all your photos through Lightroom
There are 2 different versions of Lightroom. This tutorial explains why there are 2 versions and shows you how to make them talk to each other. You will learn how to selectively sync certain images between Lightroom and Lightroom Classic. All your setting will also sync. I’ll also show you how to create a smart folder. When you drop an image into that smart folder it will be placed into your local library and synced across the whole shebang.
Why 2 versions of Lightroom?
There are 2 versions of Lightroom. Lightroom and Lightroom Classic.
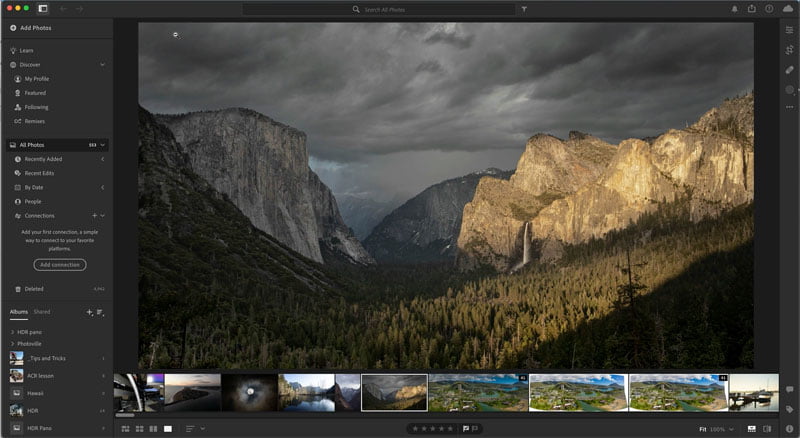
Lightroom Classic
is the latest version of Lightroom we have always had. It’s a desktop app, with all the modules such as book, maps, printing etc. (learn Lightroom in 15 mins here)
all our photos are stored on a hard drive. You can selectively sync collections in the cloud, but you don’t have to have any images in the cloud if you don’t want.
Lightroom was called, Project Lightroom, then Lightroom 1-6, Lightroom CC, then Lightroom Classic.
What is Lightroom now.
In what might be the most confusing marketing move ever, (with the unnecessary adding the name Photoshop to Lightroom) there is another Lightroom, just called Lightroom. Let me explain.
While photographers were happily using Lightroom (insert version number here), Adobe launched a new beta. This was called Project Nimbus.
Project Nimbus was a faster, lighter version of Lightroom that was mobile first. Its main appeal was a phone app. As Nimbus matured, it was known as Lightroom Mobile. Everyone understood Lightroom mobile and desktop.
Then Adobe added a new desktop app to work with the phone app and the iPad version. They decided to call all of this Lightroom CC and now its just Lightroom.
There are 4 parts to the Lightroom Family
The 4 parts of Lightroom are
1. The desktop app: Very similar in function to Lightroom Classic, most of the features, but without the extra modules and it’s cloud-synced. When you import the photos, they are synced in the cloud.
2. The phone app (iOS and Android) the images sync, you can edit and the edits sync too. Also has a camera as part of the app, that allows you to shoot in RAW and it syncs the photos.
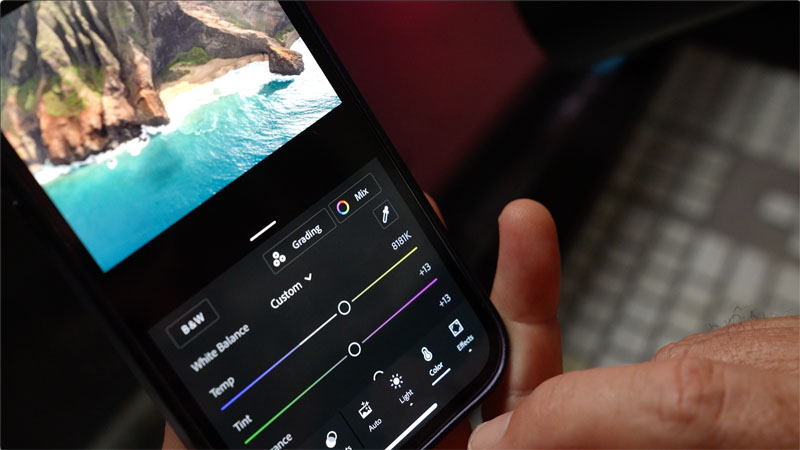
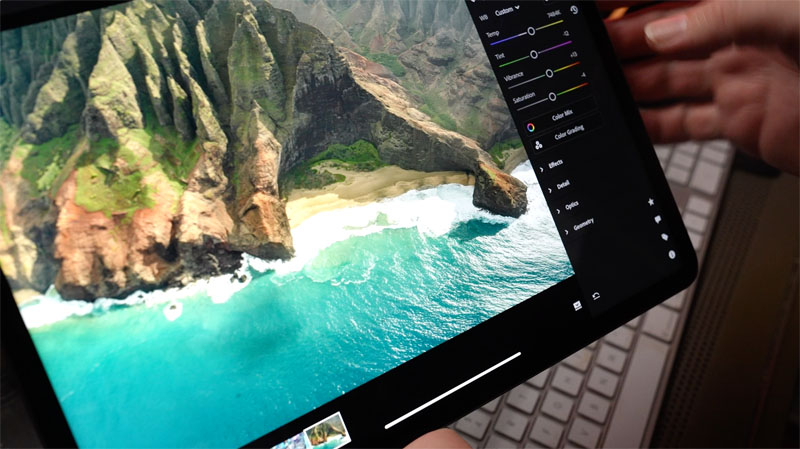
3. iPad version (Arguably the best iPad photo app on the planet, it’s really good). just like the phone app, has camera, sync etc, but the interface is more like the desktop app. They really got this right.
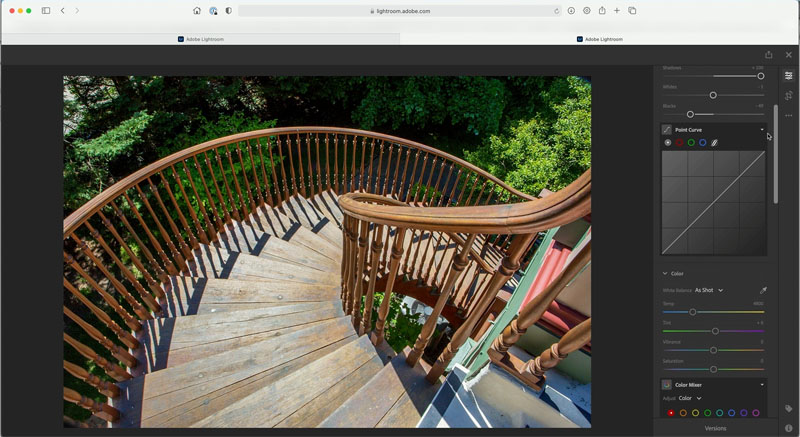
4. Lightroom web. Access you Lightroom library through a web browser and make edit etc.
All 4 of these apps keep images and edits in sync in the cloud. It doesn’t matter which device you make the change, add the photo, delete and photo, edit etc, they all stay perfectly synced.
Then there is Lightroom Classic, which I have already explained. (Personally I think they should have kept the name Lightroom and called the other one, Lightroom Cloud.)
So, how does Classic fit in?
It seems at the moment, most Professionals and long time users are using Lightroom Classic. Classic lets you store your images (and videos) on your local hard drive, external drivers, RAIDs etc. You can have your images on a server, but you cannot keep your catalog on a server.
I personally keep most of my images locally on Lightroom Classic. I just have way too many images to sync on the cloud (I easily shoot over 1,000 raw files in a typical session) and I have some clients that will not allow images to be on the cloud no matter what. (Privacy and security concerns).
Synching Lightroom Classic and Lightroom
However, I do like to shoot with my phone and I would like to have some of my photos available everywhere and be able to sync the edits. I also like to chill on the beach, or my airplane seat with my iPad and edit photos. (I know, I’m weird) .This is where this tutorial comes in. You can create a bridge between the 2 Lightroom and sync the images and edits that you choose, without adding your entire Lightroom Classic Library. I’ll also show you how to create a watch folder and you only need to drop images into the folder and everything else is automated.
We are going to create a collection and use that as the gateway to sync. It will be a shared collection.
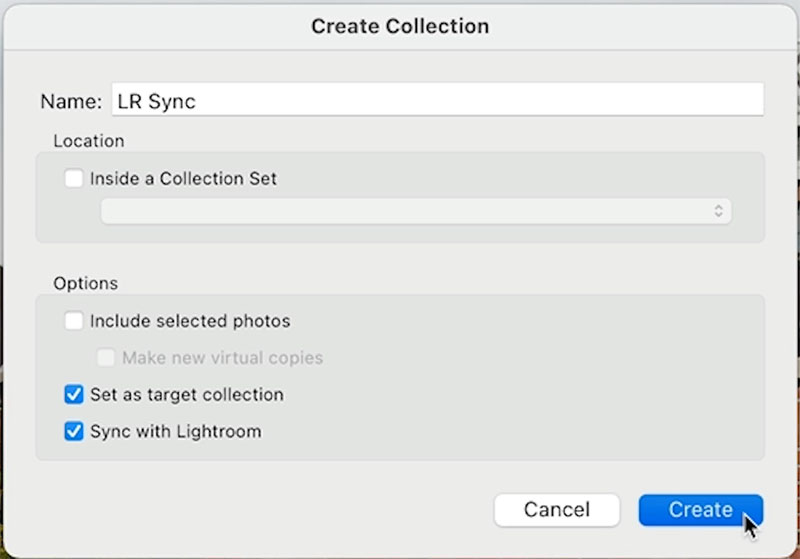
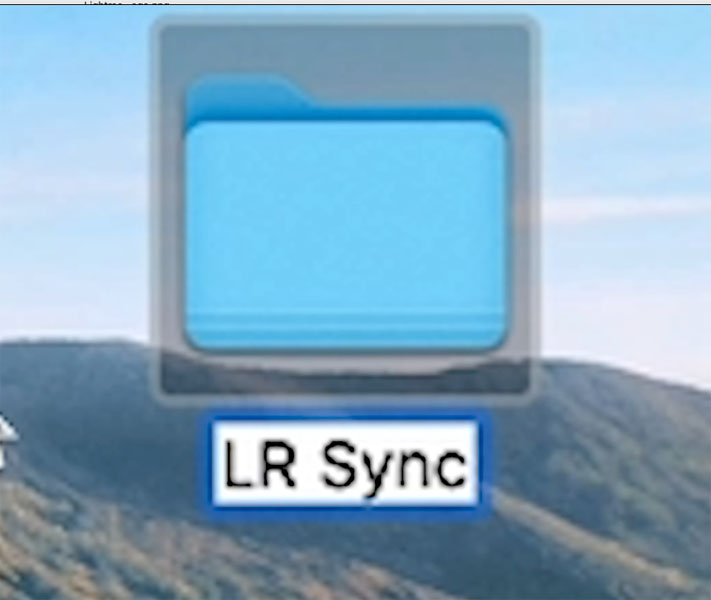
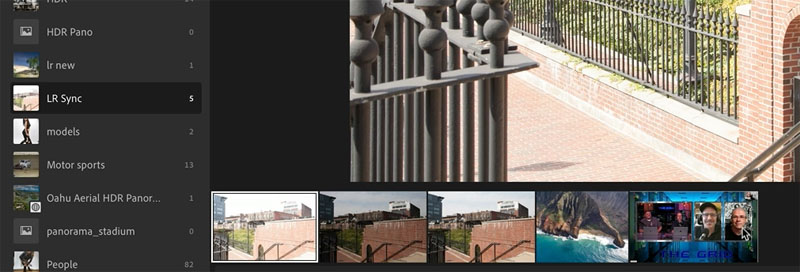
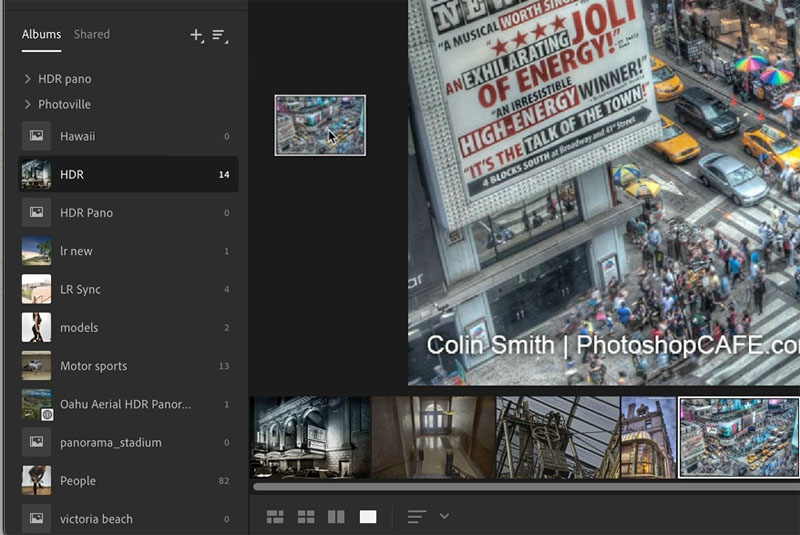
Click on the + by collections in the Library module and choose create collection. Name it what you want, I’m going to call it LR Sync

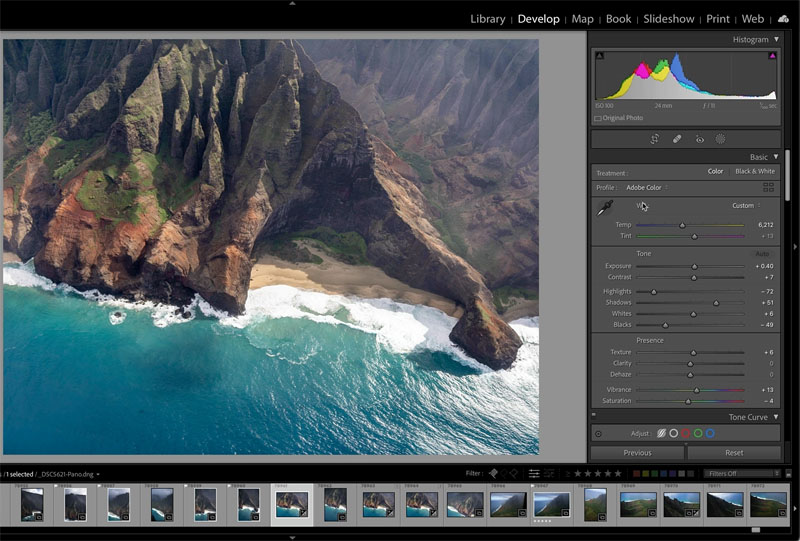
In the settings, you have to option to turn on Sync with Lightroom. You can turn this on and off at anytime, but we are going to turn it on. This means that any images in this collection will be synced with the cloud. They will still remain in their local location too, so you are sharing them, not sending them away.
I chose to set as a target collection for this tutorial, its not necessary. All a target collection does is change Quick collection to the targeted collection. When you click the circle on the image thumbnail, or press the B key, the image is placed into the target collection, rather than the quick collection.
Click Create
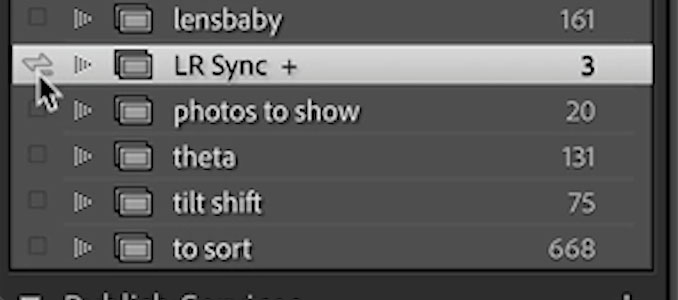
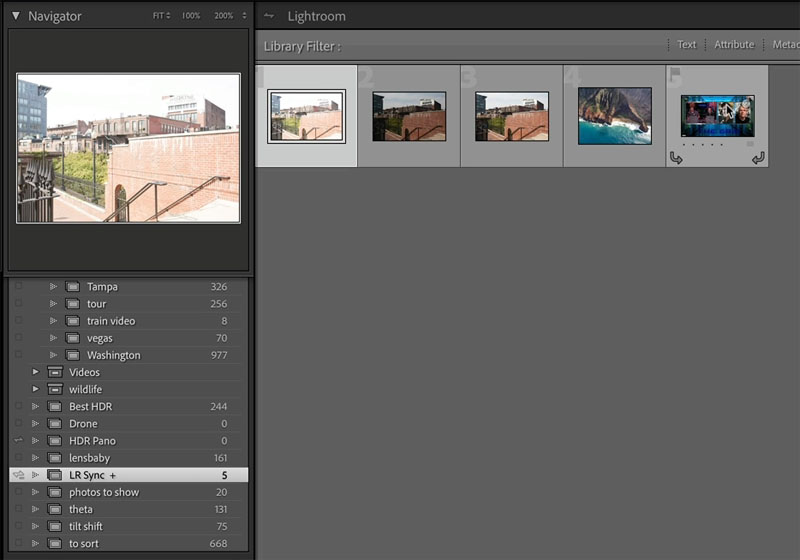
You will see our collection appear in collections.
The lightning bolt to the left means it’s synced. You can sync/unsync any collection by clicking the box and turning the lightning bolt on or off.
The + sign means this is set to a target collection. Click any collection and tap the T key and it will become the new target collection.
Tap the dots on some images to add them to the collection (you can also drag the thumbnails in if you prefer.)
I have added 3 images, see the number 3?

The sync is on
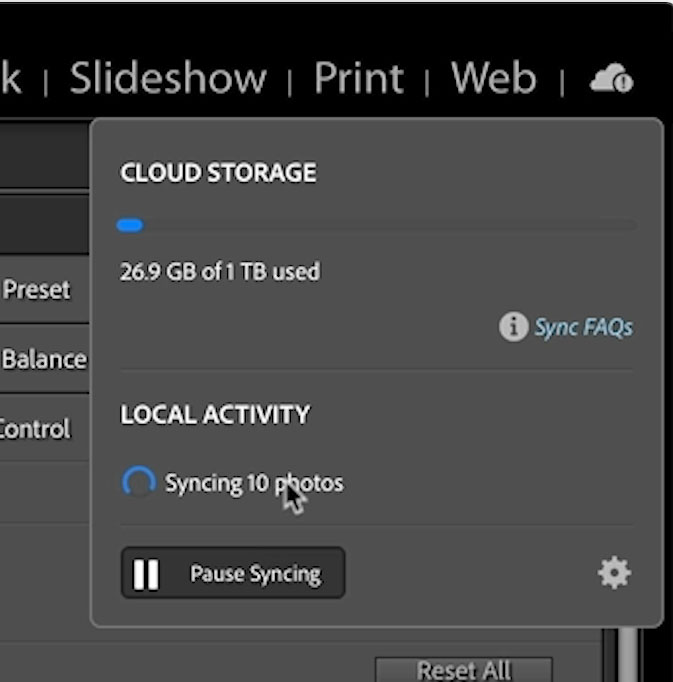
Go to the top right and click the cloud icon. This is where you set up syncing by signing into your Creative Cloud account. Make sure it’s not paused.
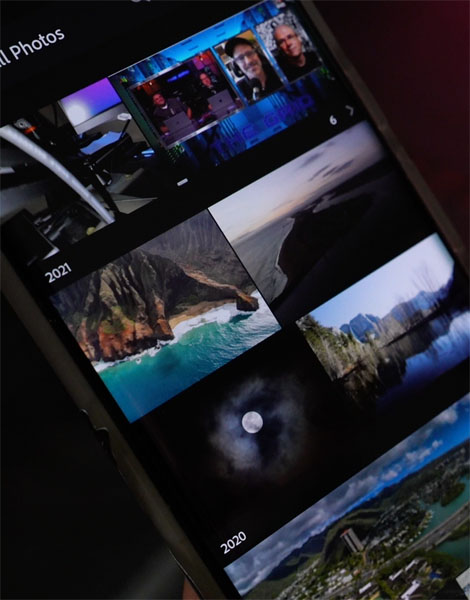
The images will be uploaded to the cloud and appear in the other Lightroom desktop. (You don’t need to have the other Lightroom desktop installed BTW)

If you go to your phone or tablet apps and sign in, you will see the images are now there too. Add images into the collection to share them across devices.

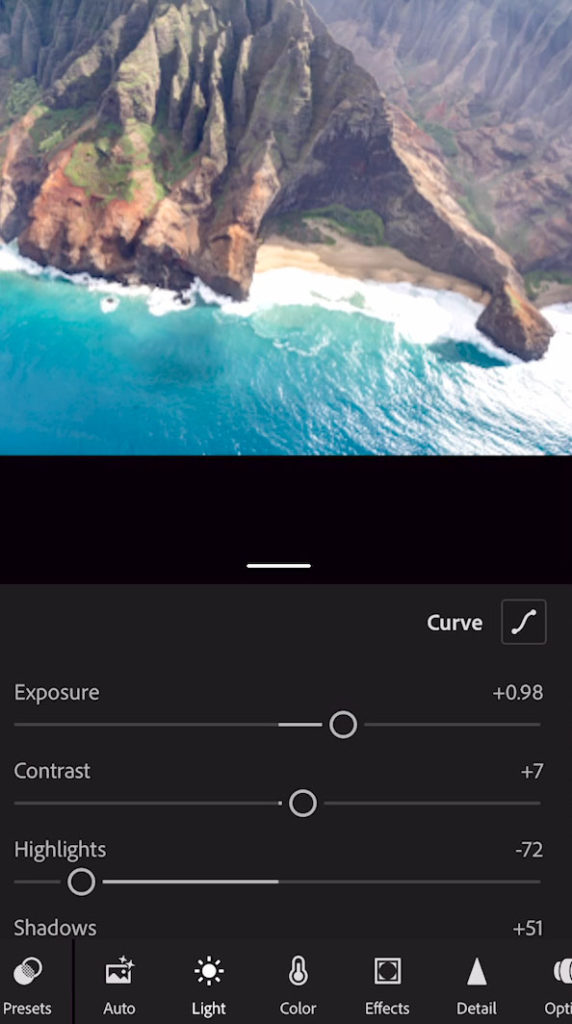
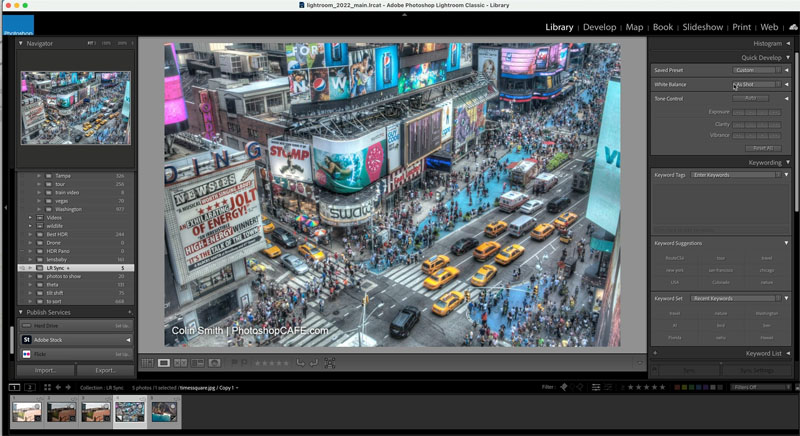
Lets look at another image thats shared. Make some adjustments to it.
You will see the adjustments ripple through all the apps.

Even the mobile apps will sync the adjustments.
Make changes on the mobile apps and they will also ripple though. Shoot a photo on the mobile and it will be shared with the entire Lightroom eco-system. It will only be shared with Lightroom Classic, if you add the image to the shared collection.
Create a Watch Folder to auto import images into Lightroom
Let’s set up a watch folder. This mean, when you drop images into this folder, they will be sucked into Lightroom and the original will be moved to a location you choose on your hard drive (usually your photo Library) and the image will be uploaded to the cloud and shared with all your devices. This will all happen automatically.
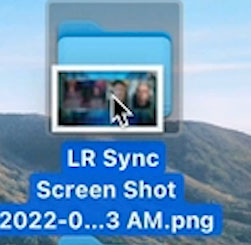
Create a folder on your desktop and name it.
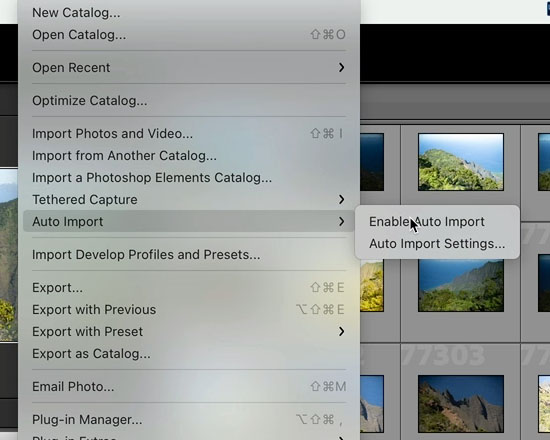
Choose File>Auto Import>Auto Import Settings
Click Choose under Watched Folder and navigate to the folder you just created on the desktop.
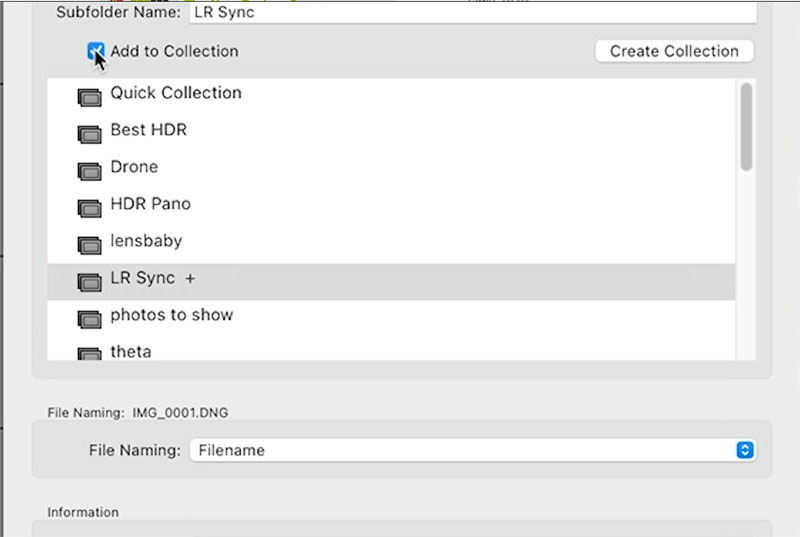
Choose Destination, usually the location that you keep all your master photos. This is where the photo will be stored after its imported. (Optional: turn on Enable auto import at the top)
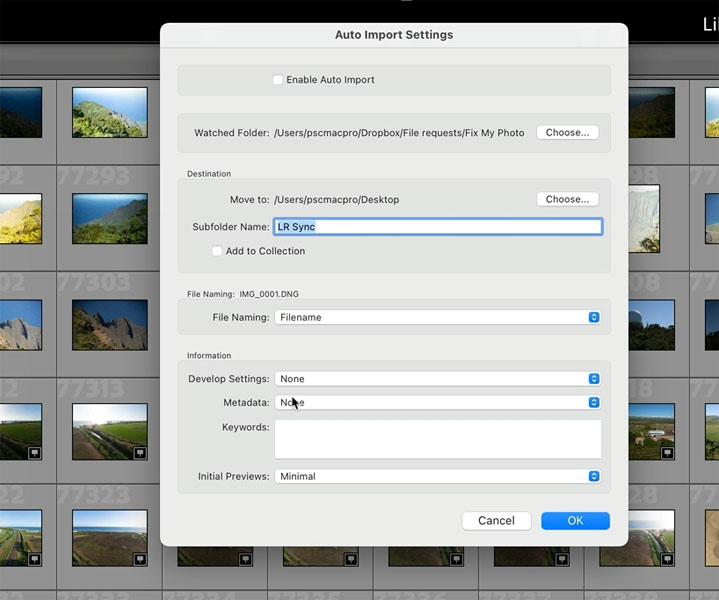
This is important! Click Add to Collection and Choose LR Sync, because this is a shared collection, it will send the photos into the cloud. If you don’t choose a shared collection, it won’t be synced in the cloud.
Click ok
If you didn’t enable Auto import in the previous step, you can do it here.
Choose File>Auto Import>Enable Auto Import.
To import images into this new system, just drag into the folder.
The image will be moved to the destination and uploaded to the cloud This image will now be available everywhere.
Sharing photos from Lightroom with Lightroom Classic
I hear people saying. “I don’t want to be hostage to Adobe’s cloud, what if I want to cancel my account, I’ll lose all my images!” (Insert a panicky sounding voice).

You can sync all your photos from Lightroom back to Lightroom Classic if you like and download them locally.
Drag the photo, or photos into the shared folder from Lightroom Desktop.
They will appear in Lightroom Classic.
You can now export the photos as originals from Lightroom Classic if you like.
I hope you found this weeks tutorial interesting. Don’t forget you can always pick up my full length Lightroom Classic Course to learn much more.
Thanks for joining me here at the CAFE
Colin
Consider joining our mailing list so you don’t miss any of my tutorials.
For more, follow us on Social Media
The post How to properly sync Lightroom Classic with Lightroom mobile apps appeared first on PhotoshopCAFE.