
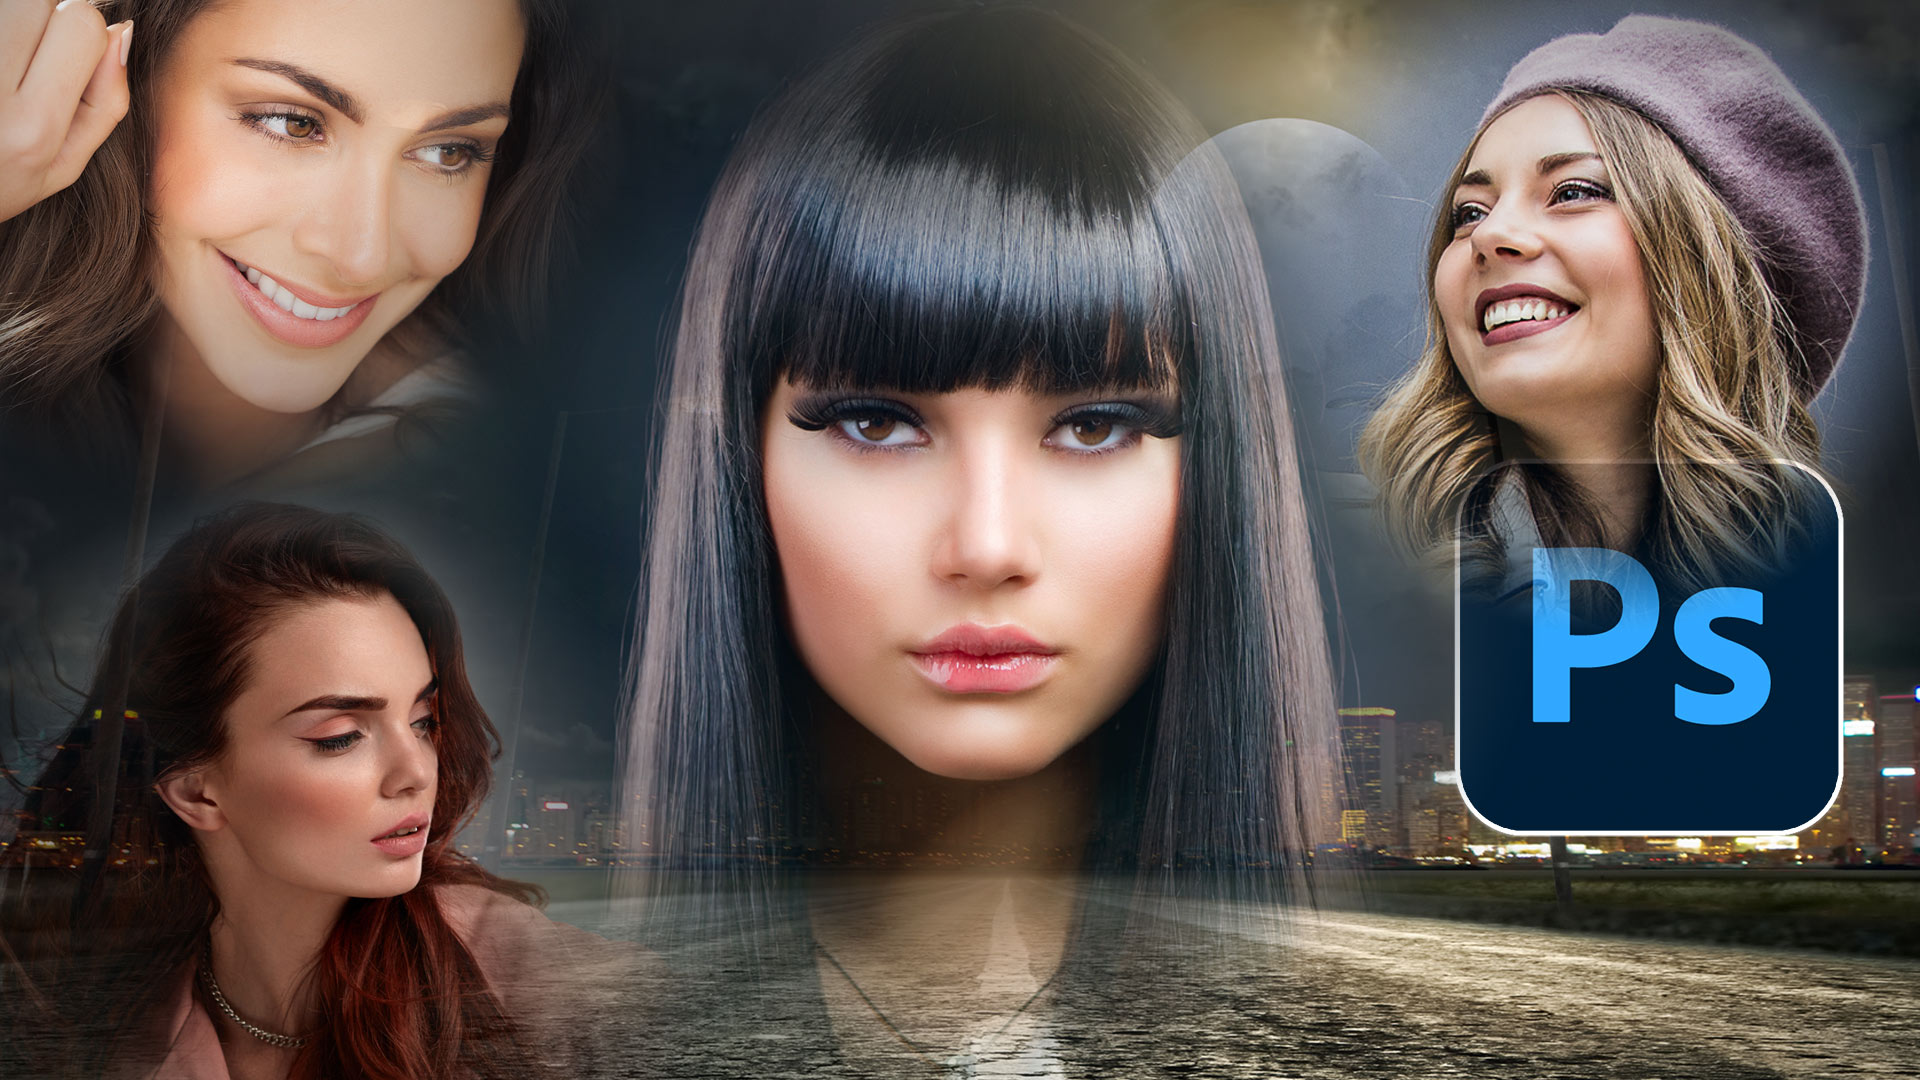
How to easily create the floating heads effect used on movie posters
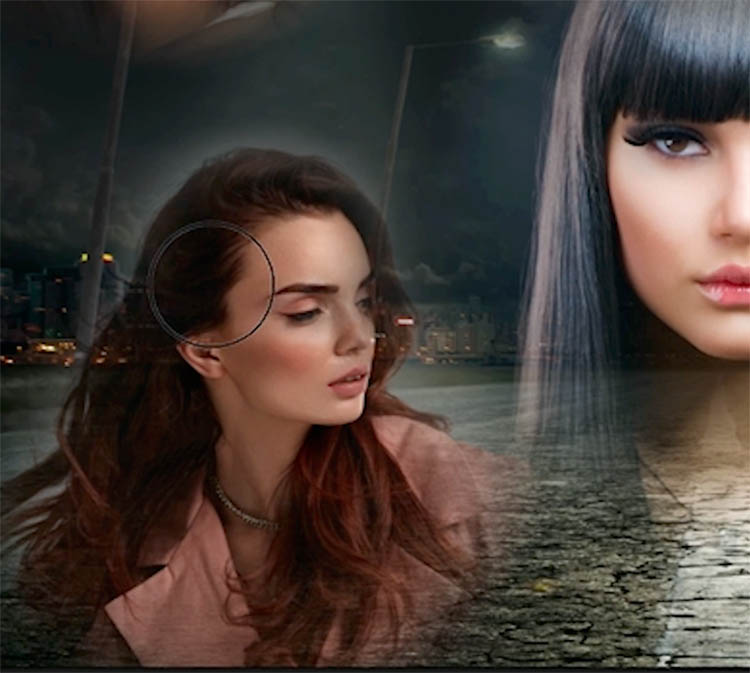
We have all seen the floating heads effect on posters, magazine and album covers, you name it. We combine different pictures and seamlessly blend them into the background.
While experimenting with the updated gradients tool in Photoshop, it occurred to me, this might work well on faces and heads. So I tried it and immediately, I knew I had stumbled on the perfect use for this tool. I’m excited to share this discovery with you now.
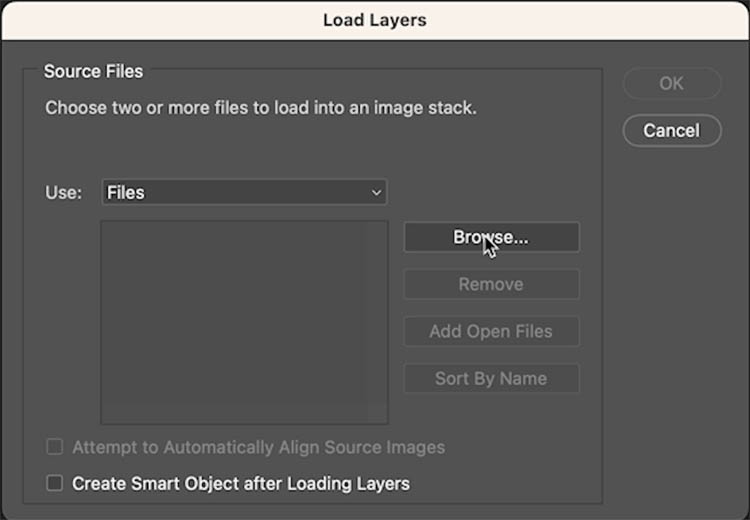
The first thing we need to do, is get all the images into Photoshop, but in layers in a single document.
Choose File>Scripts>Load Files Into Stack
Click Browse and choose your images. Tip: If you have already opened the images in Photoshop, choose Add Open Files, and they will be stacked together.
Click ok
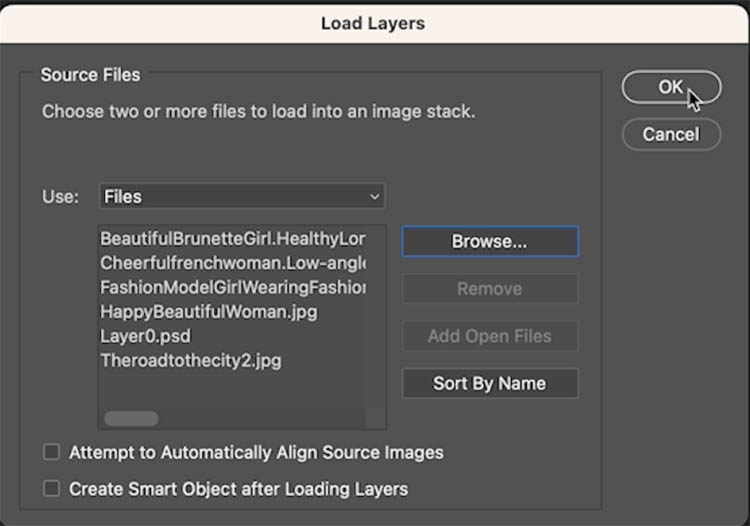
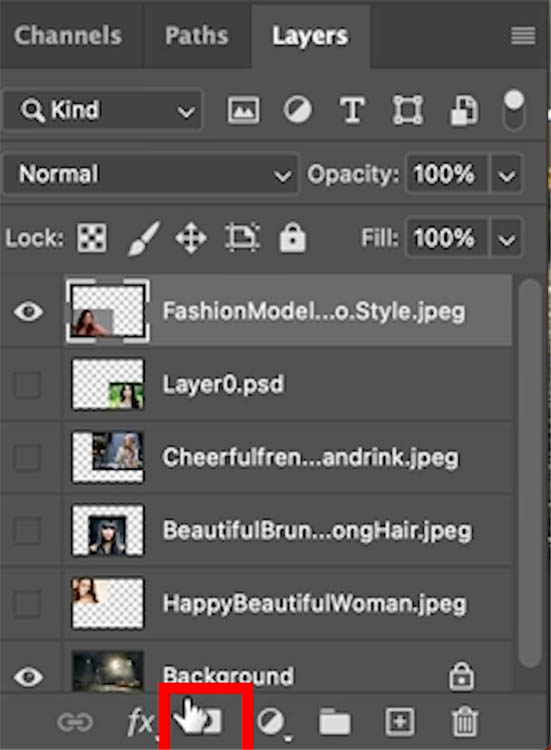
All the images will be added to layers in a single document.
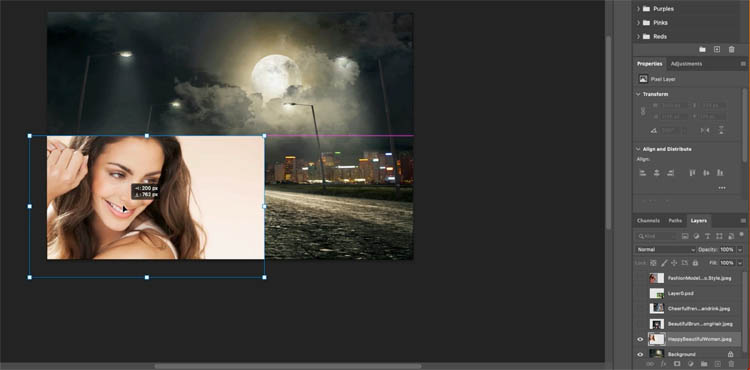
Turn off the layers except the background by clicking the eyeballs in the Layers panel
One at a time, resize and position the images of the faces. Press Ctrl/Cmd+T for free transform. Drag to position. Drag the corners to resize.
We will do the following steps for each image.
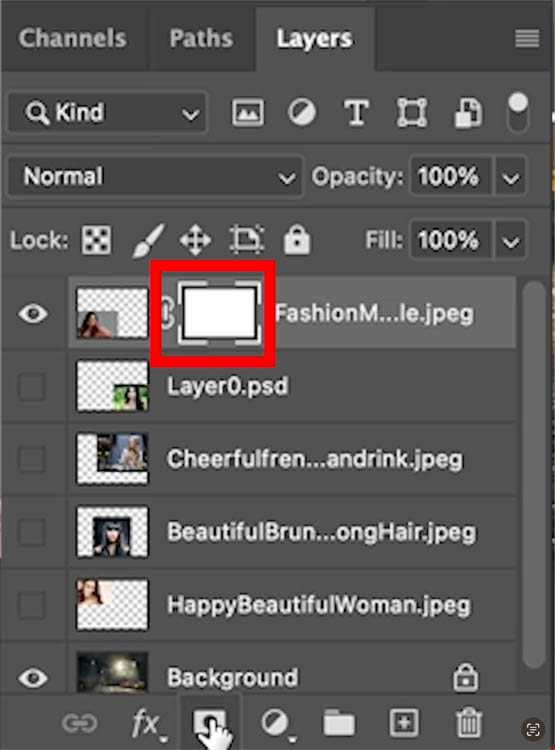
Choose the layer and make it visible. (eye icon)
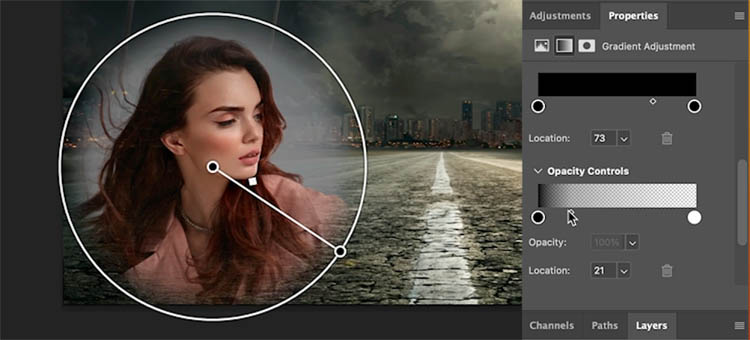
Click the new Layer mask to add a mask
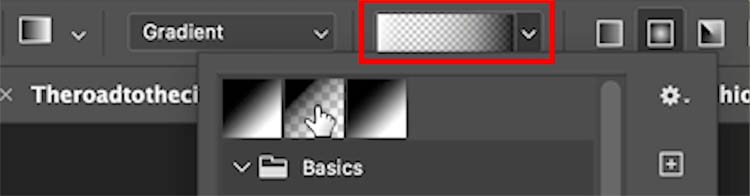
Choose the Gradients tool (G Key)
Choose Radial and Foreground to transparent
Make sure the forgeround color is black
Making sure the mask is selected in the layer, not the image..
Drag out from the center. Notice it creates a beautiful vignette effect and blends the image into the background.
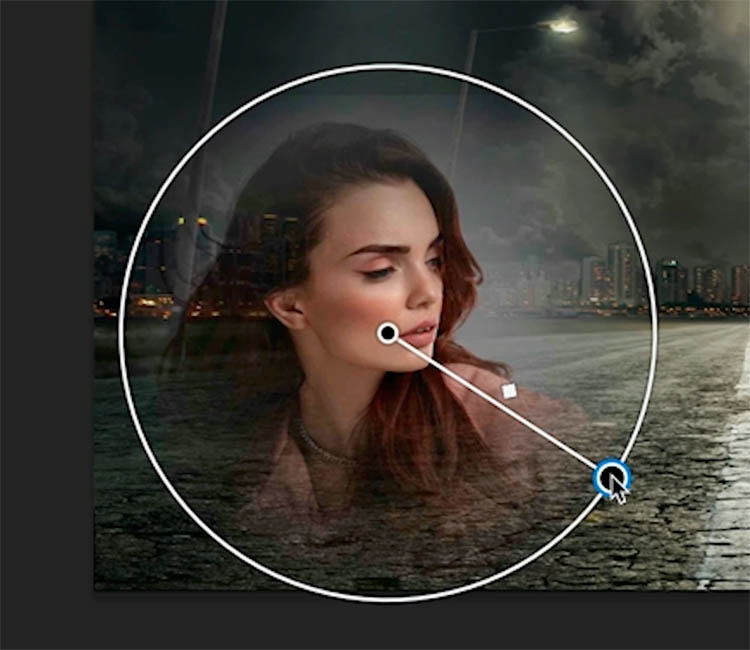
In the Properties panel, drag the center point under opacity control. This will change how the edges feather. (You should be able to do this with the diamond on the overlay, but that appears to be broken at this time).
If you want to do manual touchup on the mask it’s easy.
Grab a brush. Paint with black to hide areas and white to show them. Be strategic with the manual painting as you can easily ruin the smooth blend if you aren’t careful.
I hope you found this tutorial useful. I actually mad this a 2 part tutorial on the new Gradient tool. Check out the addition tutorial on making a rainbow to master some of the other features, as well as a killer tip I came up with.
Drop a comment and let me know if this was helpful.
Browse the other free photoshop tutorials here at the cafe
Download 100s of dollars worth of Photoshop adds on for free here at the Vault.

Also follow me on Instagram, Tik Tik, Threads and Twitter. for shorts and reels.
See you next time!
Colin
The post How to Seamlessly Blend faces into background in Photoshop using new radial gradients appeared first on PhotoshopCAFE.