How to Update Photoshop
Let’s get the latest Photoshop update. To do this, we launch the Creative Cloud app. All updates are done through Creative Cloud. For best results, restart your computer first.
Choose Help>Updates on either Mac or Windows. You could also click the CC app icon in the top right on mac, or the bottom Right on Windows.

The Adobe Creative Cloud App will launch.
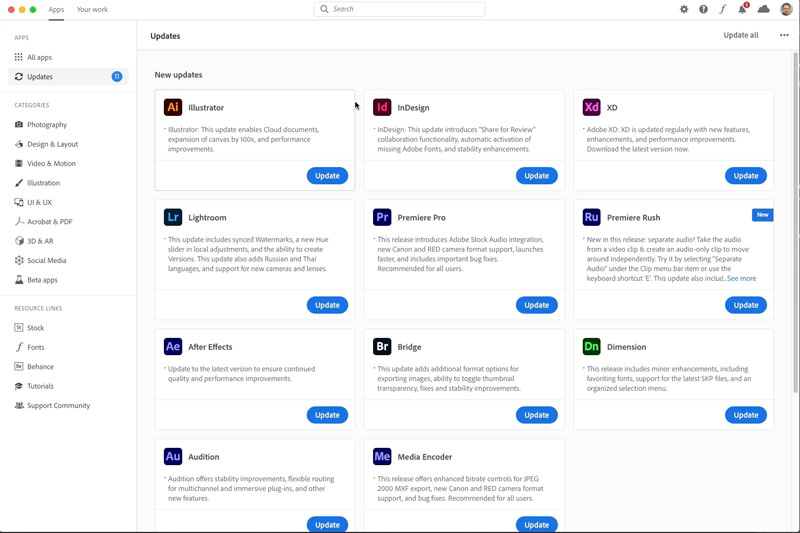
Click on Updates. You will see the individual app updates, don’t do anything yet.
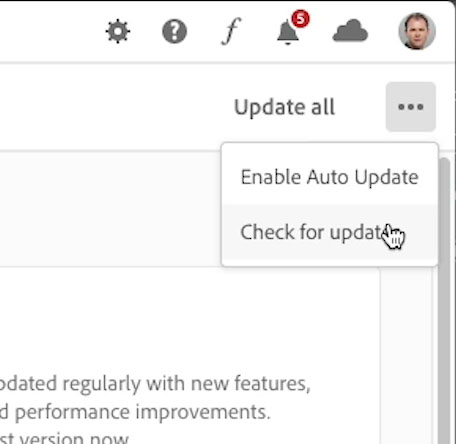
Click and hold the 3 eclipses on the top-right. Choose Check for updates.
CC will check the Creative Cloud server for up-to-the second updates.
Click on update, next to your app. For Photoshop, also update Camera Raw.
When its updates, you will see that it says “open” this will launch the newest version of Photoshop.

Downgrading to older versions of Photoshop
You can go back to earlier versions of most of the CC apps.
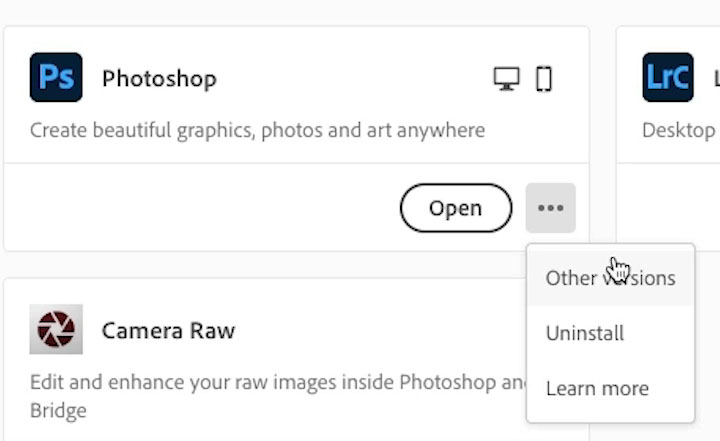
Click the ellipses to the right of Open on Photoshop.
Choose Other Versions
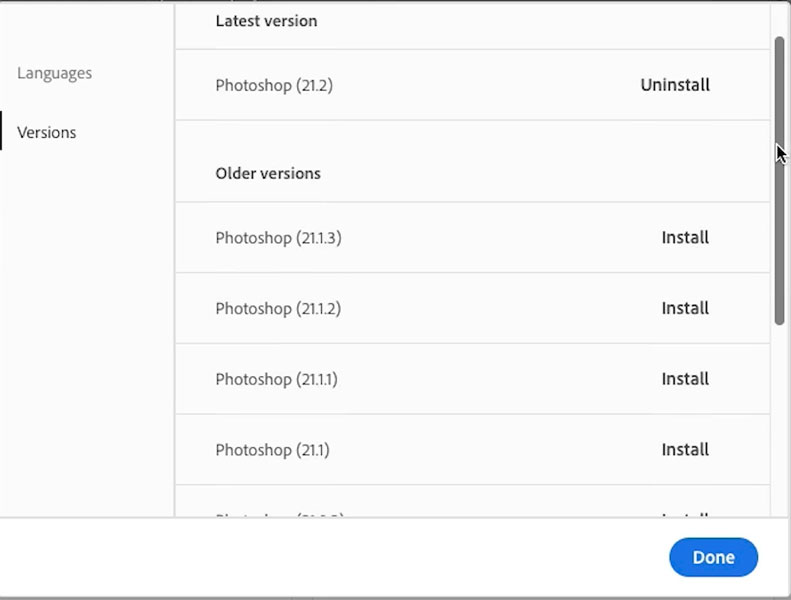
You will see a list of other, earlier versions of Photoshop that you can install.
Photoshop allows you to have more than one version installed at the same time.
Before Updating Photoshop do this
Before you update Photoshop (or reset preferences), its a good idea to back up all your settings and presets.
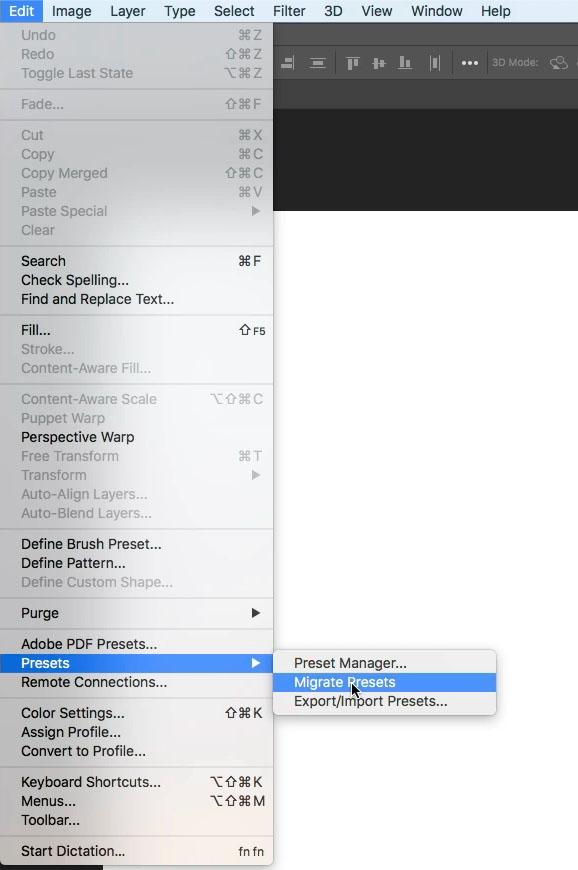
Choose Edit>Presets. You will see 3 options
Let’s look at them all.
Preset Manager
This is where all the presets used to live.
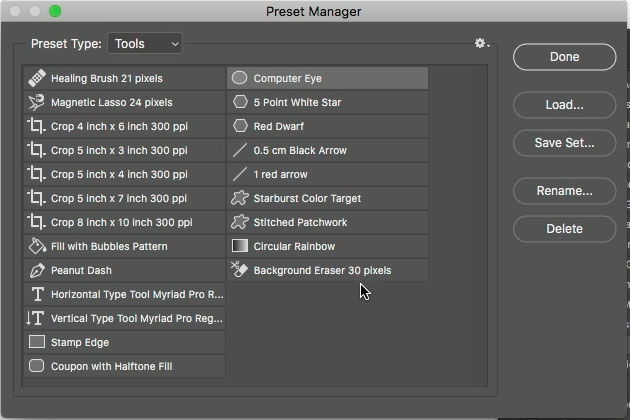
Now its just Contours and Tool presets.
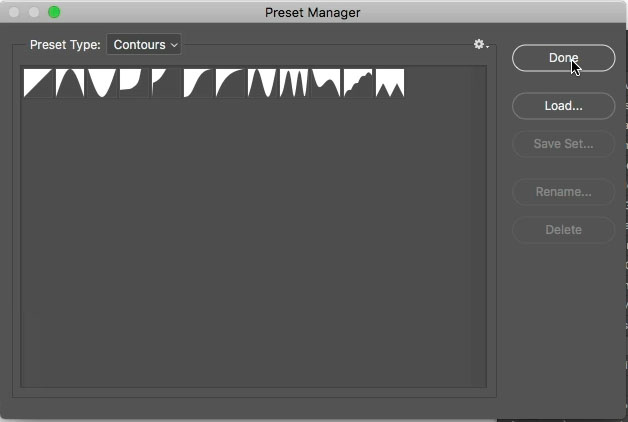
Select all the presets and choose Save set
Save these in a folder you create in your Creative Cloud account, or on dropbox. Don’t save them locally, because if your hard drive crashes, you will lose them all.
Choose Load to install Them.
Migrate Presets
If there are other versions of Photoshop installed on your system, this will copy the presets over into your new version. Just choose the menu option and it will do all the work for you.
Export/Import Presets
This is where most of your presets will be managed, including layer styles, gradients, grids, workspaces and more. Basically all the things that used to be in preset manager. Trust me, this is faster.
To export (save) You will see your current presets.
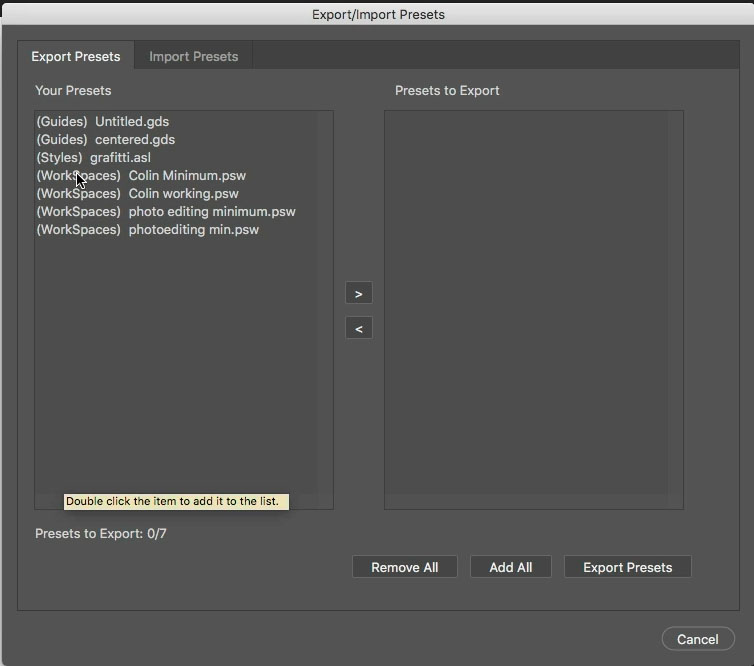
Highlight each one and choose the arrow to add them to the “Presets to export” column. Choose Add All, to do them all.
Press Export Presets
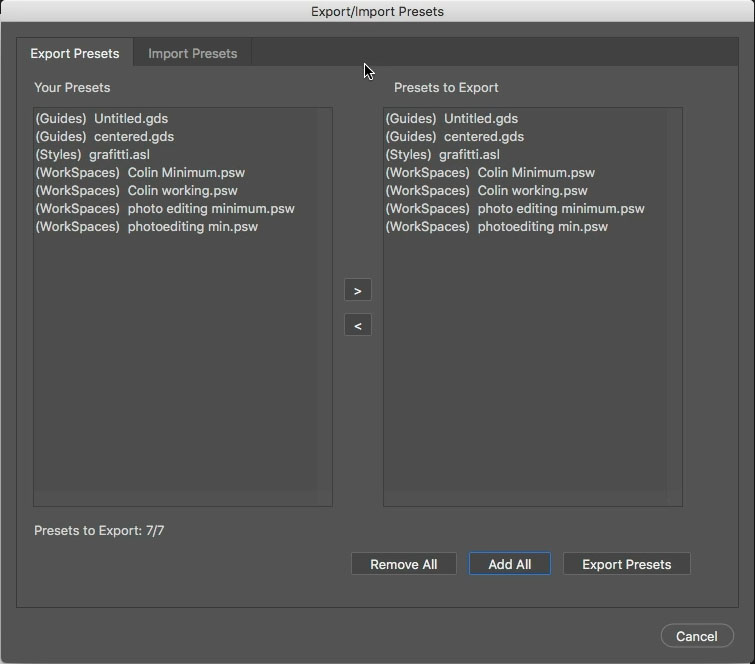
You will now choose a folder. I usually do 2 copies, one to my Creative Cloud account, where I created a folder named Photoshop and a second copy to dropbox. You really only need one.
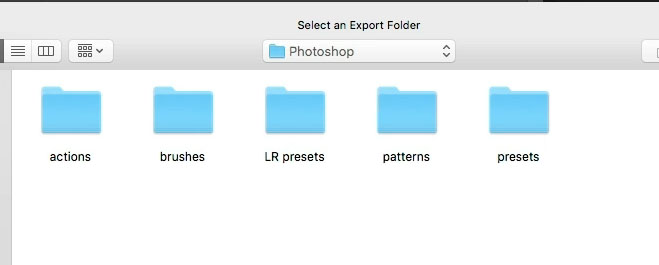
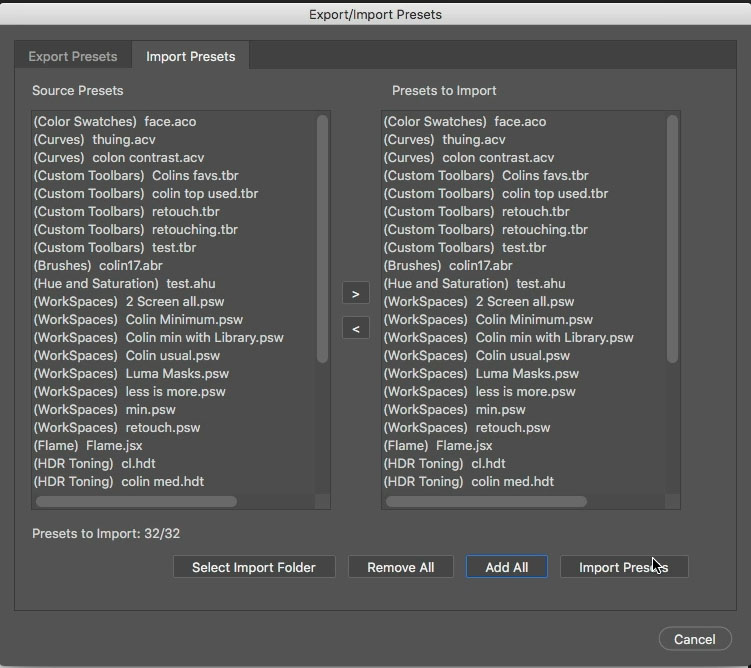
To load them in, navigate to your folder and choose Import Presets.
Manually backing up important Photoshop Brushes and Actions.
For some people, their brushes and actions are their bread and butter, Let’s keep them safe.
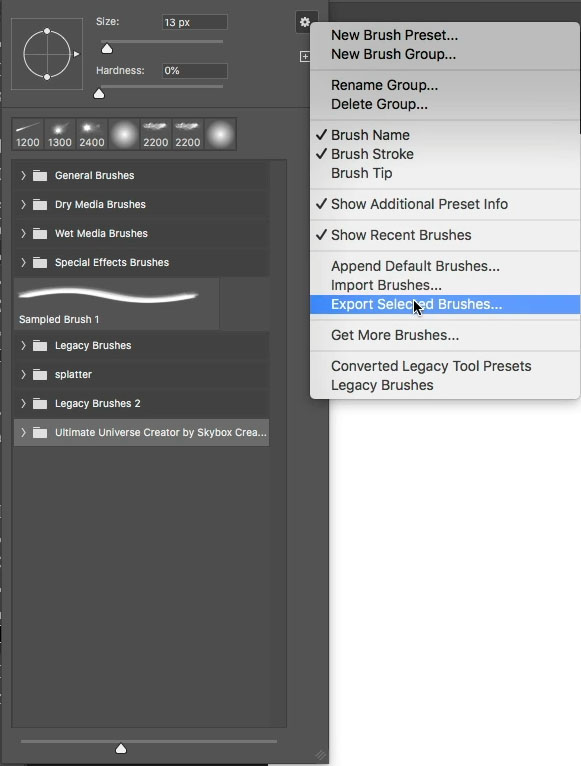
Go to the brushes panel. (Choose B for Brush and it will appear in the top Left).
Select a brush set in the panel.
Click the gear and choose Exported Selected Brushes.
Save them to your CC account or Dropbox.
Same things for your actions.
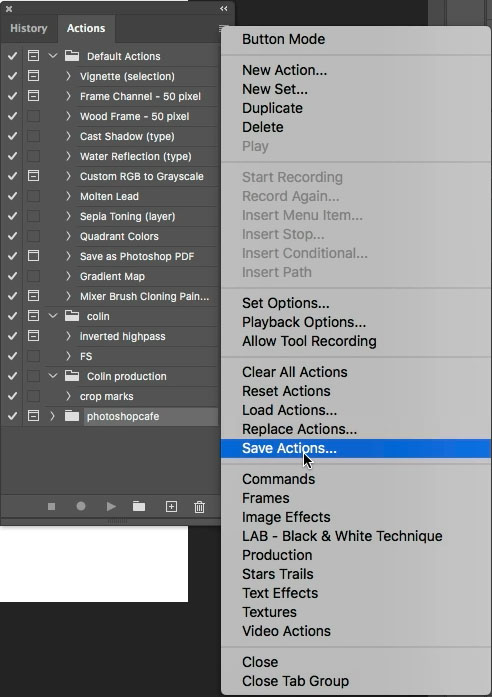
Open the Actions Panel | See course on Photoshop Actions here
Choose Save Actions from the flyout menu.
You can only export 1 set at a time.
Resetting Preferences in Photoshop
Resetting Preferences will solve most problems you have in Photoshop. Make sure to back up the presets first as we showed in the previous steps.
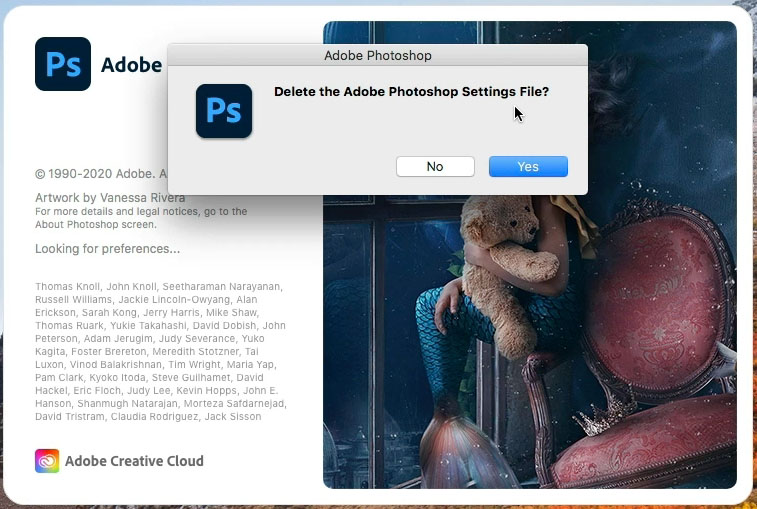
Hold Down Alt+Shift+Ctrl / Option+Shift+Cmd (mac) as you press the icon to launch Photoshop.
A message will pop up asking to Delete the Settings File,
Choose yes and this will reset your preferences.
Where is my Object Selection tool?
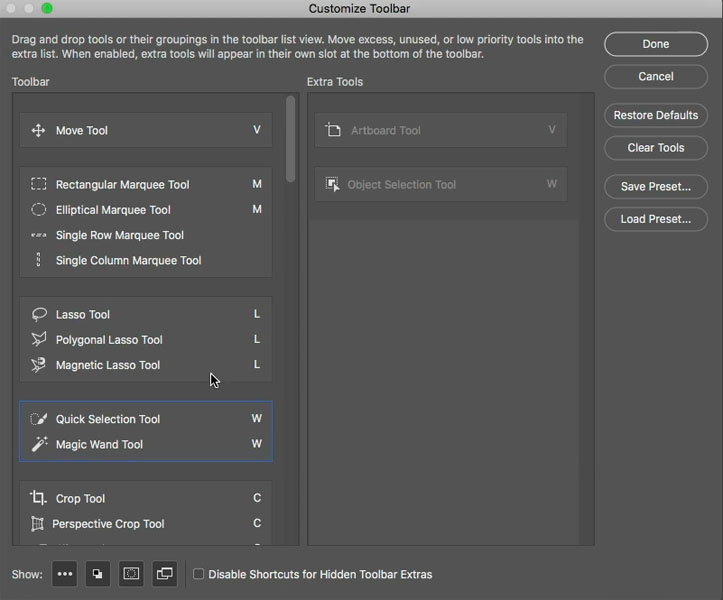
Sometimes tools are missing from the toolbar after an update. Here is how to fix it.
Click and hold the 3 ellipses at the bottom of the toolbar. The option to customize the toolbar will appear.
Choose Restore Defaults and click done.
All your tools will now show.
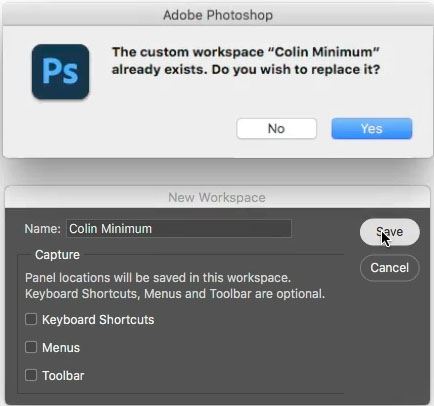
To prevent this happening again, Update your custom Workspace with the same name. This will save the toolbar config.
What happened was, you used an older custom Workspace, before some of those tools existed.
I hope you found this tutorial useful and it solved some of your issues.
Check out the superguide for free tutorials on the latests updates to Photoshop and Lightroom.
Lightroom Classic For Digital Photographers

I have just released a new version of my comprehensive course: Lightroom for Digital Photographers. This is my Flagship training on Lightroom.
This Course will help you master all of Lightroom Classic. If you are a complete beginner, or a working pro, there is something for you in theis fully comprehensive 140 video course.
Thanks
Colin
The post How to Update Photoshop – Watch this before updating! appeared first on PhotoshopCAFE.
