
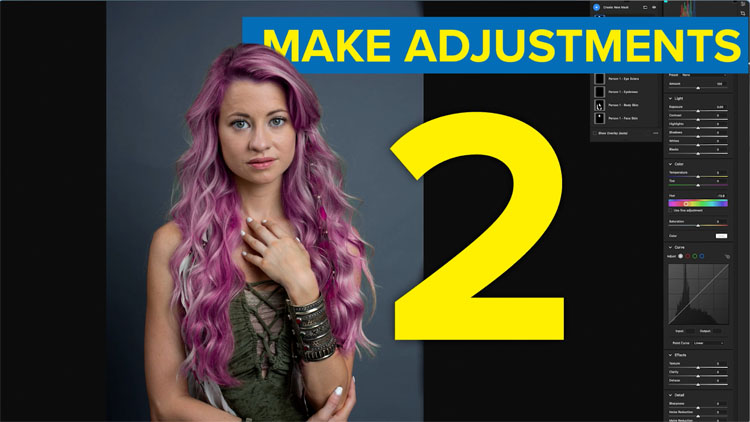
The power of ai masks and smart presets in Adobe Camera Raw and Lightroom.
This tutorial shows you the power of ai masks and smart presets in Adobe Camera Raw and Lightroom. You can include masks in a preset and the ai masks will adapt for any photo. watch the short video and look at the steps to see this amazing technology in action and learn how to use it yourself. This tutorial is made in Camera Raw, but works identical in Lightroom.
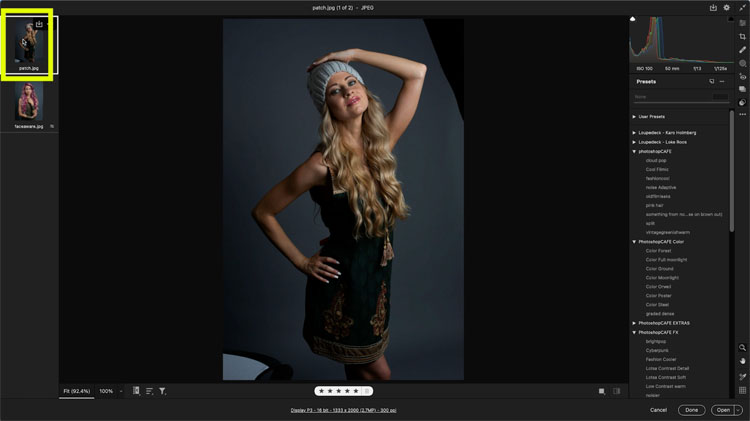
Choose both images from Adobe Bridge. They can be Raw, jpg, png or tif files.

Step 1 Create Masks in Camera Raw

Click on the mask button from the sidebar

ACR will detect faces in the photo.
Click on the face in the sidebar

The person Mask Options will open
Choose all the different parts and (important) click the Create 7 separate masks button.
Click Create

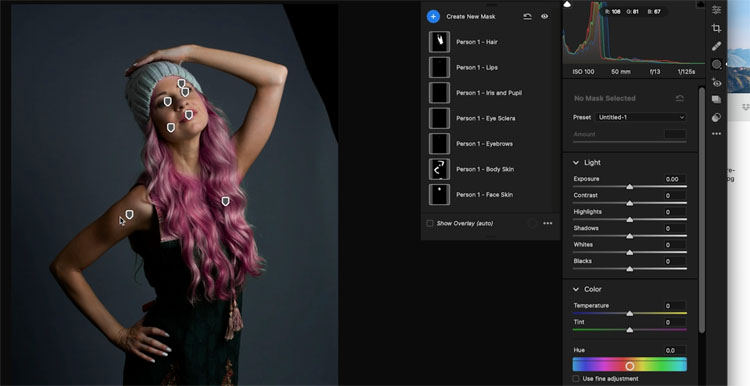
You will now see all the different masks in the masks panel.

Step 2. Make ACR Adjustments
As you select each mask, the area of the photo will be shown in red. The red will disappear once you make changes to the sliders.
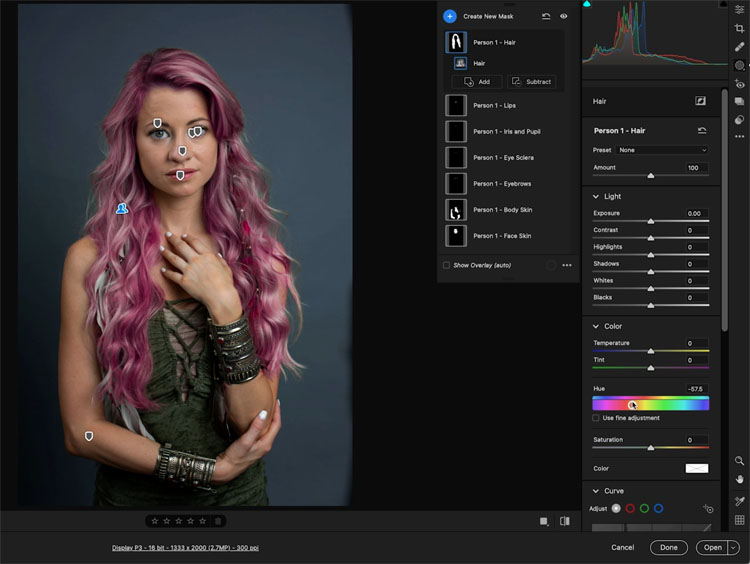
Choose hair
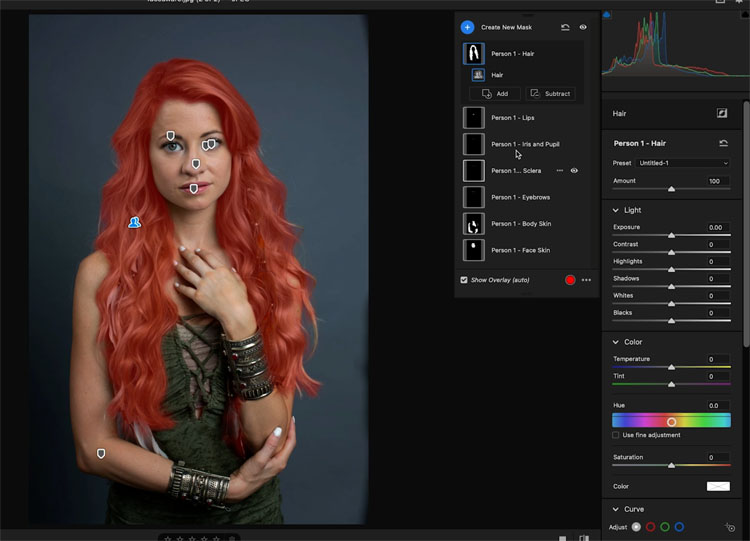
Slide the Hue to the left to make the hair pink. I’m making a change that is really obvious to make it easy for you to see the changes on the images. You could do any type of retouching, see another tutorial on retouching with auto masks in Camera Raw and Lightroom
Another useful adjustment is to soften skin on the face.
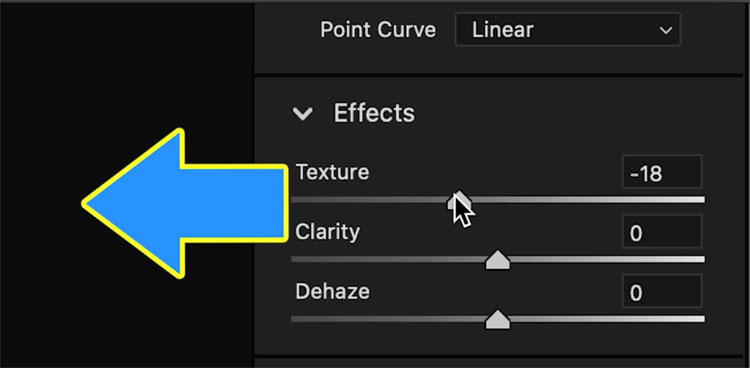
Choose Face Skin
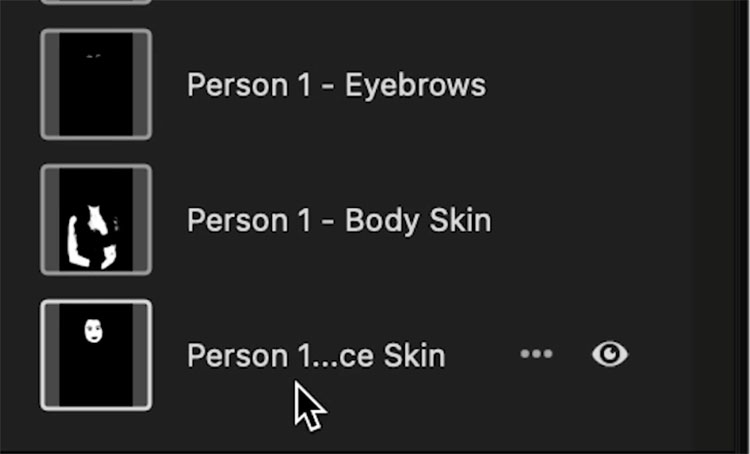
If you move the Texture slider to the left, it will reduce the texture and soften the skin. Don’t move it too much or the adjustment will look artificial. This is technically not the same as blurring, although this slider can be used to add a subtle blur.
Make any other retouching adjustments you like.
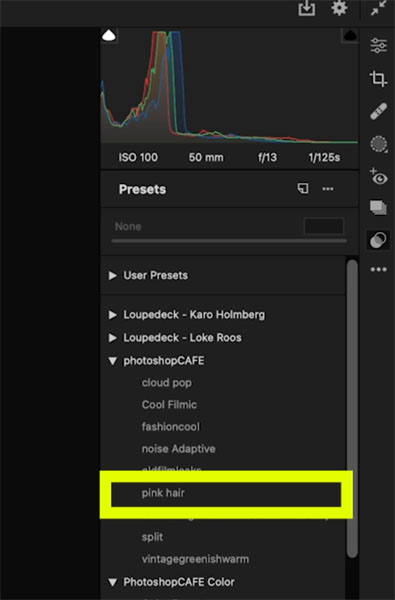
Step 3. Make the preset
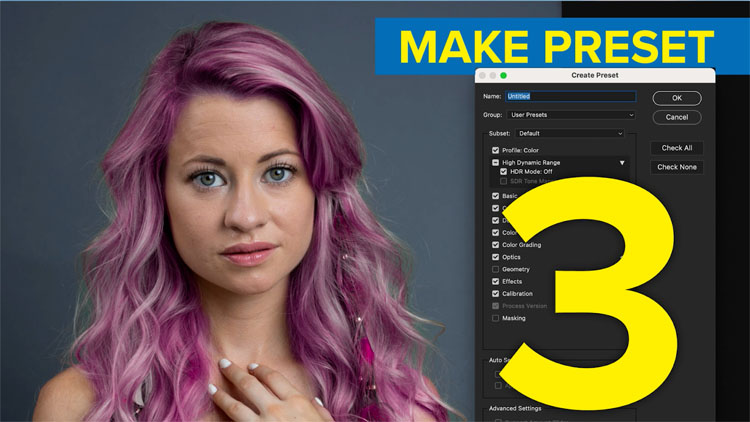
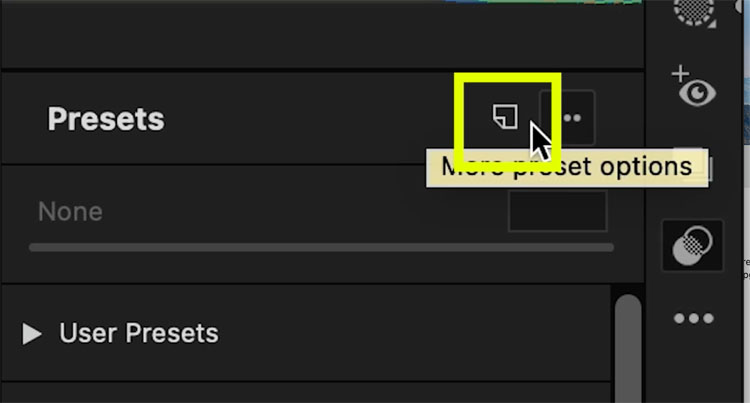
Click on the Presets icon on the sidebar and choose the button to make a new preset
Add a name for the preset (I called it pink hair)
Make sure you check the box next to Masking
Click ok

Step 4. Using smart Presets in Camera Raw
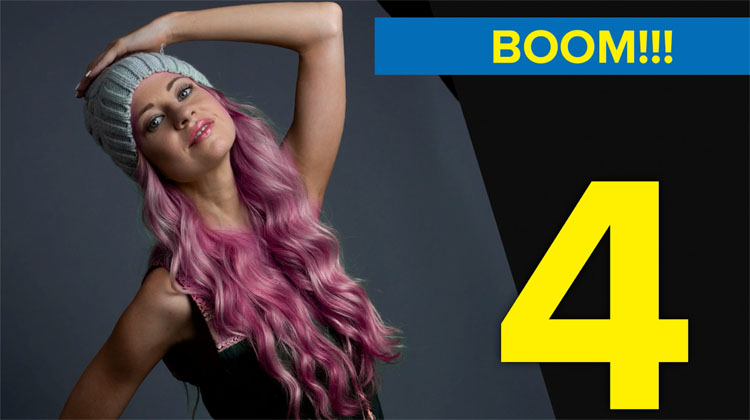
Choose another photo. Remember, we opened 2 in the first step.
These are of the same model, but it could be a different face. I also chose one with a hat so you can see how well these masks work.
Open presets and click on our “pink hair” mask
And just like that, all the settings are applied to the new image. The masks are smart enough to detect all the parts of the body in the new photo, even though its a different pose.

Here you can see all the masks are added. You can tweak any of the settings.
This is a little taste of the kinds of things you will learn from my brand new course.
Adobe Camera Raw 2023 For Digital Photographers.
Save 20% for launch week with code PSCACR20
Includes: 54 lessons | 7 hours running time | All instructor images | Over 30 bonus presets and profiles

Thanks for checking this tutorial out!
Colin
The post How to use Smart Presets with ai masks in Adobe Camera Raw and Lightroom appeared first on PhotoshopCAFE.