Happy Monday, everybody and welcome to “Lightroom Beginner’s Week” where I’m going more in-depth for beginners on some important Lightroom features and techniques, and I’m starting with the Adjustment Brush. I talk with users all the time who know they should be using the Adjustment Brush, but they’re not quite sure how it works or where to start, so we’re starting from scratch so you can unlock the power of the Adjustment Brush from the ground up.
The Adjustment Brush Sliders
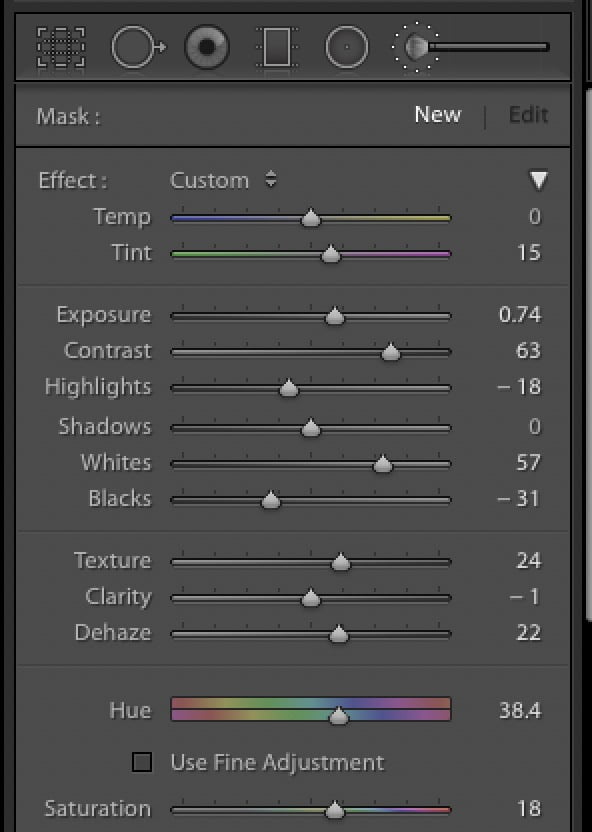
When you click on the Adjustment Brush tool (it’s up in the Toolbar up top — it’s icon looks like a brush), you’ll see pretty much the same adjustments sliders you have in the Basic Panel, including the White Balance sliders, Exposure, Highlights and all the rest, with the exception of Vibrance (you only get the Saturation slider), but you have four additional sliders you don’t have in the basic panel:
- Sharpness
- Noise Reduction
- Moiré Reduction
- Defringe
Plus, there’s a color swatch so you can paint with a color.

When you click on the Adjustment Brush, you’ll see that all the sliders are set to whatever you last used (as seen above), so if you just starting painting at this point, you’d be painting with old settings.

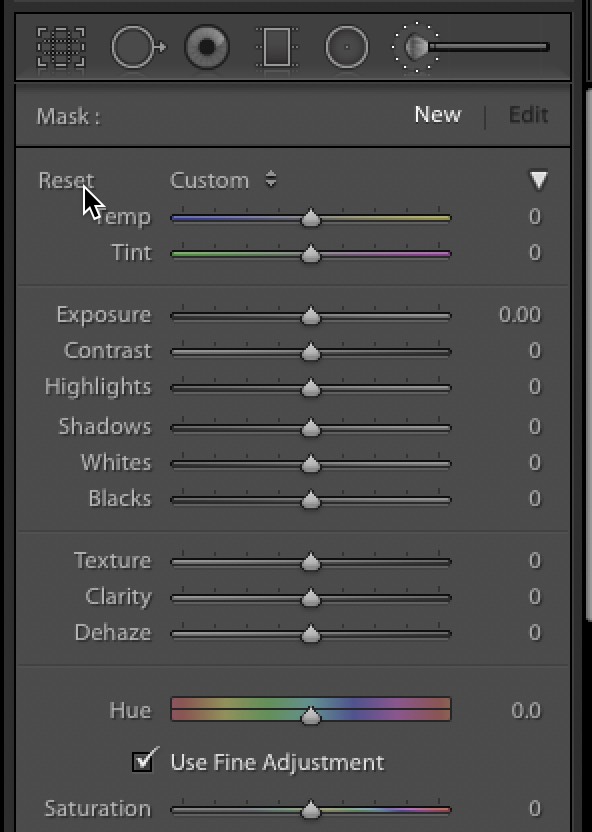
Above: If you hold the Option key (on Mac) or the Alt key (Windows) it changes the word “Effect” (top left) to the word “Reset” (as seen above) and if you click ‘Reset’ it resets all the sliders to zero for you (also seen above).
After The Reset…
Now that all your sliders are set zero, you can drag the sliders you want to make your adjustments. For example, if you wanted to brighten a part of your image (so basically, you’re painting with light), you’d drag the Exposure slider to the right (maybe start at +25 or +50 if you want that area really bright); paint over that area, and after you’re done painting, you can:
(a) Adjust the brightness after the fact, so let’s say you chose +25 and you think it’s not bright enough, you can drag that slider over to the right to add more brightness to the area you just painted over. Or…
(b) You can add multiple adjustment to that area you just painted over. For example; if you think the Brightness amount you just painted is about right, you can stack more edits to that same area you painted over, like adding contrast or texture or open up the Shadows just by dragging its slider to the right. That’s the great thing about the Adjustment Brush — while you do start with just one slider, once you’ve painted over an area and can go and add more sliders to that same masked area.
Working with Multiple Adjustments

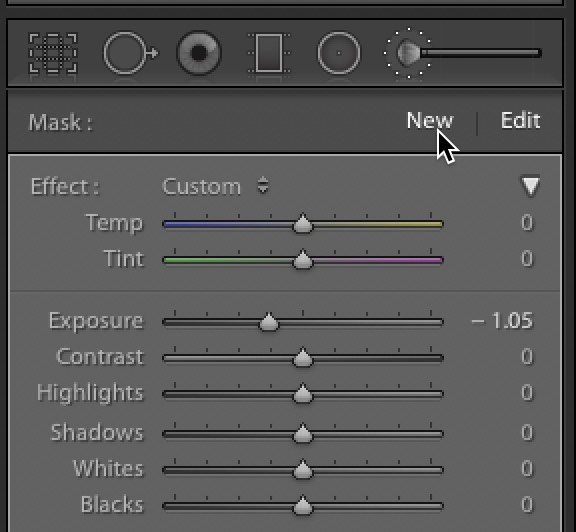
If you want to paint with the brush somewhere else in your image, with a different set of edits, once you start painting it assumes that any other areas you paint over will be tied to the one you originally created .To do that: click the “New” button up at the top of the Adjustment Brush panel. That tells the Adjustment Brush “Leave those areas I already painted alone — now I want to paint different adjustments somewhere else” and you do that by clicking the “New” button at the top of the panel (as seen above).
TIP: If you find that seeing these pins on-screen is annoying or distracting, you can turn them off by unchecking the Show Pins checkbox at the bottom of the panel, or you can just toggle them on/off by pressing the letter “h” on your keyboard.
Part 2 is Coming Tomorrow
Yup, Beginner’s Week: Learning the Adjustment continues here tomorrow so come on back by. 
Worldwide Photo Walk Is This Saturday!

If you haven’t signed up for a Photo Walk in a city near you, it’s not too late: go to WorldwidePhotoWalk.com and be a part of this worldwide photography event to support the Springs of Hope Orphanage in Nakuru, Kenya. It’s going to be a blast — sign up and walk with us on Saturday. 
Here’s wishing you an awesome week!
-Scott
The post Lightroom Beginners Week: Learning The Adjustment Brush (Part 1) appeared first on Lightroom Killer Tips.
