
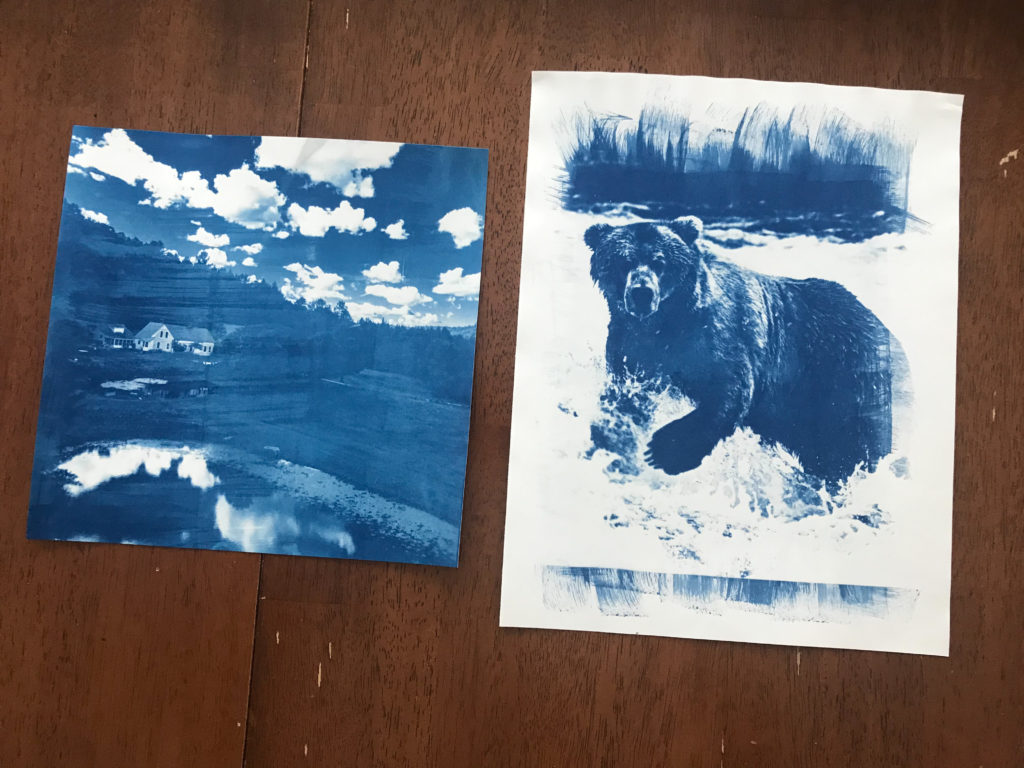
Over the summer I got to experience making cyanotype prints for the first time with a group of friends, and it renewed my love of prints. We had so much fun! I don’t know how I went so long without ever having done that. While we did make many prints using things like feathers, leaves, and flowers, I also took a few digital photos, inverted them in Photoshop, printed them on transparent film, and made some prints with those.
As the days grow shorter (and colder) here in the northeast my opportunities for making sun prints have diminished, but there’s still lots of time for printing. I’m not talking about only gallery exhibit worthy photos, but photos of all sizes, subjects, and yes, even quality. There’s something extra special about holding prints, filling albums, and shuffling through a stack of printed photos that can’t be matched by social media sharing. Awhile back, my wife and I went through hundreds of recent photos and created a big batch of 4 x 6 prints. We taped them on walls, updated the fridge, and put the rest in a basket left in a prominent place. When friends and family visited the photos were a huge hit, and a lot of time was spent passing them around the table, sharing stories, and remembering good times. Passing around an iPad would not have had the same impact. I hope this series of blog posts inspires you to just grab a bunch of photos and print them, you can thank me later.
Before we dive in, it is worth noting that the Print module is one area of Lightroom that has some differences based on operating system, so I’ll share screen captures for both Windows and Mac when needed. That said, there are more printers and printer drivers than I own and can share, so be sure to consult your printer’s manual if needed.
Before You Print
One of the most important things to do before printing is gather up all the photos you want to print, and Lightroom’s collections are perfect for this job. My favorite method is to leverage the Target collection functionality. Here’s how:
Step One: Select the first photo for your collection, and go to Library > New Collection (or click the + sign on the Collections panel, or note the shortcut in the Library menu).
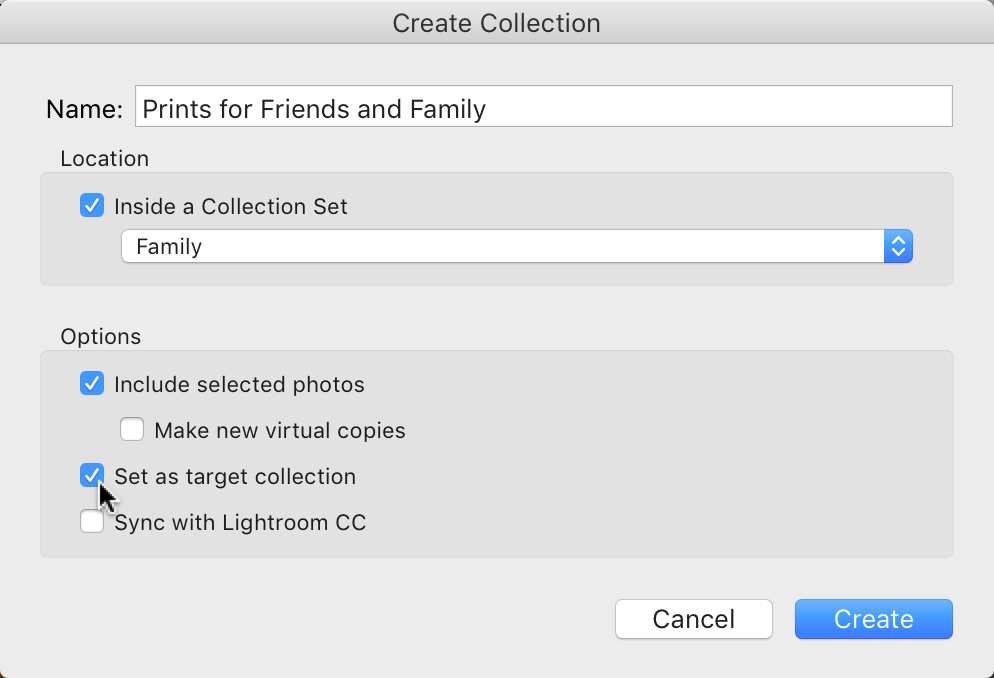
Step Two: In the Create Collection dialog, give it a meaningful name and check the Set as target collection box.
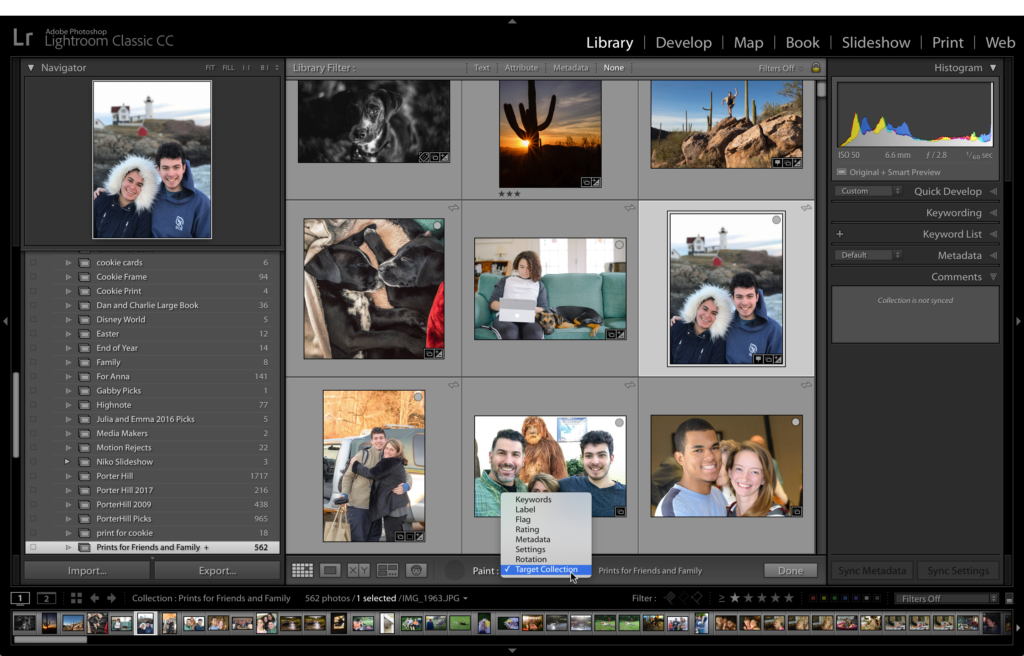
Now you can go looking through folders and collections looking for photos to print, and when you find one, select it and press the B key to add it to that target collection. Makes the process go a lot faster. You can even load the Painter tool (located in the Toolbar when in Grid view of Library) with Target Collection and go nuts.
Once you’ve gathered up your batch of photos to be printed, you should consider the aspect ratio at which you want to print them and crop as needed. There’s two reasons for cropping, one is to improve overall composition and the other is to change the aspect ratio. Most of your photos will exit the camera with a 2 x 3 aspect ratio, which conveniently is the same as a 4 x 6 print. However, if you are including photos taken with a smart phone or some other camera, you might encounter a different aspect ratio from the start (such as 3 x 4 or even 1 x 1). You may have even cropped some photos previously at other aspect ratios.
Photos in Lightroom don’t have a print size yet, only some number of pixels high by some number of pixels long. This relationship between the height and the width is what we mean by aspect ratio. Our most common print sizes (4 x 6, 5 x 7, 8 x 10, etc.) may or may not match the native aspect ratio of your photo. The easiest way to see this in Lightroom is to select the first photo in your collection and press the R key to jump to the Crop tool. Once there, click the Aspect drop-down menu and choose one of the presets for common print sizes (I’ll choose 4 x 6). If the crop rectangle matches the existing edge of your photo, then your photo is that aspect ratio (such as starting with a common 2 x 3 aspect ratio and choosing the 4 x 6 crop).
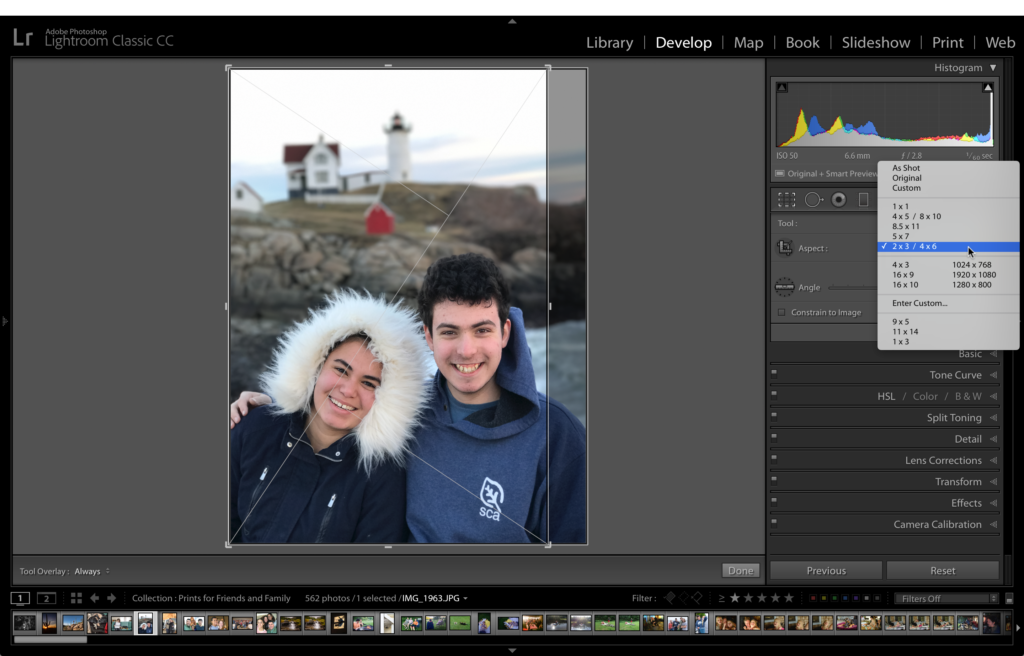
However, if you notice that part of your photo is being cropped away, then your photo’s native aspect ratio doesn’t match the aspect ratio of the size you choose, and some cropping is needed to print the photo at that size. My photo was taken with an iPhone, so it started with a 3 x 4 aspect ratio, and I needed to crop to match the 4 x 6 aspect ratio.
Cropping isn’t bad or good, it is just what is needed if you want to print a photo edge-to-edge (or borderless) at a given size. Modern digital cameras (even smart phones) create images with large pixel dimensions, and can handle a bit of cropping without losing quality (especially for 8 x 10 prints or smaller). Sometimes a good crop can eliminate distractions along the edge and make a much more impactful photo, so even if you are sticking with print sizes that match your native aspect ratio, you might still consider if each photo could benefit from a little nip and tuck. Now that you’ve gathered your photos and cropped as needed, next week we’ll look at how to get them printed through the Print module in Lightroom Classic.
The post Print More Photos appeared first on Lightroom Killer Tips.