
Here we go:
1. Those little badges are more than they seem
Those little square black badges in the lower right corner of your thumbnail — they don’t just tell you info about the image. Click on them — they’re actually buttons. For example, in this case, there’s a little icon letting you know this image has been cropped. Click on it, and it not only takes you directly to the Develop Module but it makes the Crop tool active so you can see exactly where the crop border is, and you’re ready to make changes. The other icon to the left of it let’s you know this image is in a collection. Want to know which collection? Click and hold on it and it’ll tell you, and you can jump right to it. There’s more to those little badges than meet the eye.
2. Super quick way to change the size of your thumbnails
Press the – (minus) sign to make your thumbnails smaller (like you see above), or…
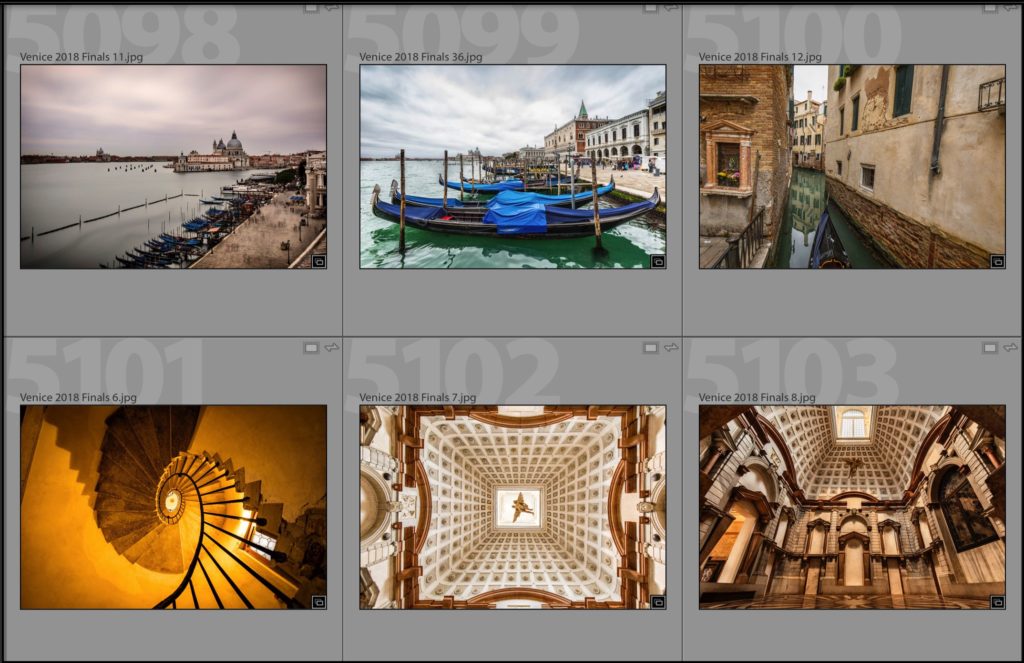
Press the + (plus) sign to make them bigger, like you see here. The more times you press it, the bigger (or smaller if it’s the minus sign) they get.
3. Get to The Thumbnail Grid From Anywhere Fast
It’s one of my most-used Lightroom shortcuts — just press the letter “g” no matter where you are in Lightroom and it takes you back to the Library Module and the thumbnail Grid view like you see above.
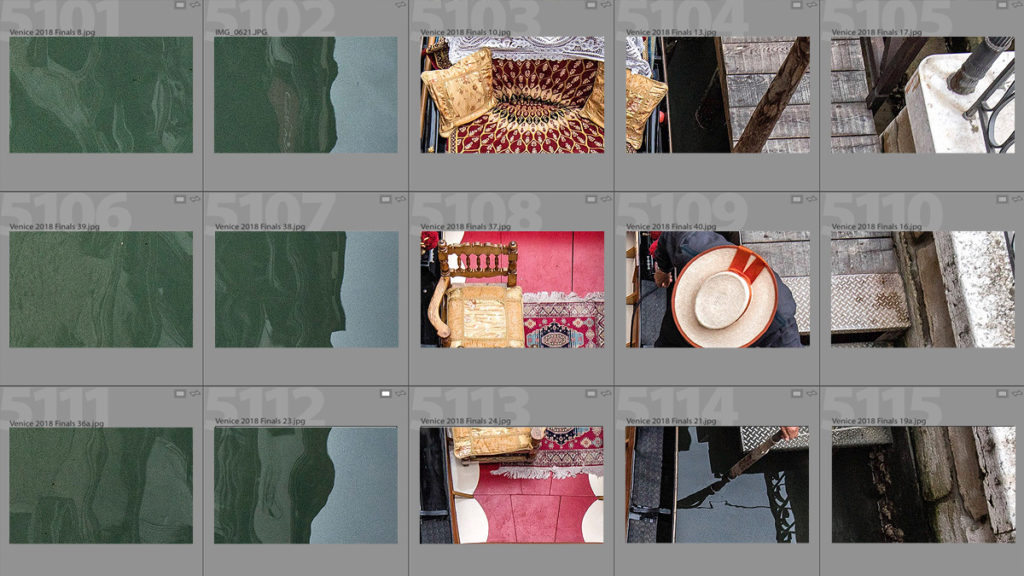
4. Change how much (or how little) info you see in your thumbnails fast!
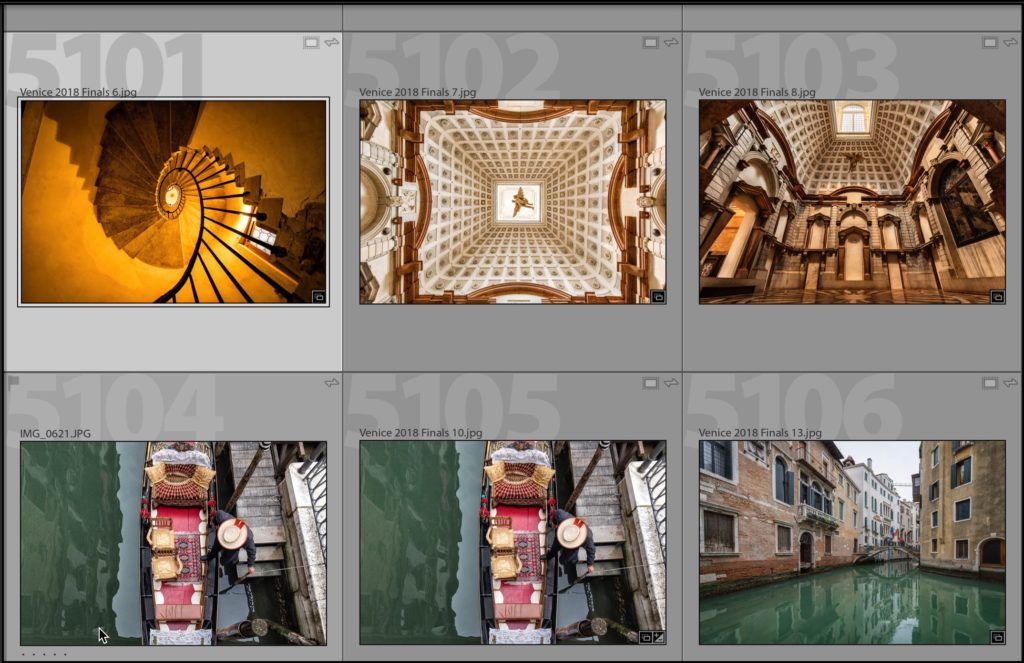
If this is your normal view, press the letter ‘j’ on your keyboard to change to the view below:

This view gets rid of the giant light gray numbers and instead shows the image number in small type, and it moves the file name over to the right. If you press ‘j’ again, you get this (below):
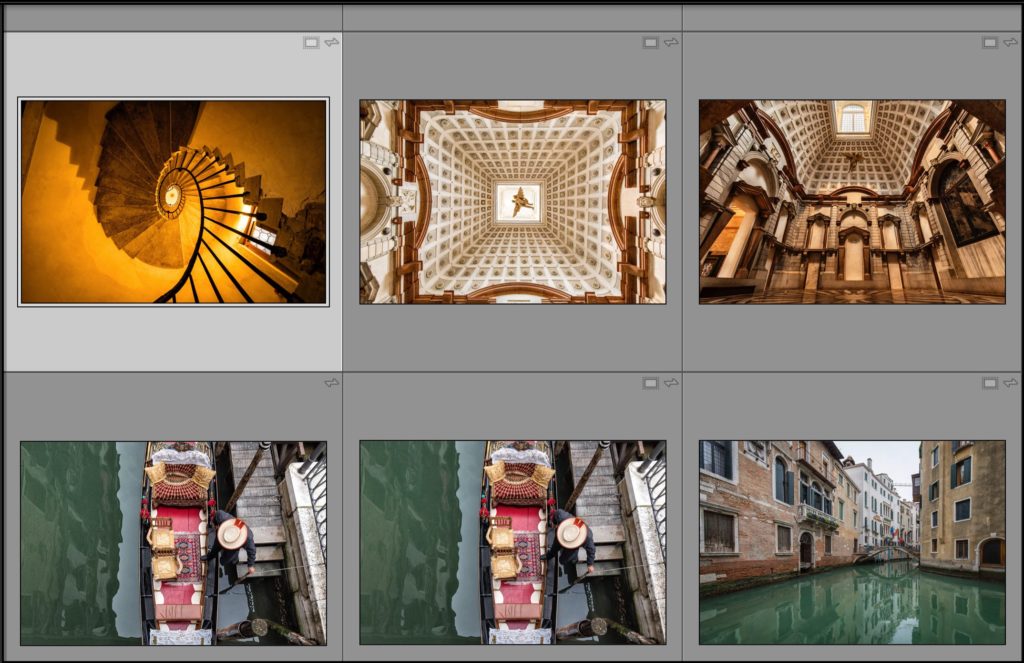
This view is all about the image, and you’ll notice all the text info is hidden out of site (even the file’s name is hidden). Three views, and easy to toggle though and see which one works for where you are right now in your editing process.
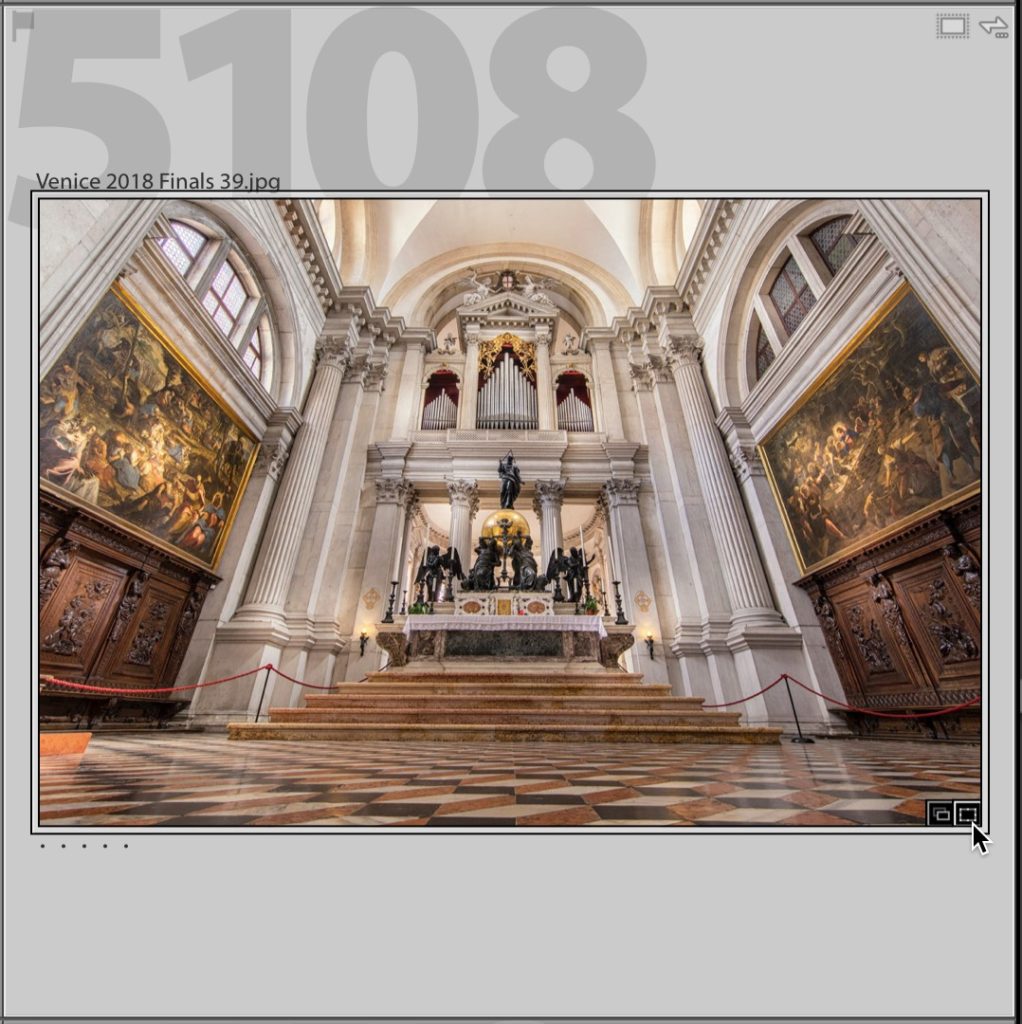
5. One key quick zoom to 1:1 (100% full size) view
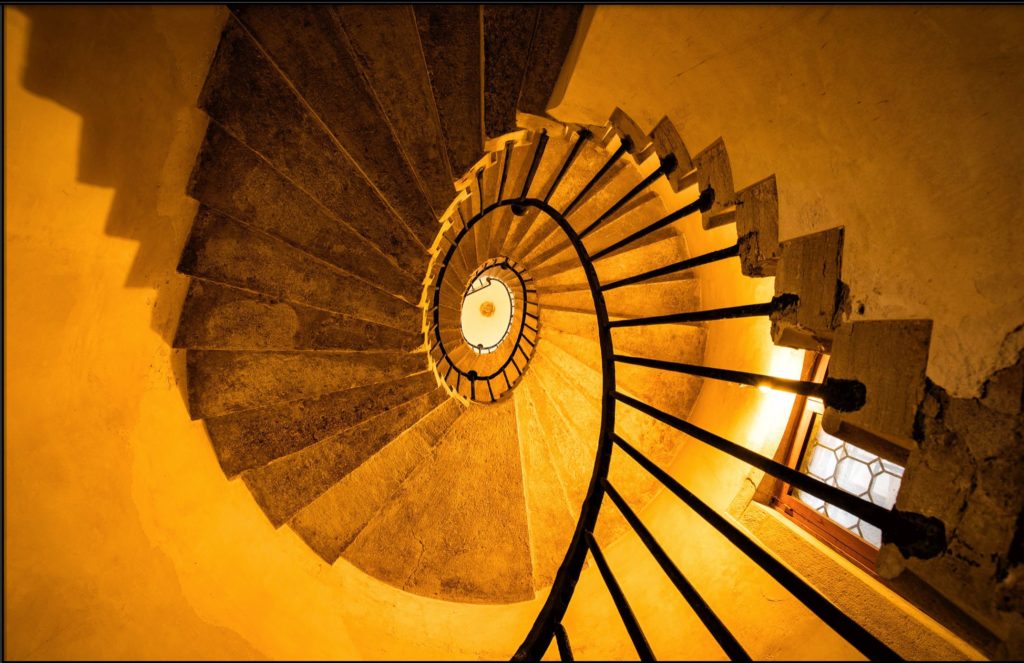
It’s just one key — press the letter ‘ z ‘ on your keyboard and your thumbnail jumps to a 1:1 sized view (as seen above).
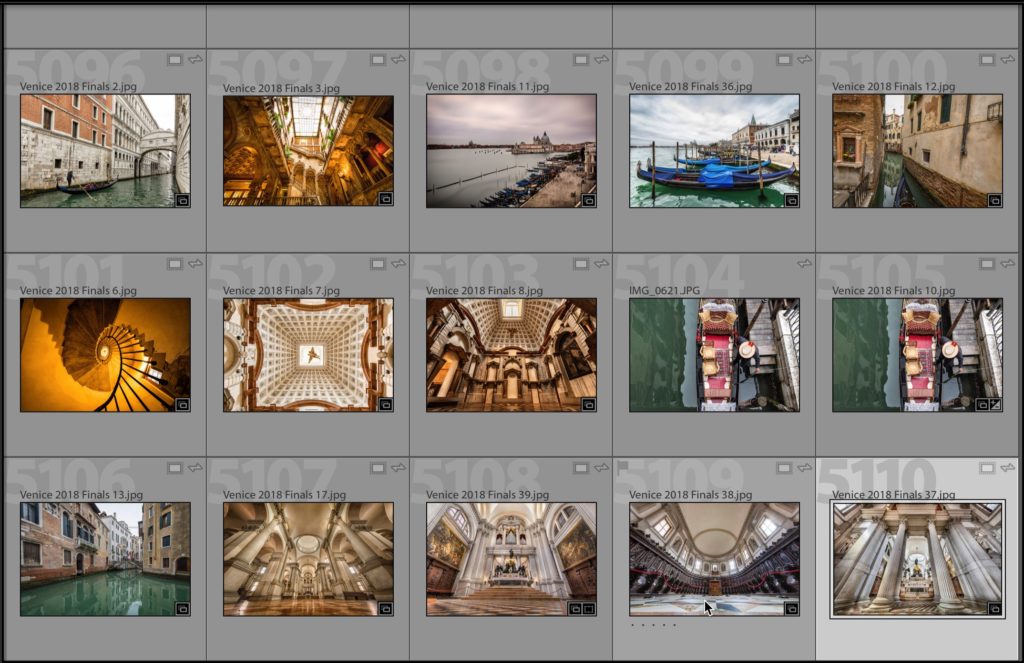
6. Quickly stacking similar images together (like Panos or HDRs)
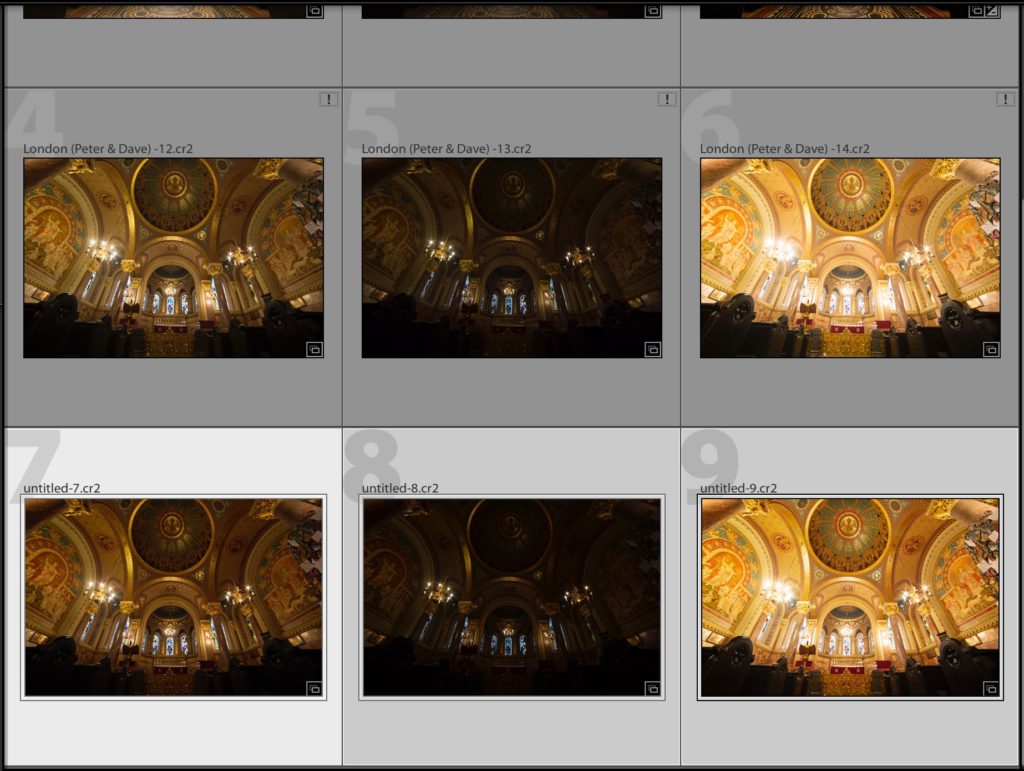
Above: If you’ve got similar images, either by subject, or in this case, bracketed exposures, you can quickly tidy up your thumbnails by first selecting the three images (as seen above)….
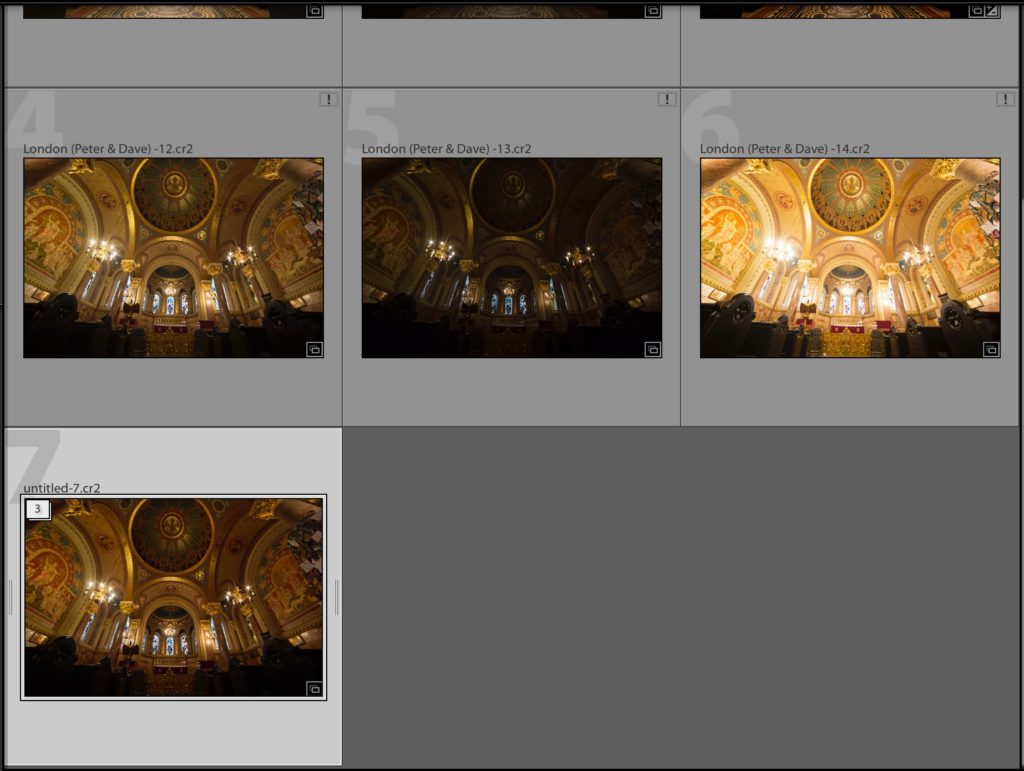
…and then press Command-G (on Mac) or Ctrl-G (on Windows) and it stacks those selected images together under one single thumbnail (as seen here bottom left), and there’s now an icon in the top left corner to let you know that this one thumbnail represents 3 images. Click right on that “3” to expand the stack and see all three. To unstack them (removing them from stacking altogether), press Shift-Command-G (Mac) or Shift-Ctrl-G (Windows).
7. How to Drag a Thumbnail A Long Way, The Easy Way
It’s better and more useful than it sounds, and I made a video on how to do (as part of my “Lightroom in 60-Seconds” Series). Here it is (below):
Well, there ya have it folks! Seven of my favorites.
Don’t Miss Out – Our Two-Day Lightroom Conference is Coming May 5-6th, 2020
Don’t miss out — hundreds of photographers from all over have already signed up and you don’t want to miss you. Get the details, and tickets, over at lightroomconference.com – you are so going to want to be a part of this live-streamed Lightroom training event of the year!
Stay healthy, stay creative, and stay inside! 
-Scott
The post Seven Of My Favorite Lightroom Thumbnail Tips appeared first on Lightroom Killer Tips.