
5 Adobe Camera Raw tips you Probably Don’t know
In this tutorial, I want to share 5 powerful tips for Camera Raw. Check out the video and here, Ill post all the written steps too.
And the tips are…

ACR Tip 1. Batch Process ai adjustments
This one is a huge time saver. In last weeks tutorial, I showed you how to create a smart preset in Camera Raw
Now, we are going to take this further. You can apply an adjustment to an almost unlimited number of photos and you don’t even need to make a preset or open Camera Raw or Photoshop to do it.
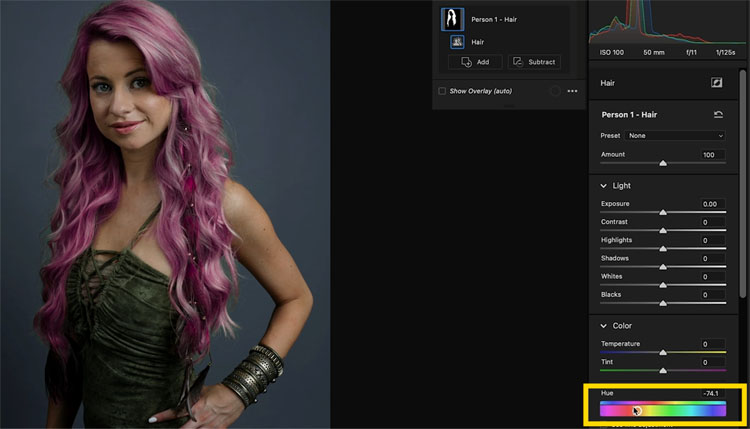
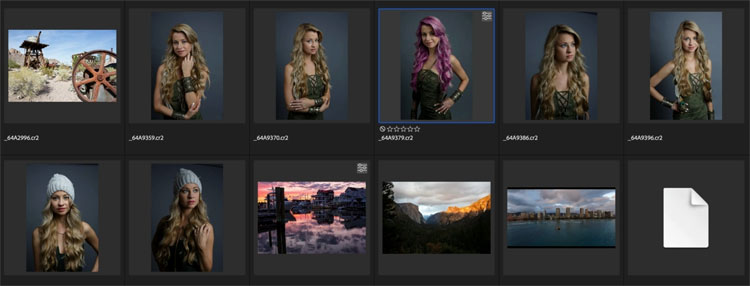
First we have to make an adjustment. It could be any adjustment. We will use the ai masks, because this shows how cool this feature is. It could be a sky adjustment or anything really. To keep it really obvious, I’ll do a basic hair coloring, so you can see the result easily. Remember, this can be used on ANY auto mask tool.
Open Bridge and right-ciick
Choose Edit in Camera Raw.
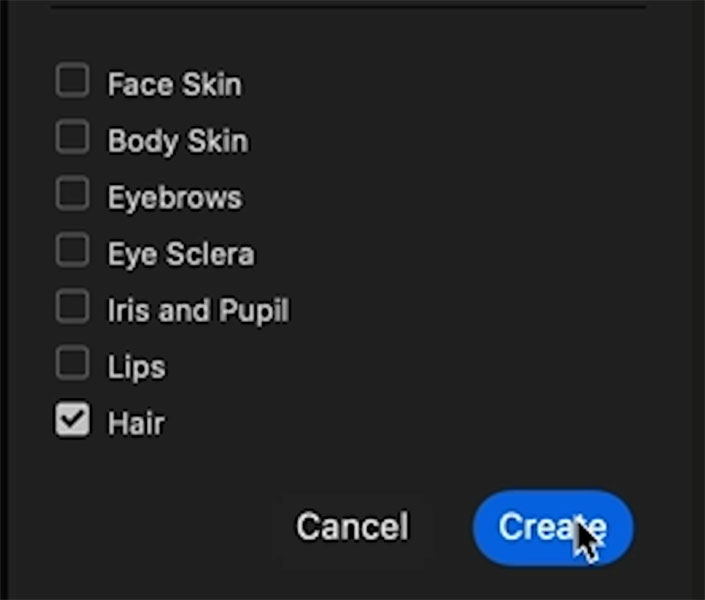
Choose Mask and select the person.
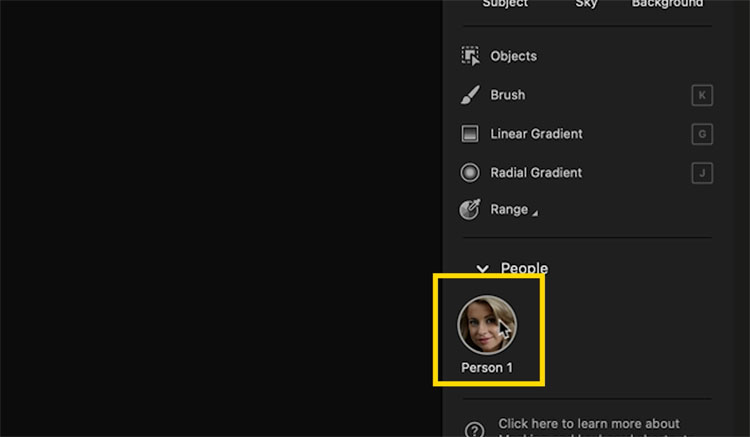
In this case, we will just select the hair mask, it can be multiple masks if you want.
Click create.
Move the hue slider to make the hair pink.
Press done.
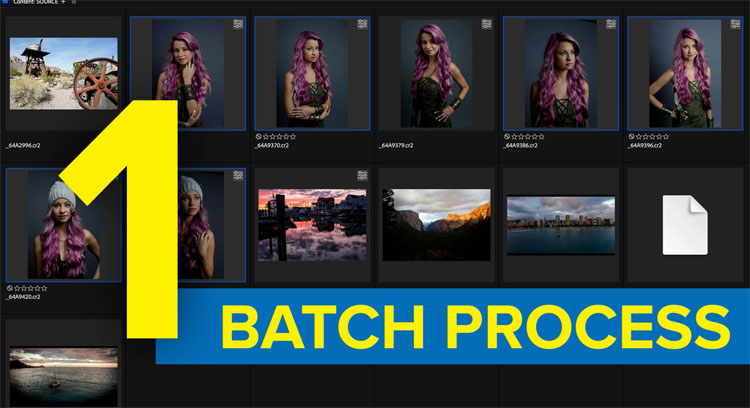
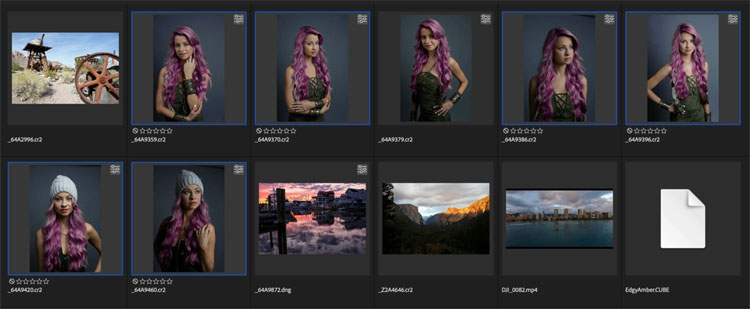
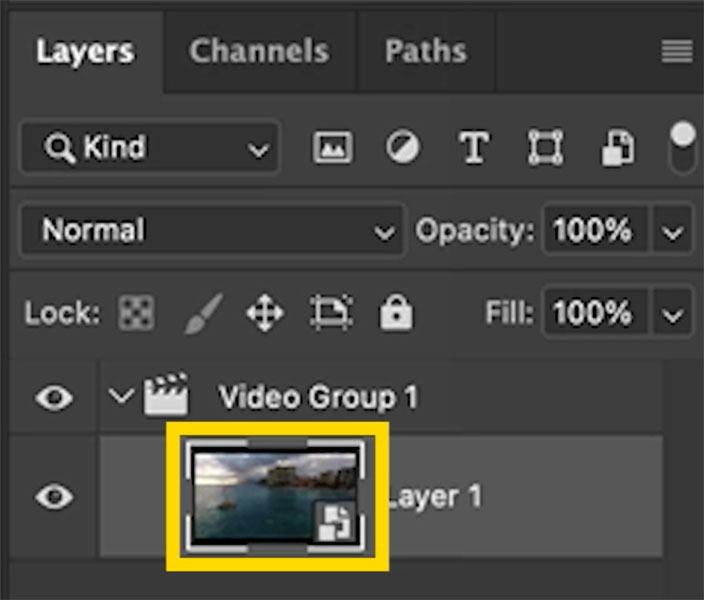
Back in Bridge, you can see the adjustment has been made. The pink hair is hard to miss. Also look to the top right of the image and you will see a badge that means adjustments have been applied.
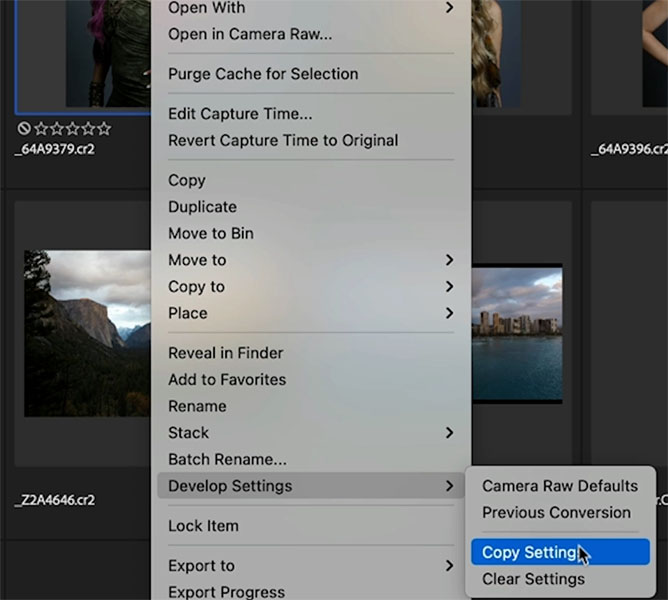
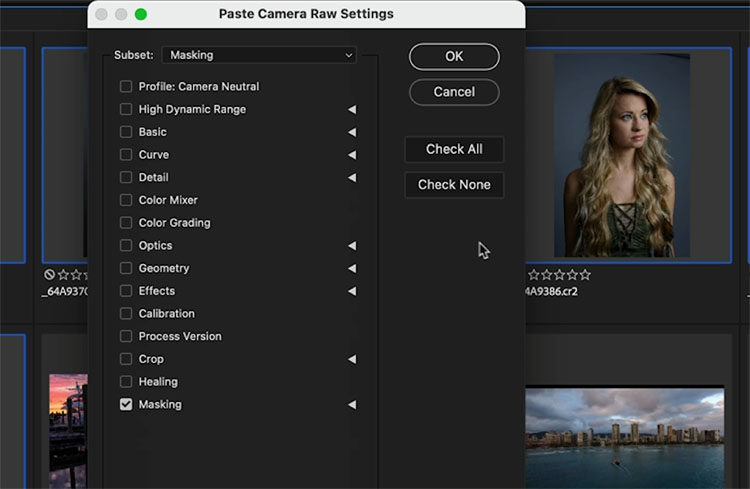
Right click on the thumbnail and choose Develop Settings>Copy Settings
The settings are now loaded in memory
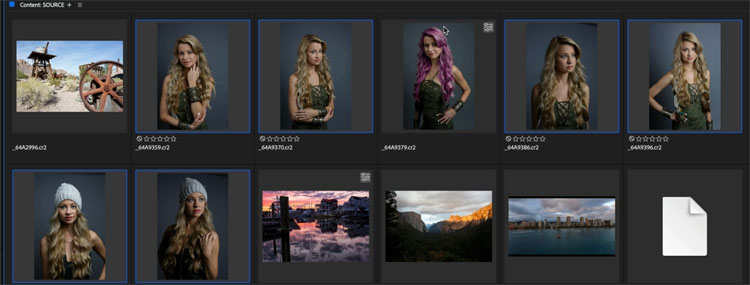
Choose the photos that you want to apply the settings to.
Right-Click and Choose Develop Settings>Paste Settings
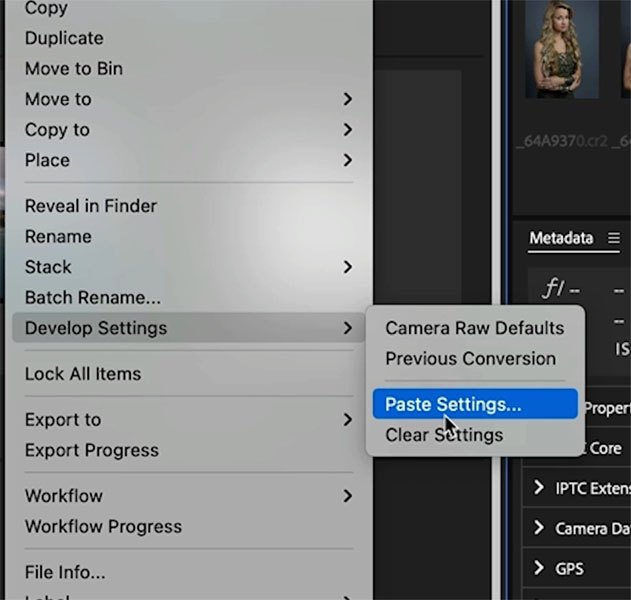
You will see a dialog box.
Choose what you want to apply. We will only choose masking on this.
And just like that (after a little time for processing) you can see that the ai masks detected and masked the hair on all of these images. Color me impressed. (Pun, not intended, or was it?)
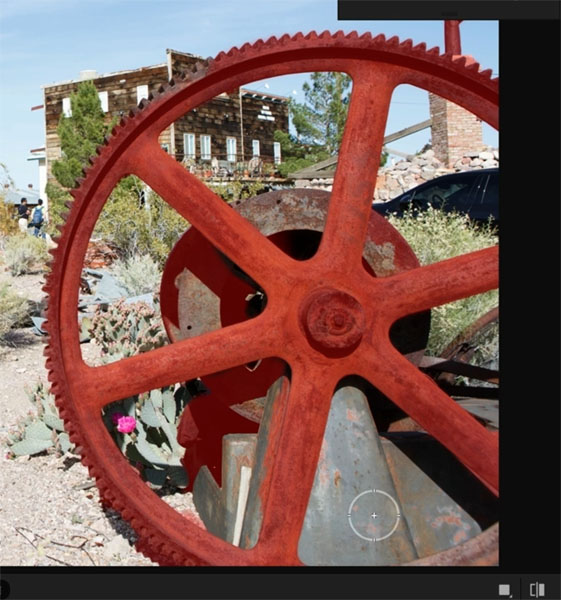
ACR Tip #2. Select Anything
We know the ai masks can select things like skies, backgrounds, people and object, but can they select what we want them to select?
Yes.
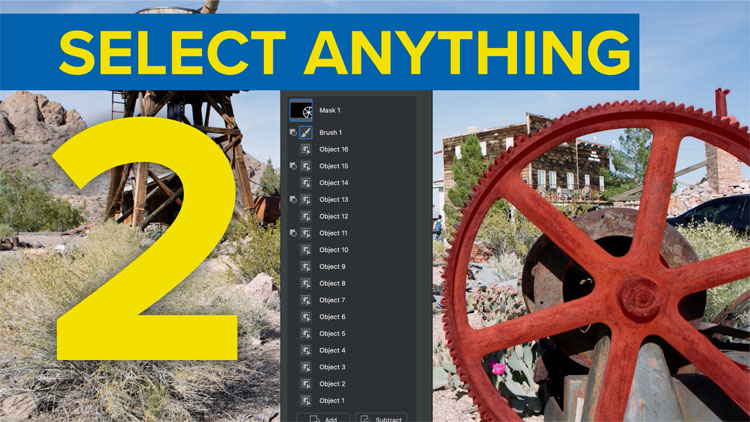
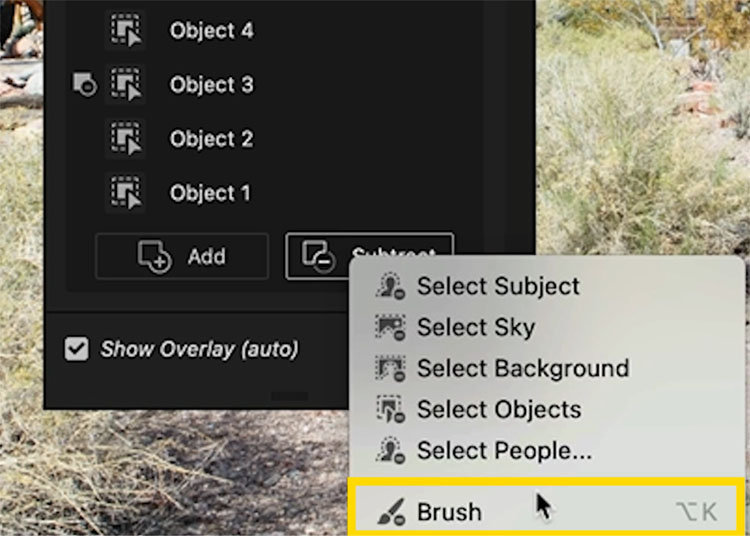
Choose the Mask button and then choose Objects

Loosely Paint with the brush to tell ACR what you want to select.
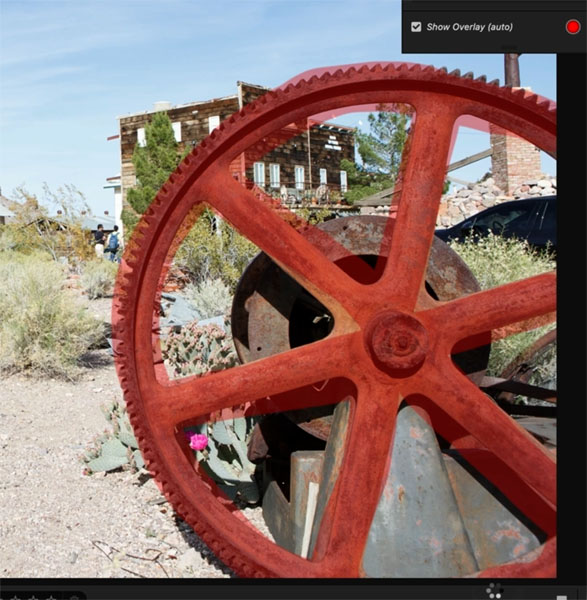
When you release, you will se it did a fairly decent job, but it’s far from perfect. (I hear comments from people, “the masks aren’t perfect” and neither are most things. Lets make them perfect shall we?
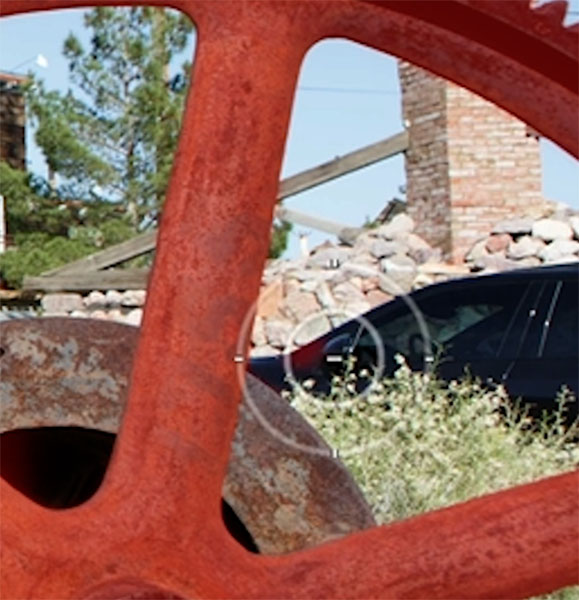
Paint over the areas that were missed such as the top left of the cog.
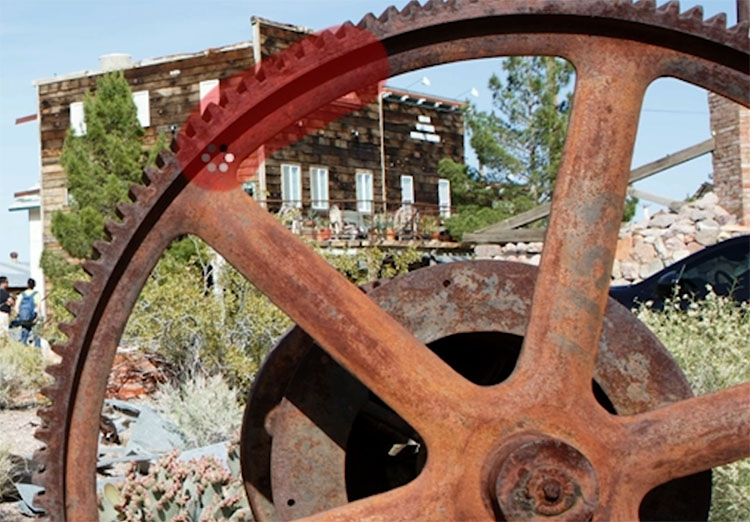
When you release, it is added to the selection. Repeat until you have everything selected.
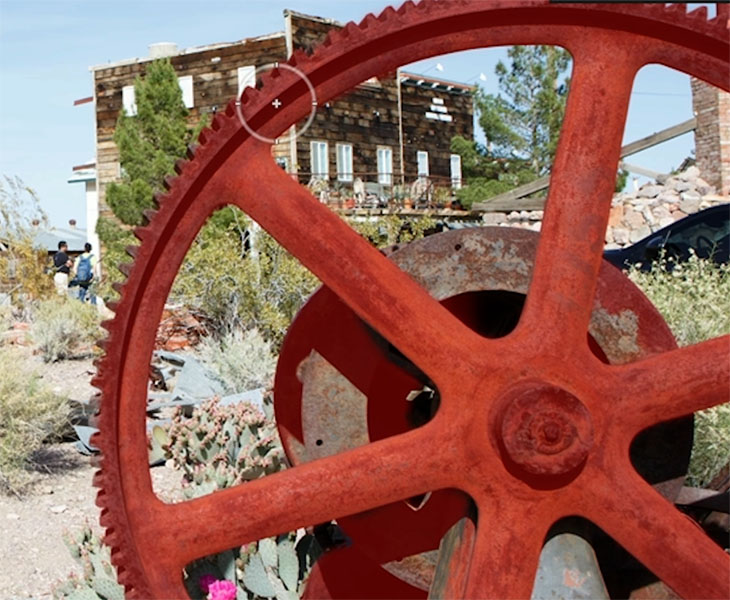
Oftentimes, there will be things selected that you didn’t want selected.
Hold down Alt/Option and paint in the areas to be removed from the selection.

Not bad, better. There are still small areas to work on.
In the Masks panel, Choose Subtract and then brush
Zoom in and manually touch up the selection
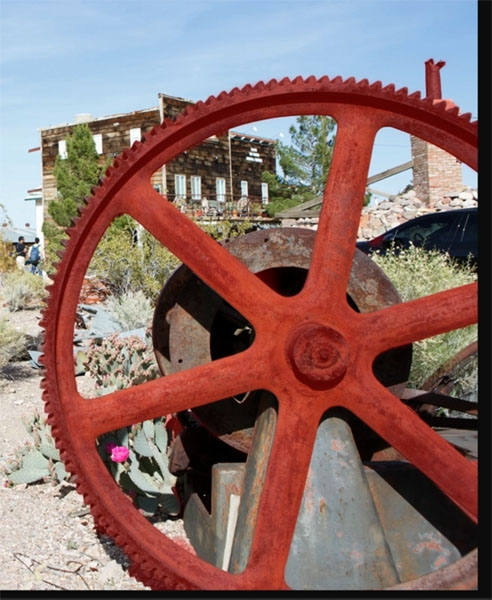
And now you can make any adjustment you want and it will just apply to the area you selected.

ACR Tip #3 Color Grade Video
In Photoshop, choose File>Open and navigate to a video clip
The video will open in Photoshop
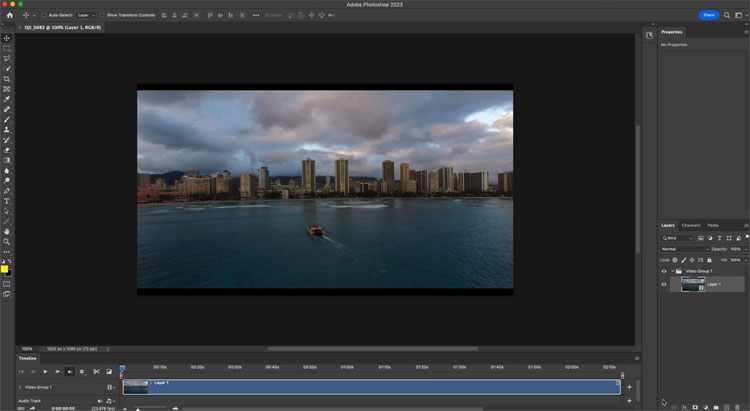
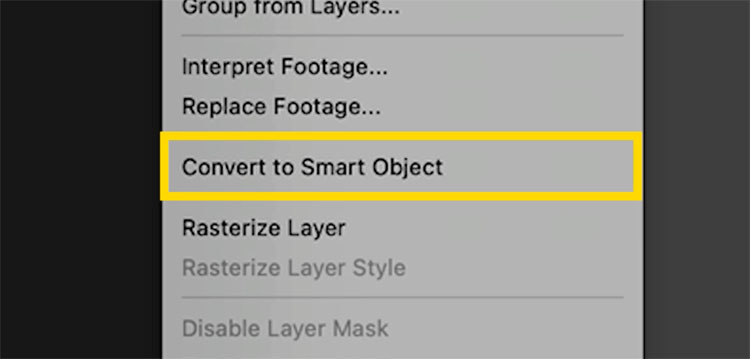
In the Layers panel, right-click on the thumbnail and choose Convert To Smart Object.
If you don’t make it a smart object, the adjustment will only apply to a single frame of the video. Wrapping it into a Smart Object ensures the entire clip will be affected.
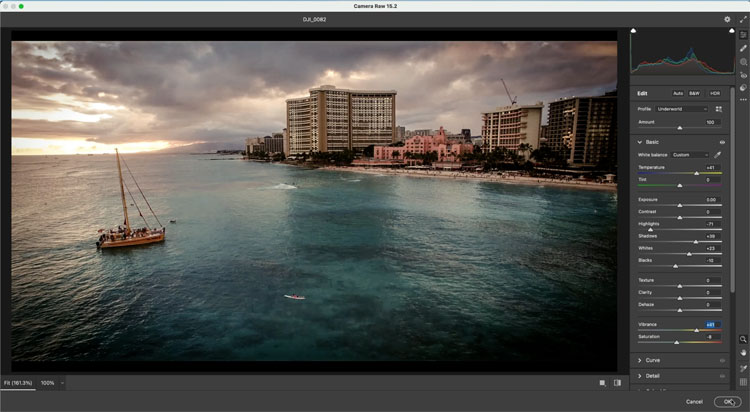
Choose Filter>Camera Raw
You will see a frame inside Camera Raw.
Make adjustments just like you would with an image. Be aware the warping tools won’t work, but most of the adjustments will.
Press OK
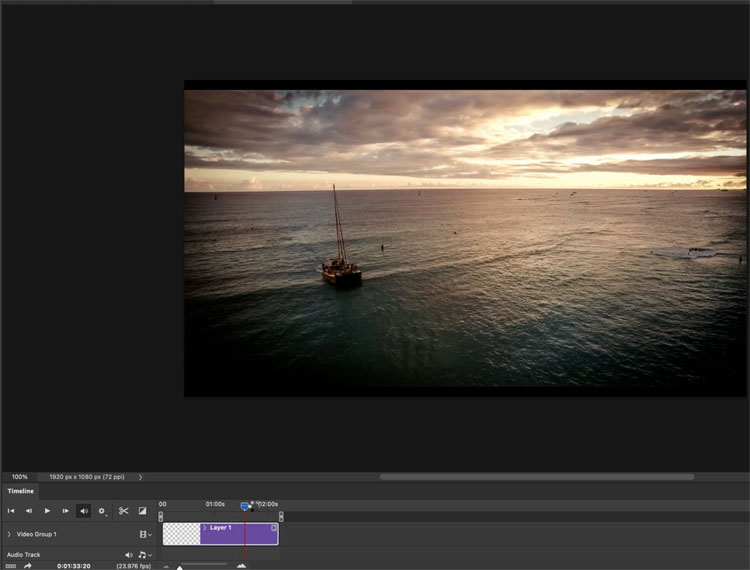
And the color grade is applied to the video.
Choose Export>Render Video to get the video out of Photoshop.
ACR Tip #4. Hidden Helpers
Helpers are things that help us visualize our adjustments as we are working.
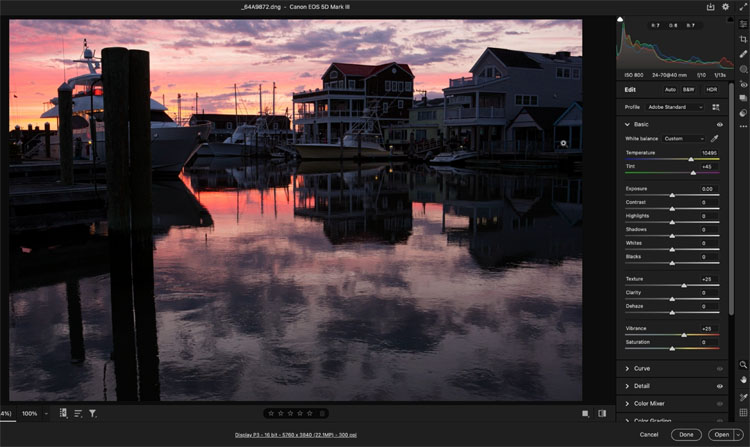
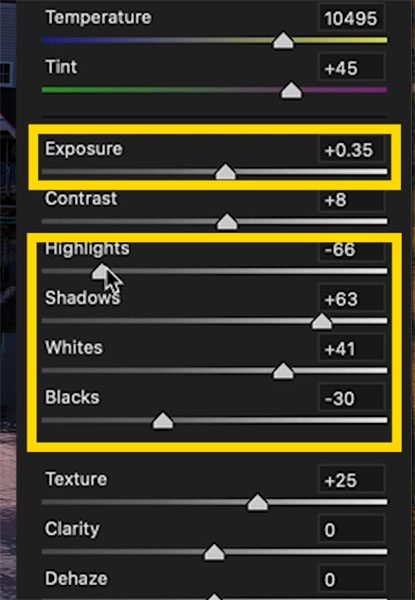
The hidden key is the Alt (Windows) Option (Mac) key. When you make adjustments to the whites, hold down alt/option as you move the slider to see where the image will clip and lose detail/
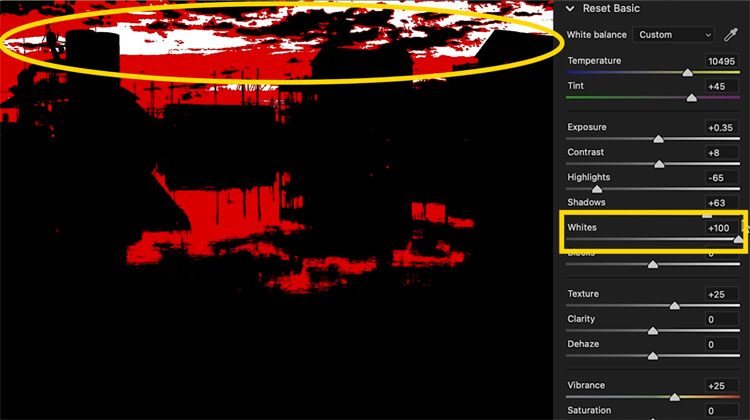
See how the detail is gone.
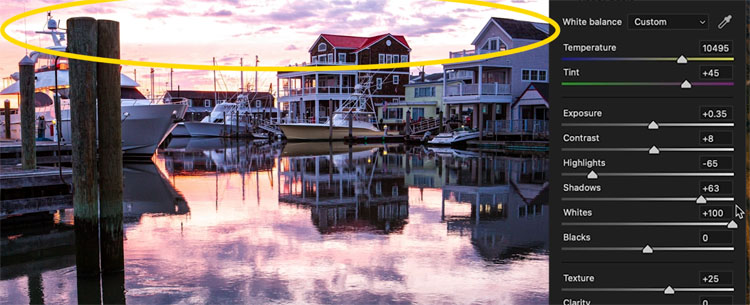
Same with the Blacks. Hold alt/option to see the dark areas that are too dark and lose detail.
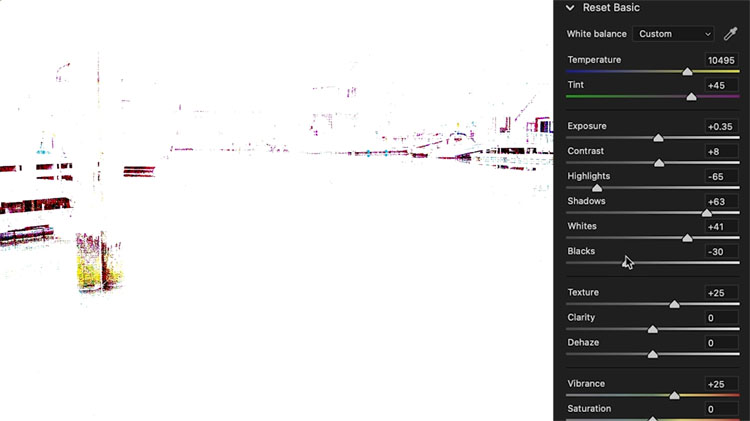
This tips works on all the highlighted Adjustments.
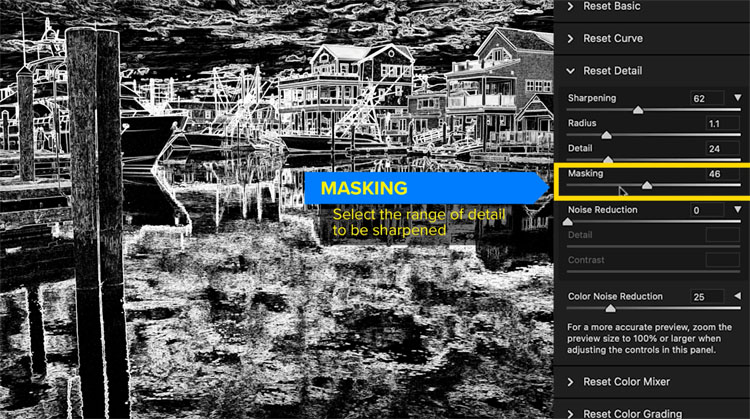
Not only that, there’s more. This trick also works really well on sharpening.
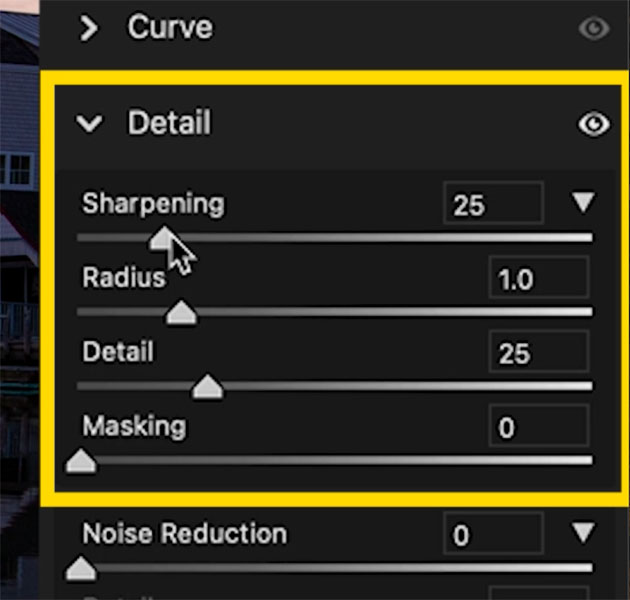
Here is is at work on the Sharpening Masking. Watch the video at the top to see it in action and get an explanation of the 4 sharpening sliders.
ACR Tip #5 Using Color LUTS in Camera Raw
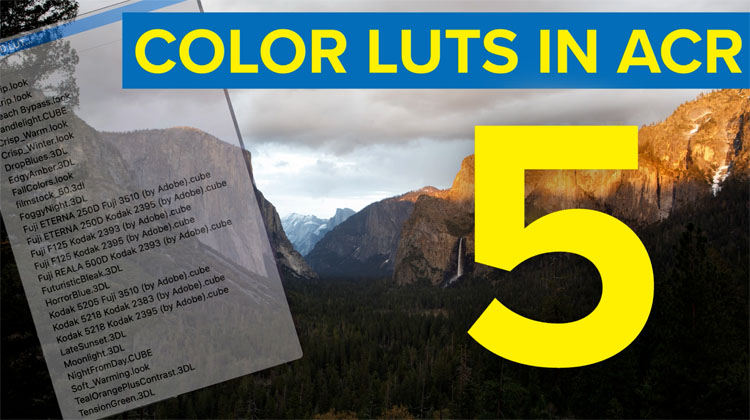
This one is pretty huge. You can use actual LUTS in Camera Raw as well as Lightroom. Spoiler, if you want to use them in Lightroom, you have to actually create them in Camera Raw like we are about do do. You can’t do it directly in Lightroom. Also when you create a preset or profile in Camera Raw it will also be available in Lightroom and vice versa.
Choose the Preset button
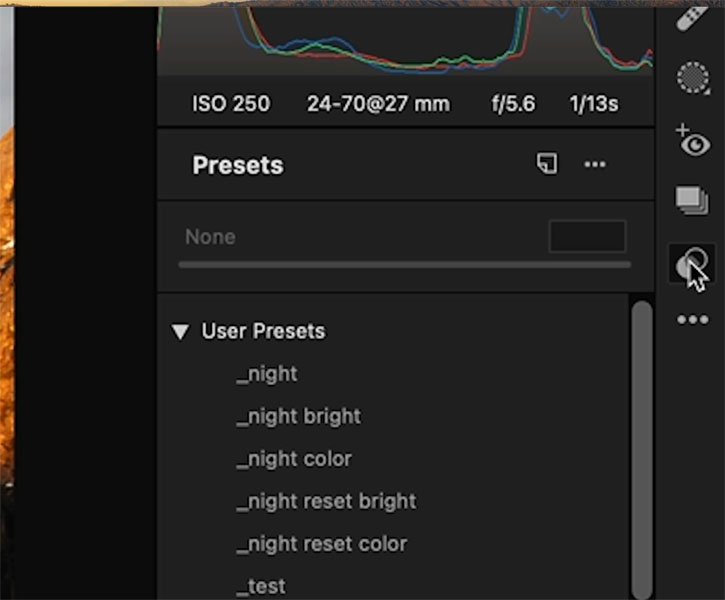
Normally you click the new preset button to make a new preset. Here is the hidden hack.
Hold down Alt/Option as you click create preset.
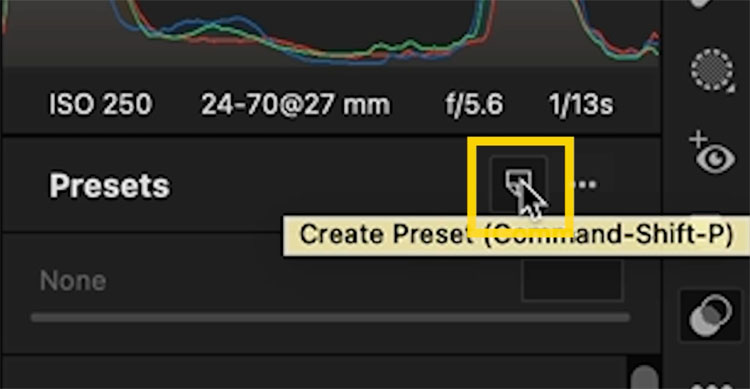
Instead of a new preset being created, create Profile comes up.
Give it a name
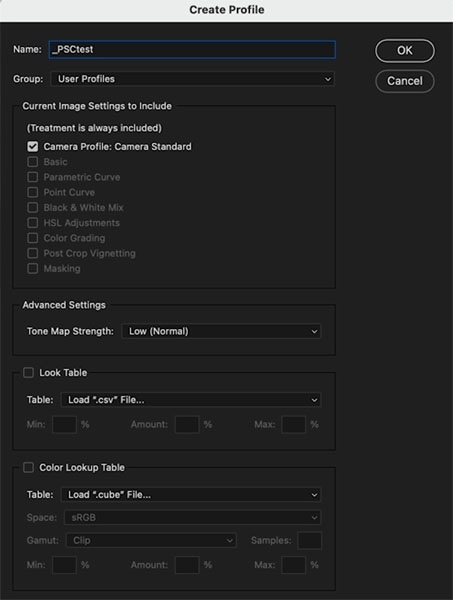
Look to the bottom of the panel and click Color Look Up Table
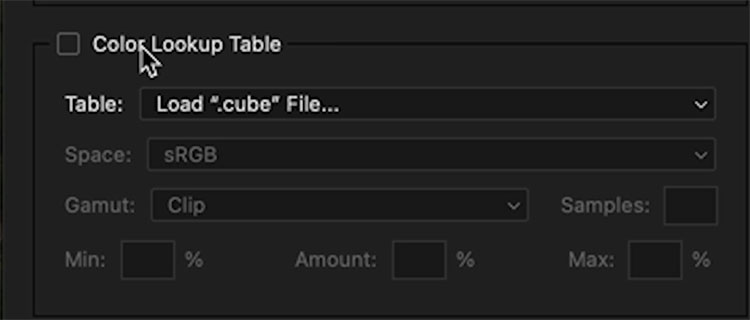
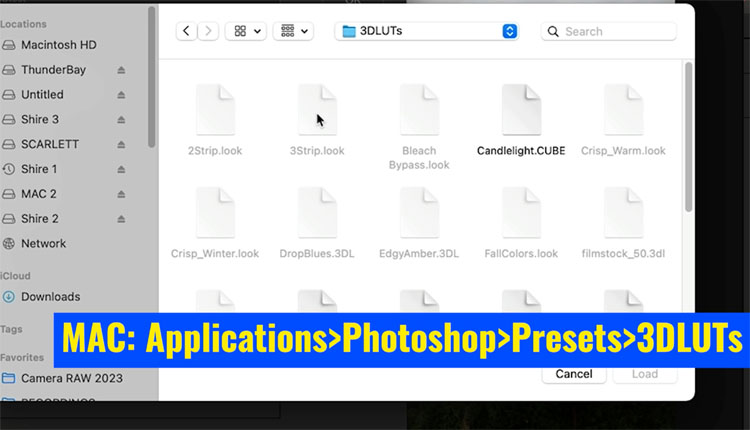
When you click, the finder (windows explorer) pops up. YOu can now load any LUT that is in the CUBE format. How to make LUTS in Photoshop
You can also use the set that comes with Photoshop under applications>Photoshop>Presets>3DLUTs
Choose one and click load.
Click ok to create the profile.
Using the LUT in ACR
Ok, let’s use theLUT we just loaded int a profile.
Click the profile browser (the 4 squares).
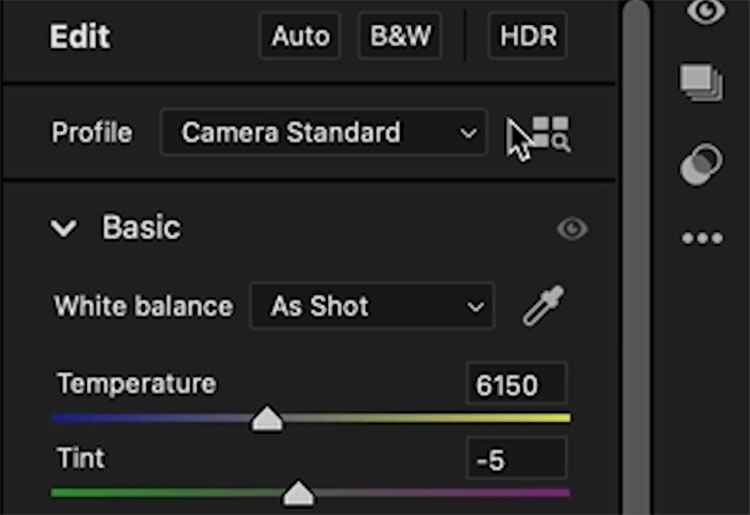
Find our profile and click on it to apply
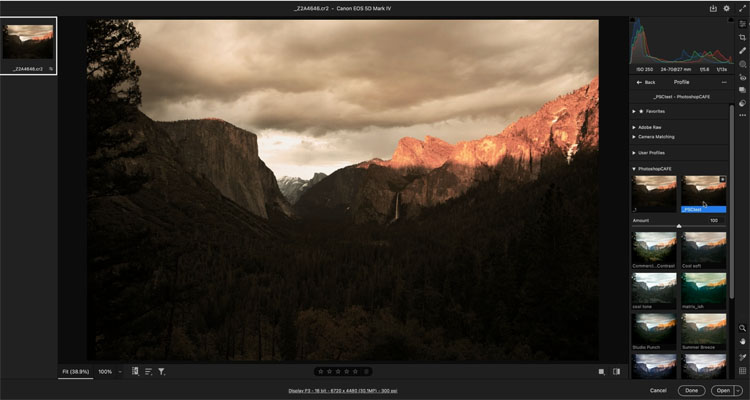
You will see an amount slider where you control the intensity of the LUT

Choose other LUTs if you prefer.

If you would like some free LUTs, presets and profiles, download then for free here
If you receive our newsletter, don’t sign up again, open any newsletter and click the direct link to the vault from there to instantly download.

I hope you enjoyed these tips and found them useful.
It’s a taste of what’s included in my new course Adobe Camera Raw for Digital Photographers
Don’t forger to browse our hundreds of free Photoshop, ACR and Lightroom tutorials here at the cafe
Great to see you here at the CAFE
Colin
The post 5 Hidden Tips for Adobe Camera Raw appeared first on PhotoshopCAFE.