
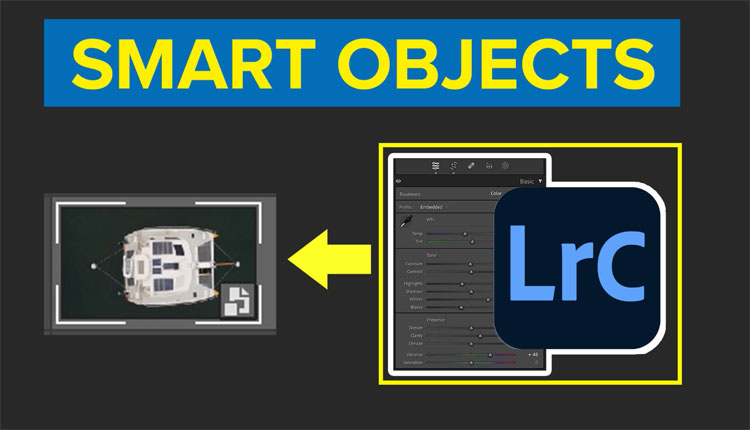
New In April 2023 update in Lightroom Classic 12.3 is the ability to open Multiple images in Photoshop Layers as Smart Objects. This is Huge because it now means we have way more flexibility in editing composites without losing access to the original Lightroom edits, ever! I’m going to show you the workflow here and point out some useful features as well as pitfalls to avoid. You might want to bookmark this page, because I’ll outline my workflow, which I think is the best possible workflow for using Lightroom and Photoshop together. Check out the short video, which shows all this in detail as well as how to choose different versions of Photoshop to use with Lightroom.
Opening Multiple Images in Photoshop as Layers
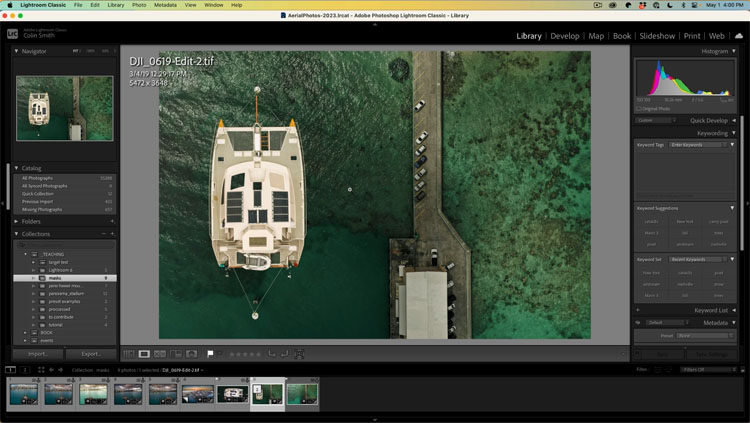
Make your initial edits in Lightroom
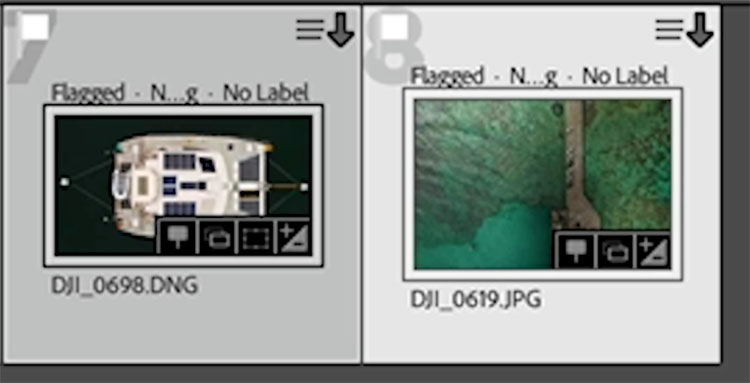
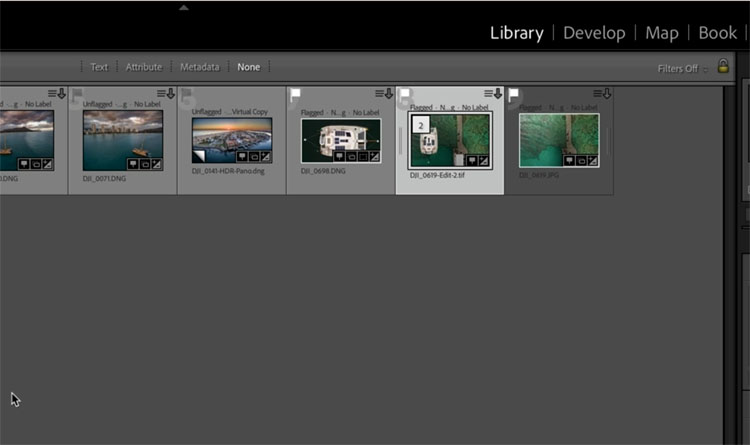
Choose multiple files from Lightroom. For this example, we will just use 2 images. You can choose more if you want.
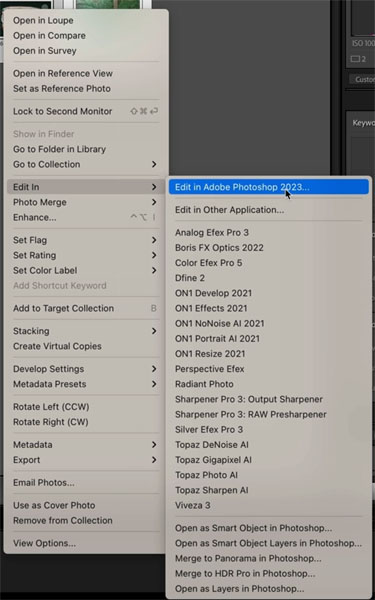
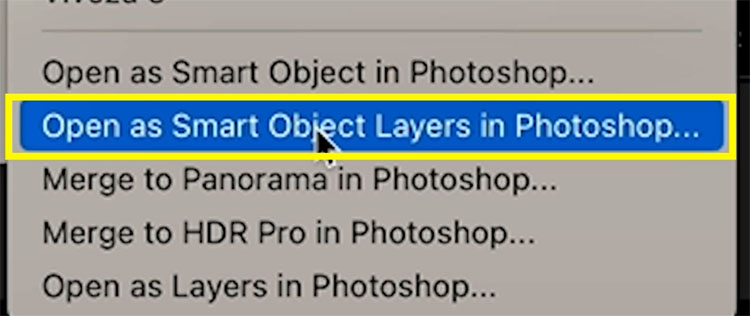
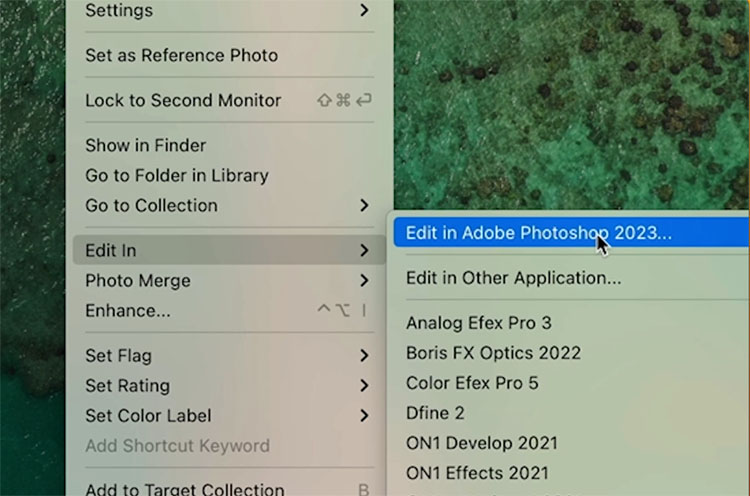
Right Click and choose Edit in> Open As Smart Object Layers In Photoshop.
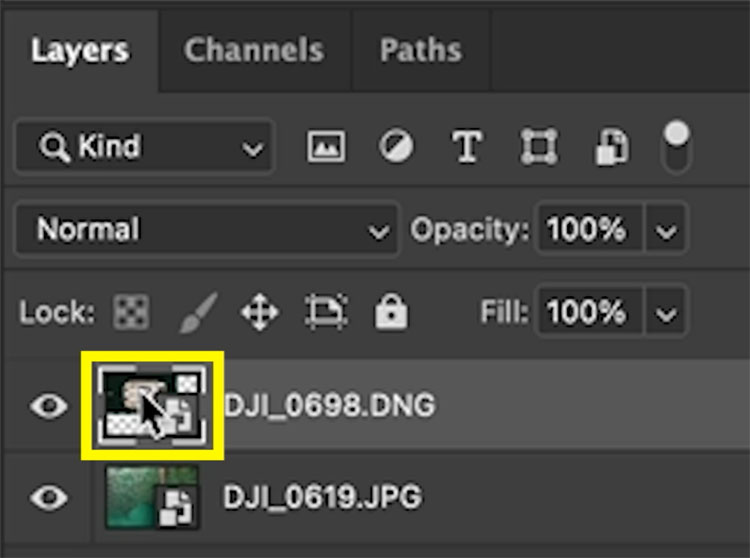
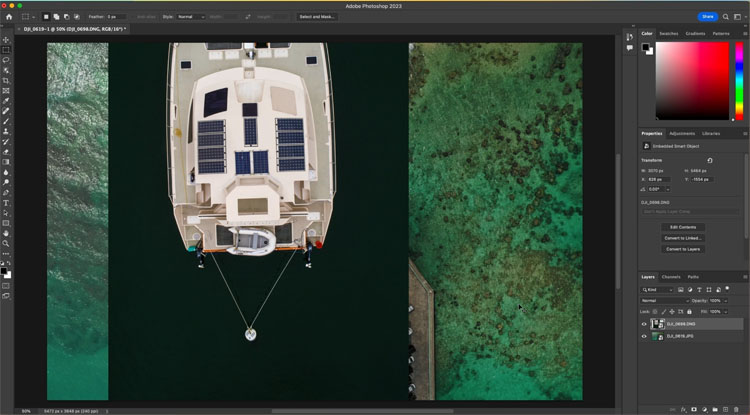
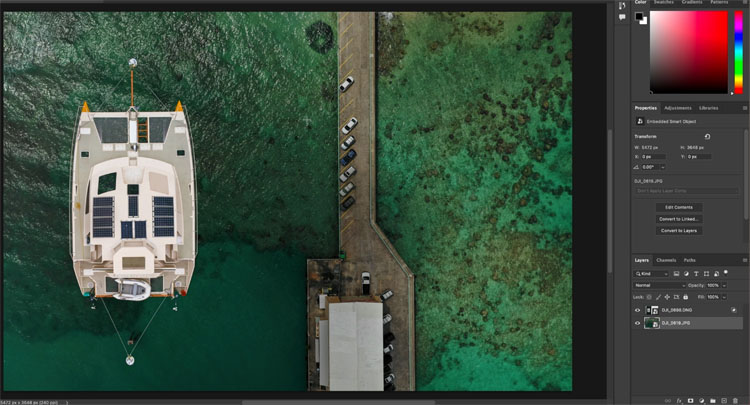
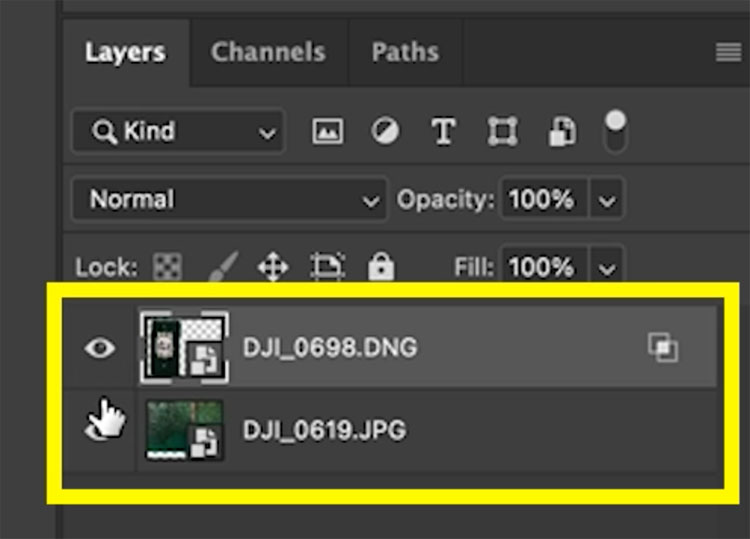
Photoshop will launch and you will see a single document and each photo is opened as a Smart Object in a layer. (Learn about Smart Objects here)
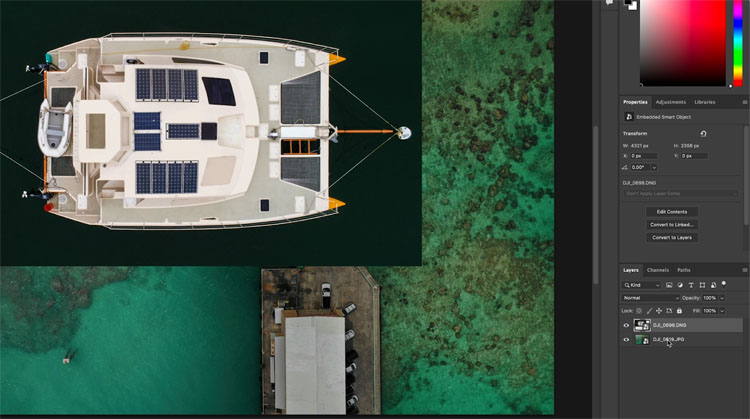
You know its a Smart Object because of the icon on the layer.
These have the advantage of containing all the Lightroom Adjustments inside the raw file which is contained in the Smart Object.
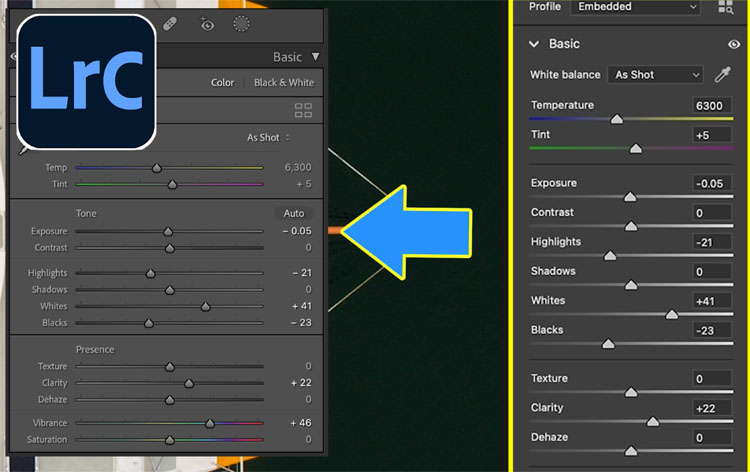
Double Click the Smart Object Thumbnail to open it in Camera Raw.
Camera Raw will launch with the image from your layer showing.
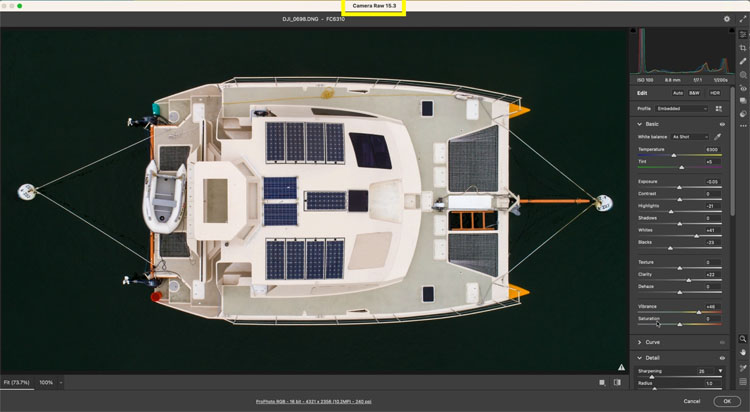
This image that opened is the Original RAW file from Lightroom. If you look at the adjustments, all the Lightroom adjustments are visible. All the sliders, masks and adjustments are preserved and can be changed in Camera Raw.
Even the crop settings are preserved. Here we will change the crop and even rotate the image, to show the flexibility
Click OK to apply.
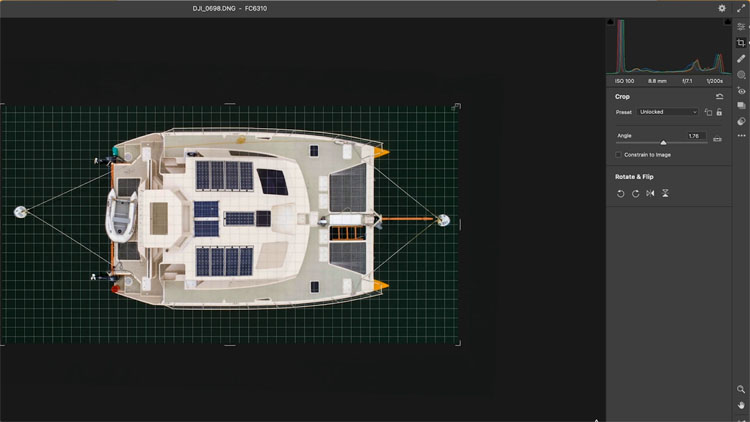
Camera Raw closes and the Photoshop document updates to show the changes.
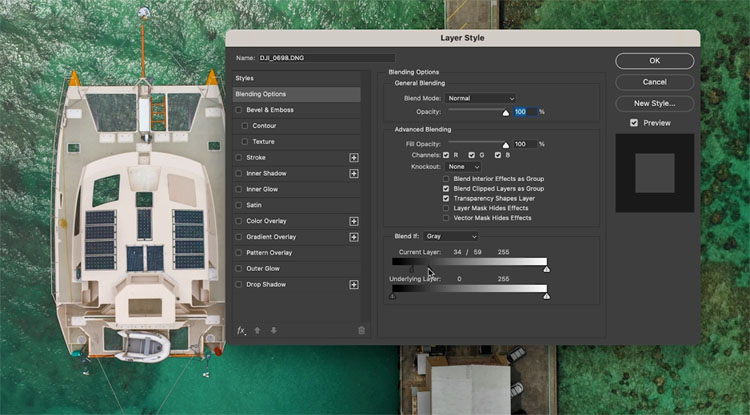
Lets hide the background on the boat. You will probably make different adjustments, I want you to observe the Lightroom and Photoshop Integration, this is the purpose of this tutorial.
Choose Adjustment layers and select Blending Options

Change the sliders on “Current Layer”. Drag the shadows to the right to hide the dark background pixels. Hold down alt/option and drag on the triangle to split it. How to use Blend IF to hide a Background in Photoshop
Back to Lightroom with the Photoshop Adjustments
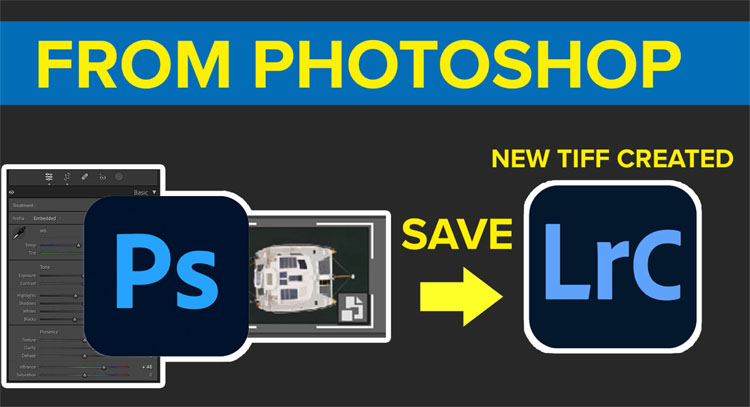
When you have finished making edits in Photoshop, choose Save. Or press Ctrl/Cmd+S
As soon as you save, a new image (tif) is created and automatically added to Lightroom. (The location of the tif will be in the same folder as the original photo).
If you want to make any further edits to this new image, it’s best to make the edits in Photoshop and Camera Raw.
The first time you opened the file, you opened as a Smart Object. When you saved it, its now a Layered file with the Smart Objects inside.
Right-Click and choose Edit in>Edit in Photoshop
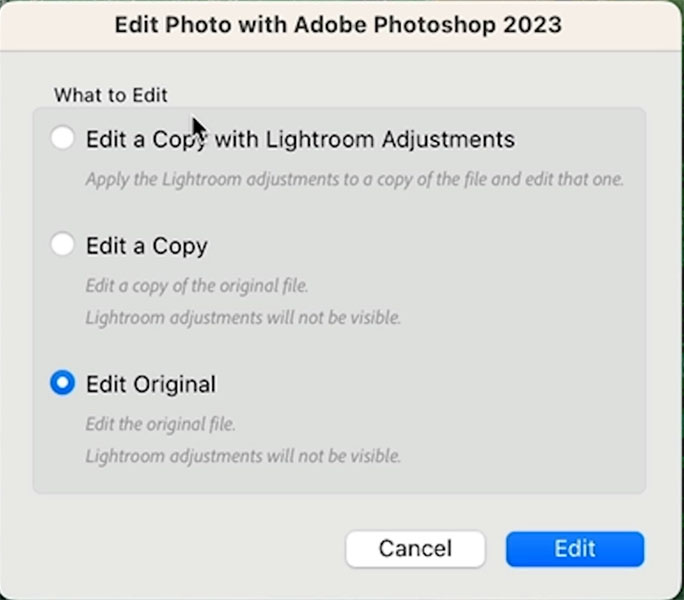
A window will appear.
Choose Edit Original.
Now Photoshop will open
All your layers are still there and your Photoshop edits are intact. All your Lightroom and Camera RAW edits are in the Smart Objects. You would Double-Click the thumbnails to open in Camera Raw just as before.
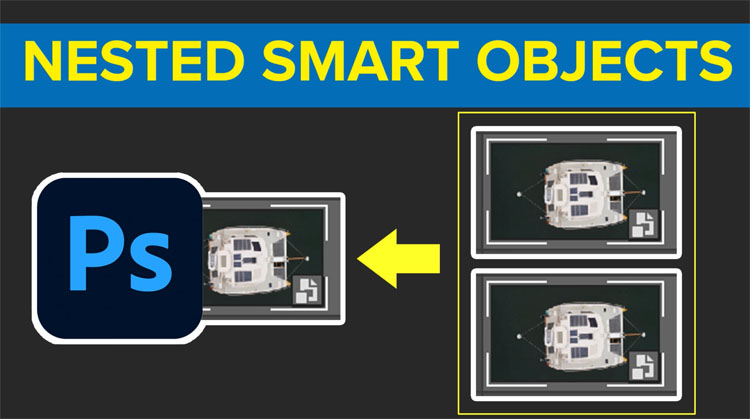
Create Nested Smart Objects for Global adjustments
The cool thing about Smart Objects is that we can combine multiple Smart Objects into new ones. This is called nesting.
Let me introduce you to a couple of terms to help. Adobe doesn’t officially use these terms, but I think they should.
Parent: The parent Smart Object, is the top level. All other Smart Objects can be nested inside the parent.
Child: All the Smart Objects that are within the Parent.
This allows us to apply adjustments to the entire image including all the layers. You can even apply presets, and all the edits, even the old ones are still accessible. Non-destructive. Let me show you here.
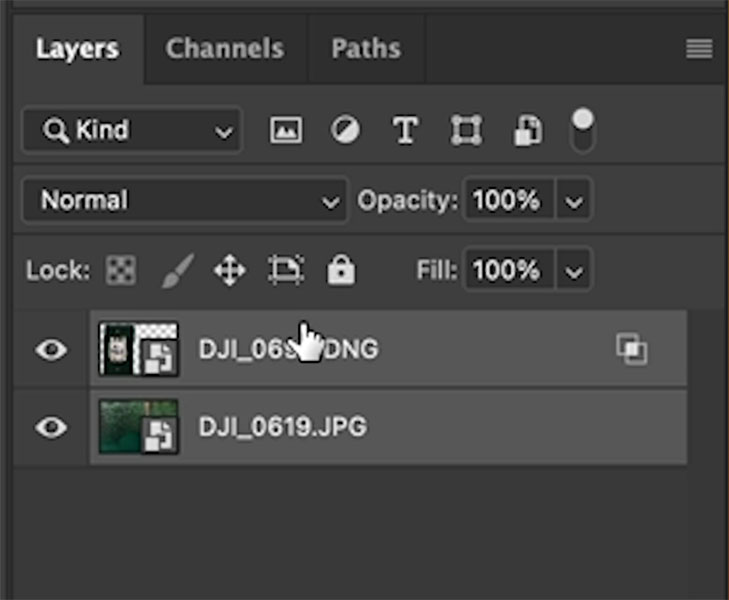
Choose Both Layers
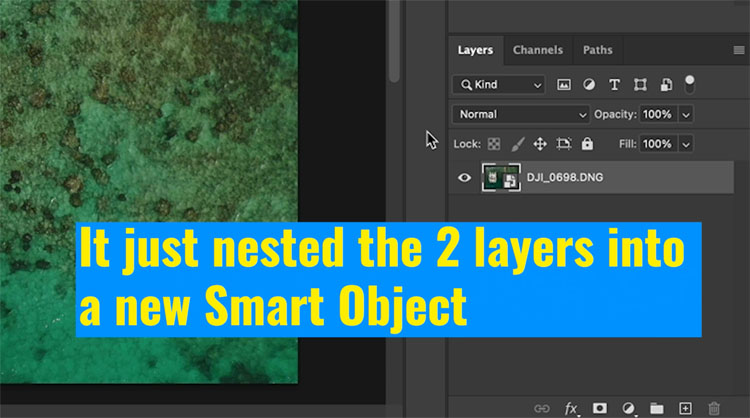
Right-Click and choose Convert to Smart Object.
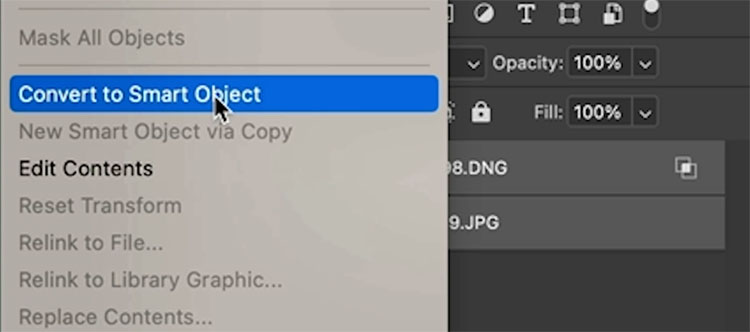
Now you just see a single Smart Object. This didn’t merge the previous 2 layers, it just tucked them away inside the Smart Object. (A new Parent is created, with 2 Child Smart Objects inside)
Think of a smart object as a container. So you just put 2 containers (children) inside a bigger container (Parent).
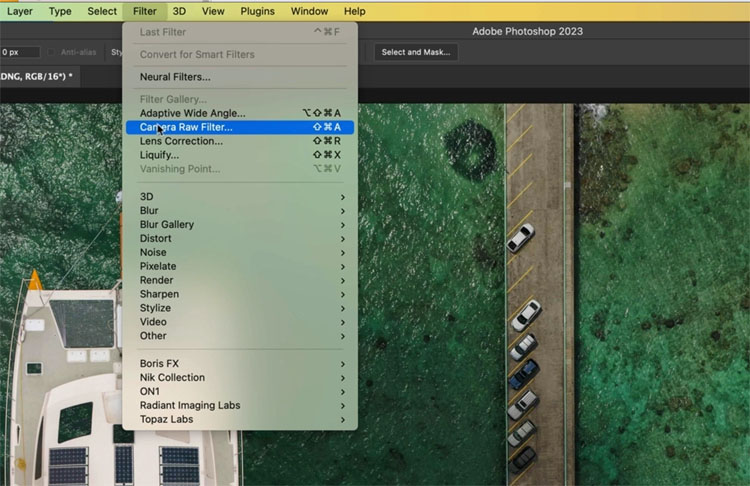
To apply an adjustment, we need to choose Filter>Camera Raw. (If you double-click on the thumbnail you will expand the Smart Object. More on that soon.)
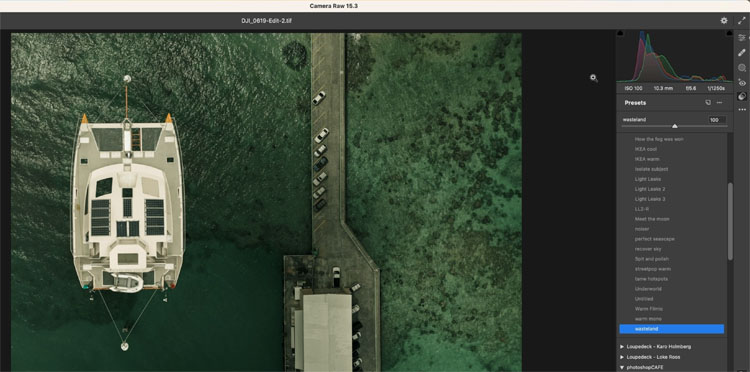
Camera Raw will open and you can make adjustments. In this case, I applied a Preset.
Click ok and you go back to Photoshop. Notice the Adjustments have been applied.
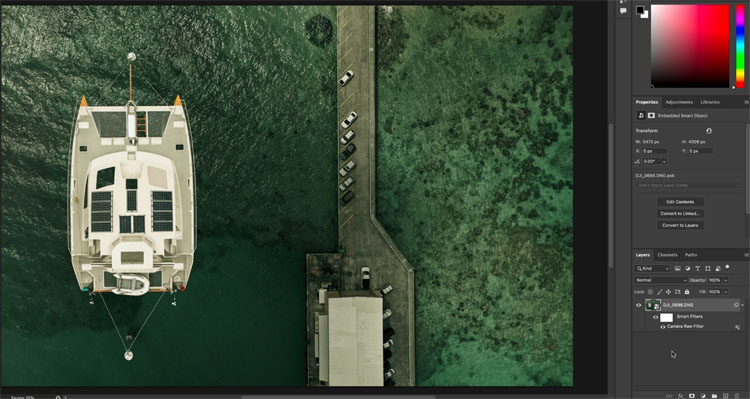
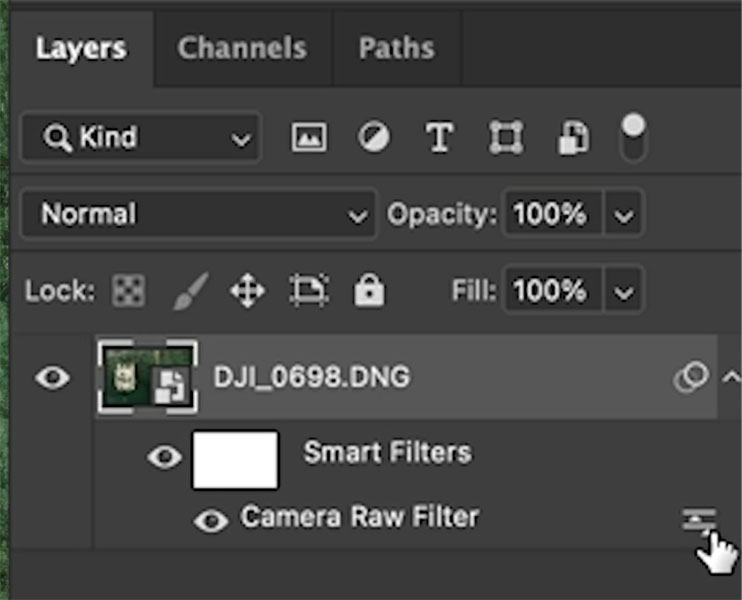
Notice the Camera Raw adjustments appear as Smart Filters. You can use almost any filter you want in Photoshop, most of the Filters work as Smart Filters.
Click the eyeball next to Smart Filters, to turn the adjustments on or off.
To edit the adjustment, click the icon in the lower right of the Layers panel.
Blending Options will show up.
Adjust the opacity to lower the intensity of the camera Raw adjustments (the preset).
Press ok.

How to Access the original adjustments in a nested Smart Object
To access the original (Child) Smart objects or layers from within a (Parent) nested Smart Object, double-click the thumbnail.
The smart object will open inside a new tab
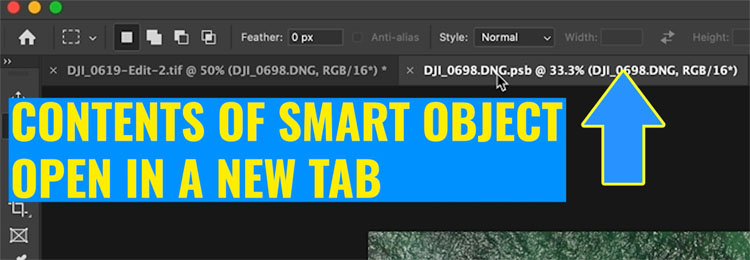
Click on the tab and you will see the original contents are now revealed and ready for editing.
Double click either of these and Camera RAW will open and all the settings will still be there, as before.
When you are finished, choose save.You can now close the tab.
The parent Smart Object will now be updated.
Choose Save again in the main Document.
The Lightroom preview will now be updated to reflect any changes.
I hope you found this tutorial useful. If you are still confused in any way, please check out the video at the top, it explains things in a very easy to understand way.
Next step is to check out my other tutorials on the new Lightroom updates.
I have created a Lightroom 12.3 new feature overview here.
Check out my tutorial on the new Denoise feature here.
If you are serious about Leaning Lightroom, check out my course here
My new Camera Raw course is here.
Great to see you here at the CAFE
Colin
The post Access Lightroom Adjustments inside Photoshop. Opens Smart Objects as Layers appeared first on PhotoshopCAFE.