
How to make a displacement map in photoshop
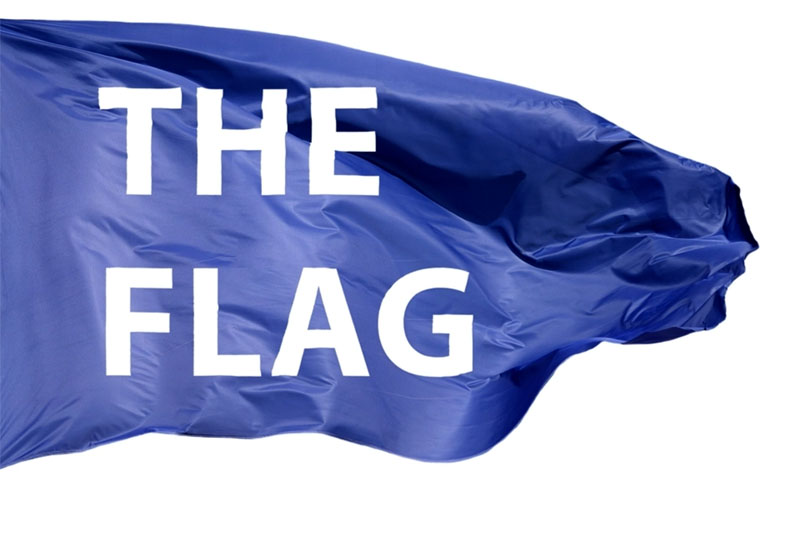
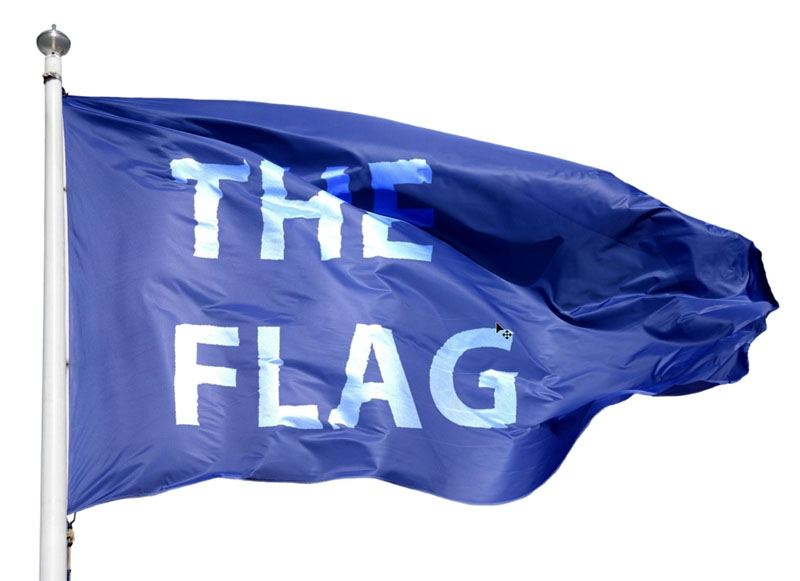
Here I have a flag and some text on a different layer, We will warp the text to the flag with the displacement map,
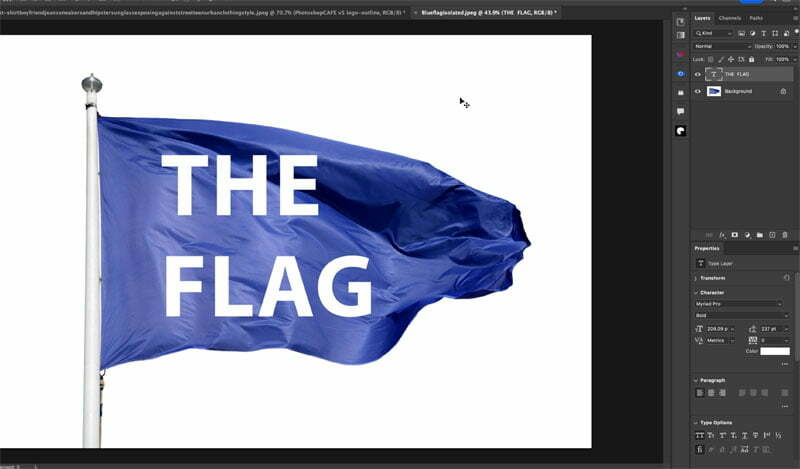
In the Layers panel, Right-click in the text and choose “convert to Spart Object:” This will enable us to warp it. Text can’t be warped with a displacement map without rasterizing it or converting to a smart object.
1. Hide the text layer and choose the flag layer

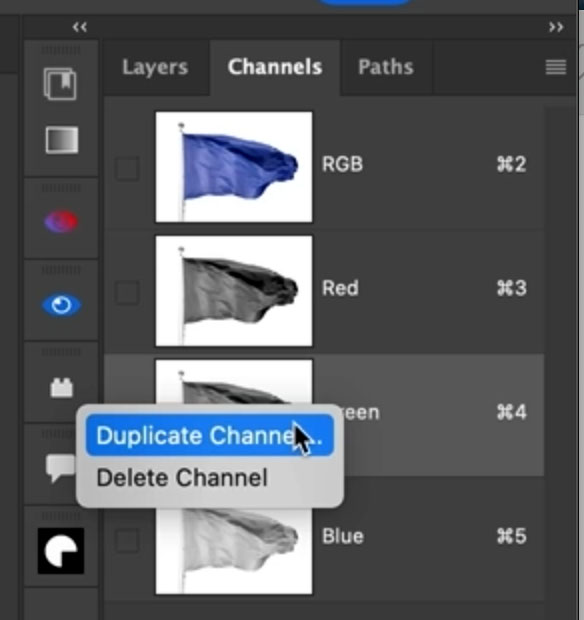
2. Choose the Channels Panel
Click on the separate channels (RBG) to find the one with the most Contrast. Green in this case.
Right click on the channel and choose Duplicate Channel.
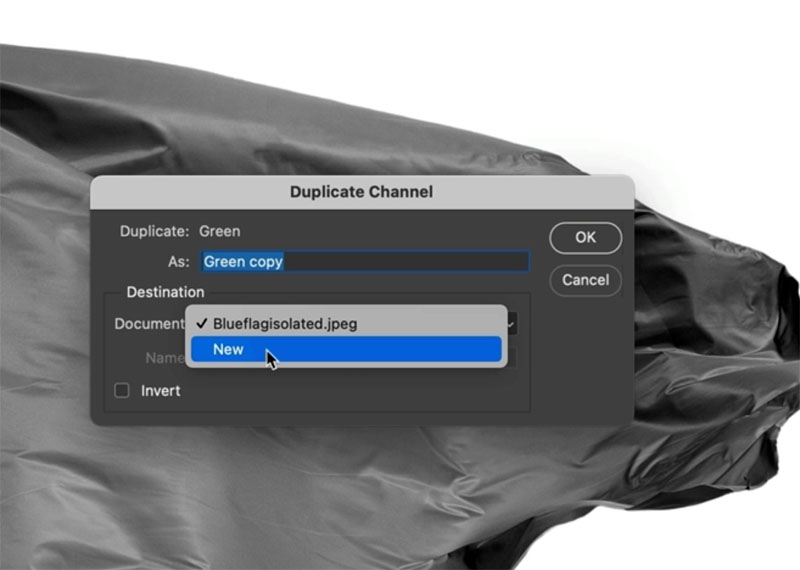
3. Choose new, this will create a new image tab containing just the Green channel
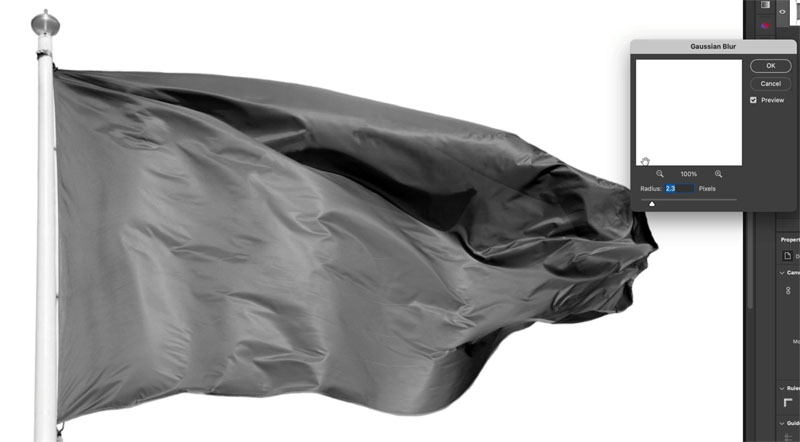
4. Choose the new document and blur it just a little. Blurring improves the result from a displacement map.
Filter>Blur>Gaussian Blur. I used 2.3
5. In order to make a displacement map it must be 2 things.
A single channel, multichannel document. When we copy a channel to a new document, we get that. We did that in step 3.
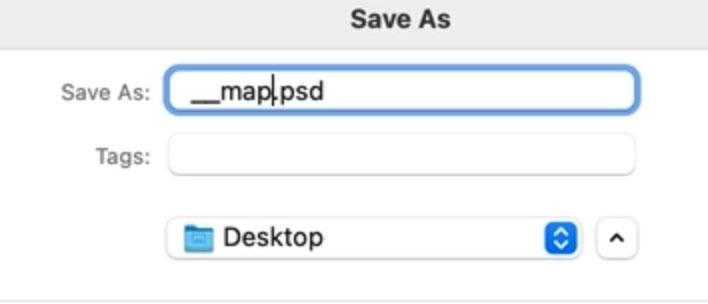
Saves as a PSD. File>save as.. choose .psd.
You can close the image window, we don’t need it anymore.
This is your displacement map. Lets use it now
How to use a Displacement Map in Photoshop
6. Go back to the original document.
Turn on the text layer (Smart Object) and select it. Let’s warp it
Choose Filter>Distort>Displace

7. Set a number in the Scale. By default it’s 10 and 10, This works best for most things, but experiment.

8. Once you click ok, Photoshop will ask you to select an image.
Choose the PSD that you created as your Displacement Map
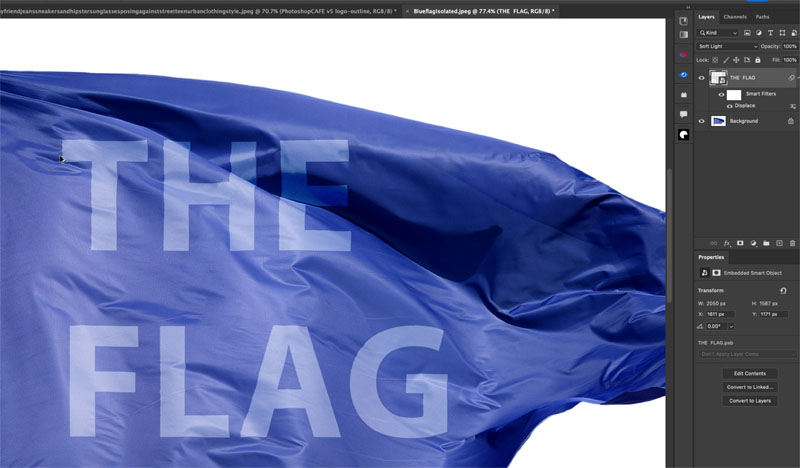
You will see that the text warps to fit the contours of the flag
9. Change the layer blending mode to Soft Light and you can see it better
Let me show you what happens if you choose a different number than 10 and 10 for the scale.
Leys choose 50.
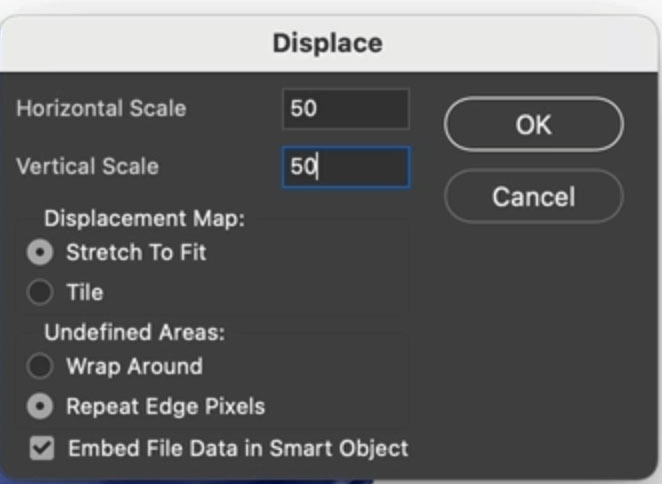
See how we get. more pronounced warp. We also start to get a wavey pattern on the edges. Experiment with different scales and see what works best for you image. I actually think 25 looked best for this flag and that’s what I used on the thumbnail for this tutorial.
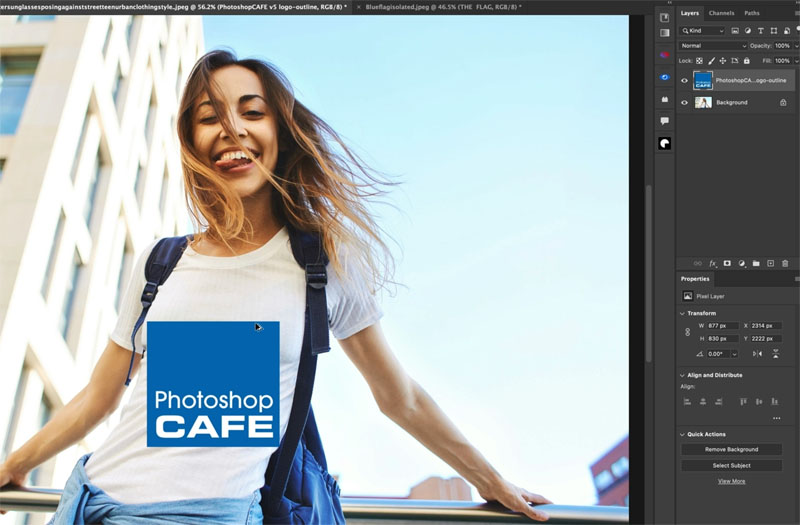
Let’s use what we have learned to wrap a logo to a tshirt in Photoshop
Start with the image and a logo on a separate layer.
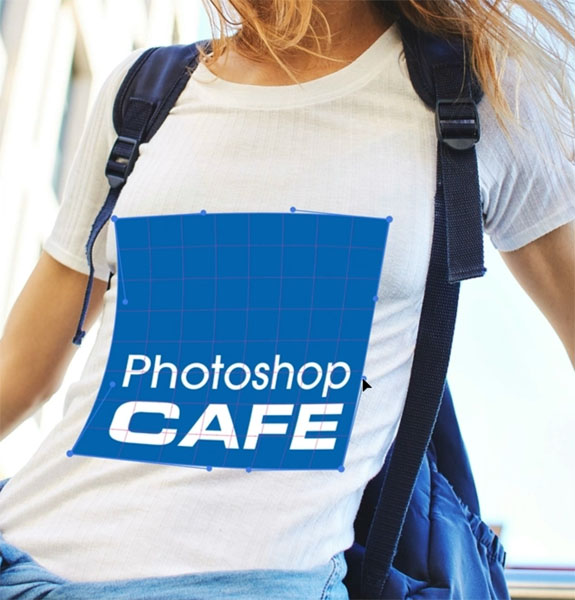
1. With the logo selected, press Ctrl/Cmd+T for free transform.
Right-Click and choose Warp

2. Drag on the points and handles to make the logo follow the perspective of the surface, How to use the Warp tool in Photoshop
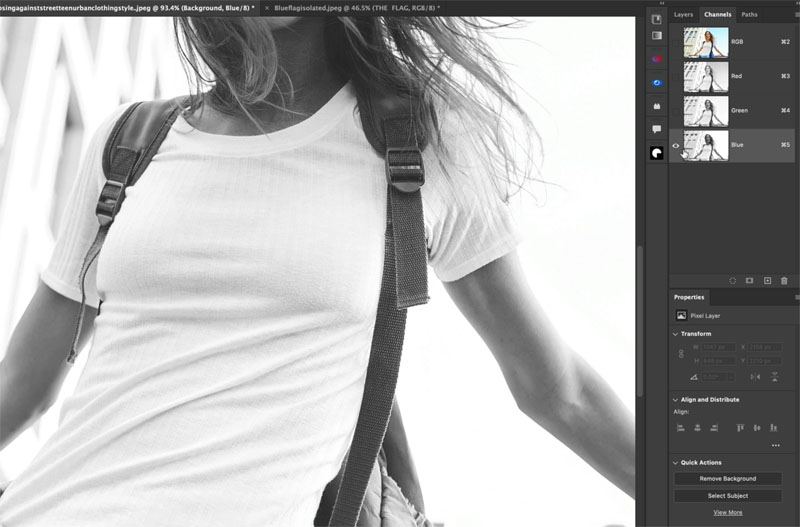
3. Hide the logo layer and go to the channel panel
Find the channel with the most contrast. Blue channel in this.
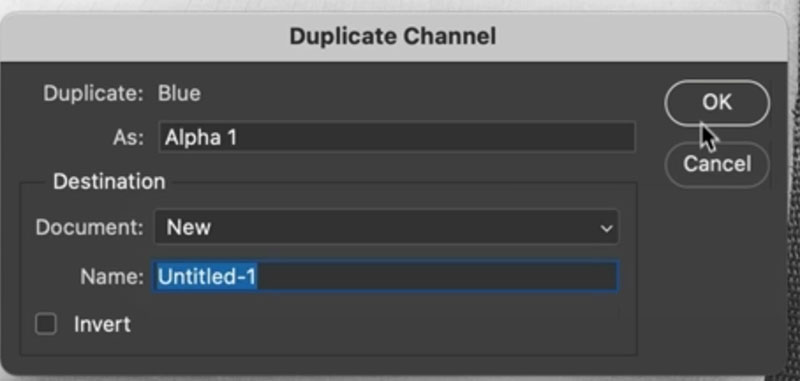
4. Right-Click on the blue channel and choose Duplicate channel
For document, choose new
5. Click on the new document and add a blur. Filter>Blur>Gaussian Blur. 1 pixel
Click ok

6. Lets increase the contrast.
Press Ctrl/Cmd+L for levels
Push the left triangle to the right until it meets the edge of the histogram (mountain looking thing).
Move the middle gray triangle to the right to add more contrast and show the texture in the shirt better.
Click ok

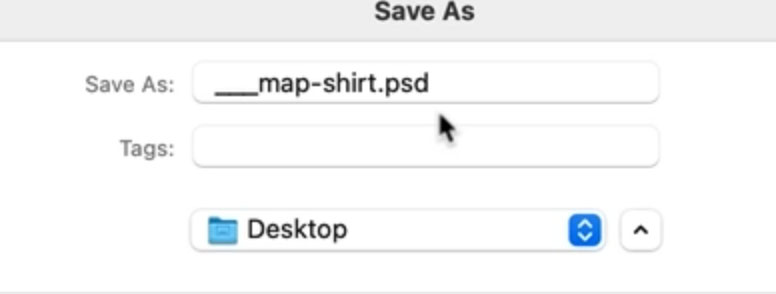
7. Save as a PSD
8. Lets apply the displacement map
Grab the original image. Choose the graphics layer (logo)
9. Choose filter>Distort>Displace
Accept the 10 and 10 settings and click ok.

10. You will see the dialog box looking for an image.
Choose the PSD you saved.
You will see the displacement map has been applied.

Change the Blending Mode to Multiply (different blending modes work with different colored images)
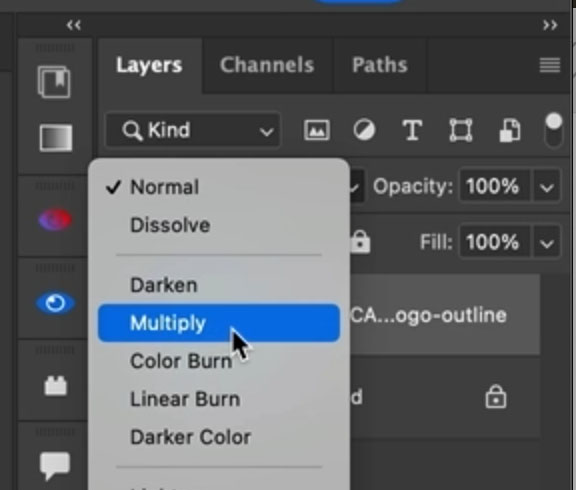
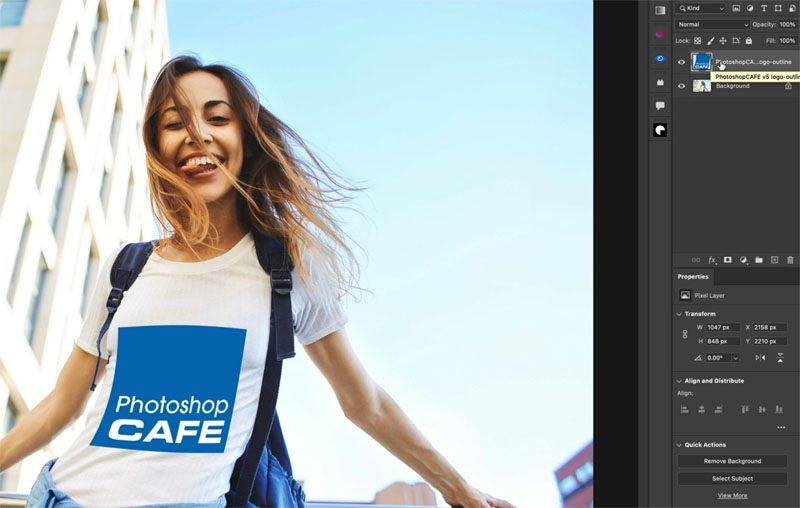
Now you can see the texture of the shirt comes through nicely and it looks like the logo is actually printed on the shirt.
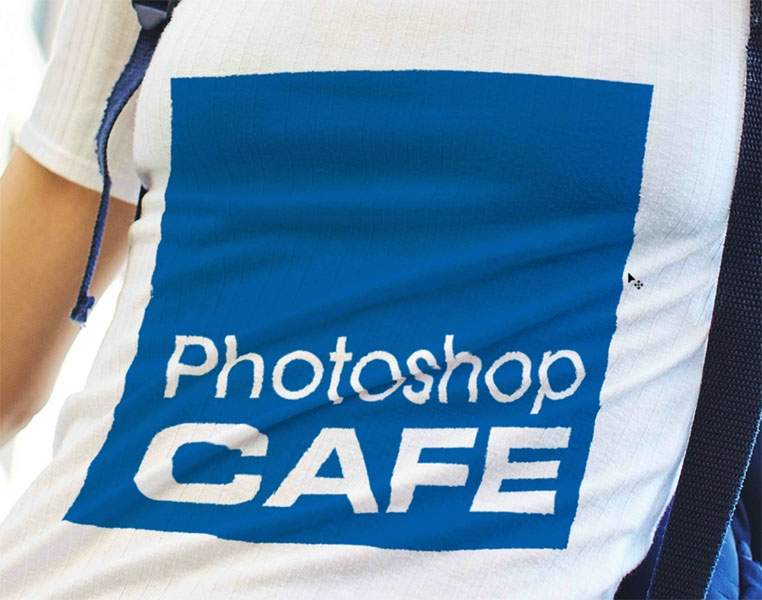
Here is the full view.

I hope you found this tutorial useful. If you did. share it on social media and with your friends, it helps these tuts get discovered.
Until next week, see you at the CAFE
Colin
The post Best way to make displacement maps in Photoshop, wrap anything around any surface appeared first on PhotoshopCAFE.