
This week I have made a really fun and useful tutorial that not only gives you great results, it will also teach you a little bit about channels. Don’t worry, they aren’t as scary as they sound. This Photoshop tutorial shows you how to blur the background of a photo to add a realistic depth of field by using Depth Maps, or blur masks as they are sometimes called. This method allows you to add a different amount of blur on different parts of the photo.
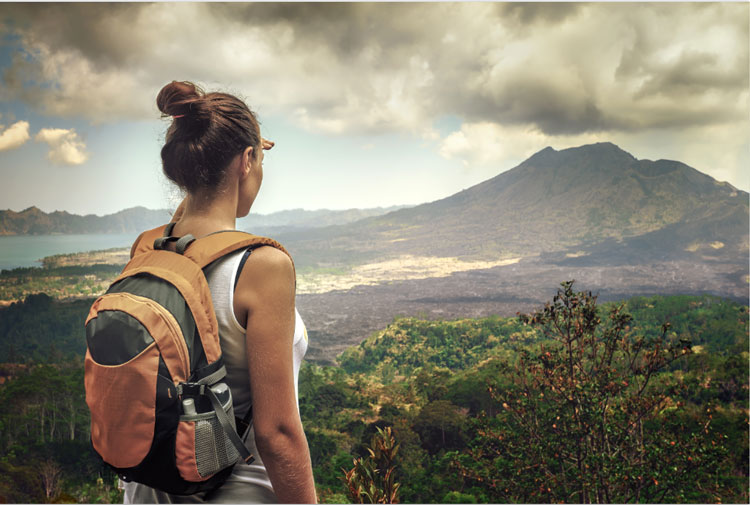
The photo used here
Creating a Depth Map Powered Background Blur in Photoshop
In this Photoshop tutorial, you will learn how to blur a background to simulate depth of filed from a nice expensive lens. You have heard the term bokeh, or depth of field or background blur. This all comes from a large opening in the lens that throws the background out of focus. Maybe you don’t have that lens, or couldn’t open the aperture because of too much light, or you used a drone, a GoPro or a phone. Or maybe you just want to have that control yourself in Photoshop. We will use masks to control where and how much of a blur will be applied to a photo. This allows you to create a very realistic depth of field effect that add depth as well as simplifies the composition of an image and makes it more pleasing.
Step 1. Select the subject (foreground)
Choose the Quick select tool.
Choose select subject, or use the quick selection tool to select our woman.
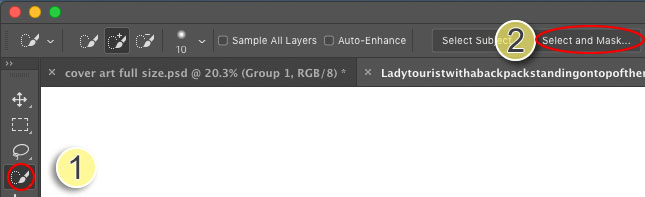
Step 2.
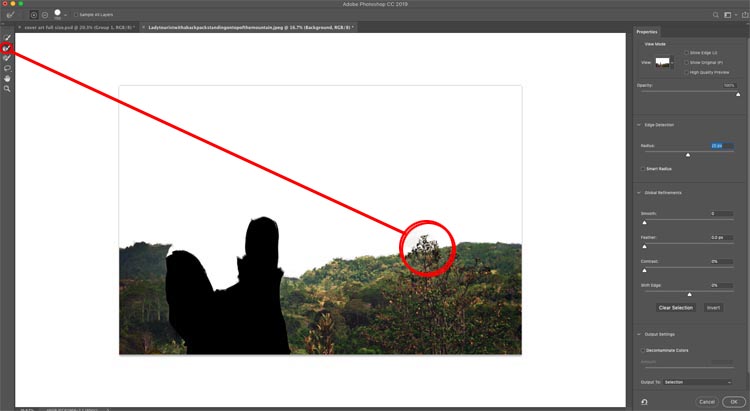
Choose Select and Mask to refine the selection
![]()
Step 3.
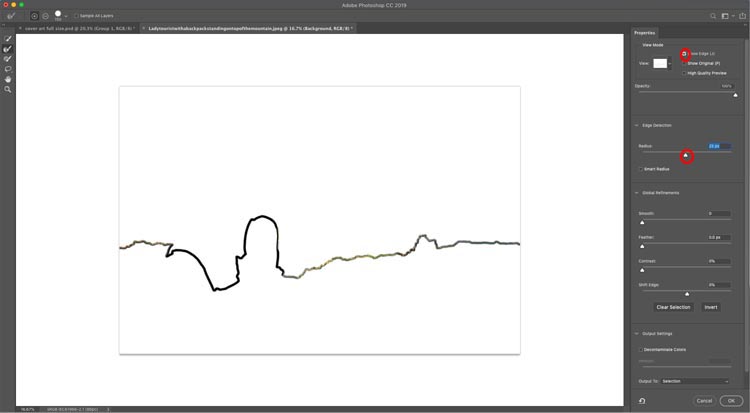
First we will make the edges nice, automatically.
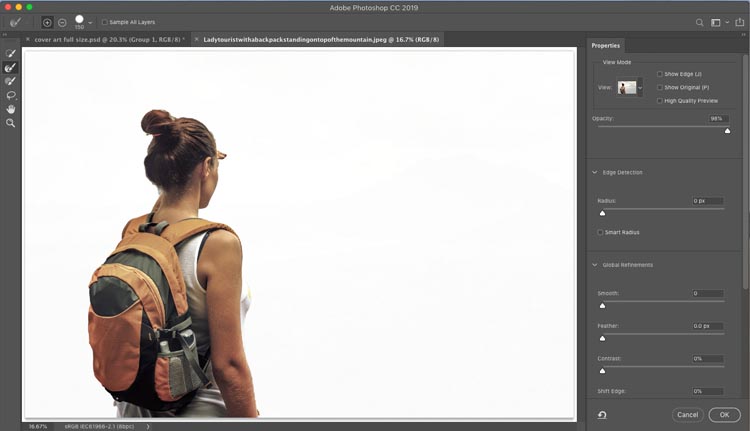
Turn on show edges
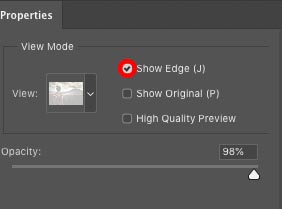
Adjust the amount slider until you can just see the edges.
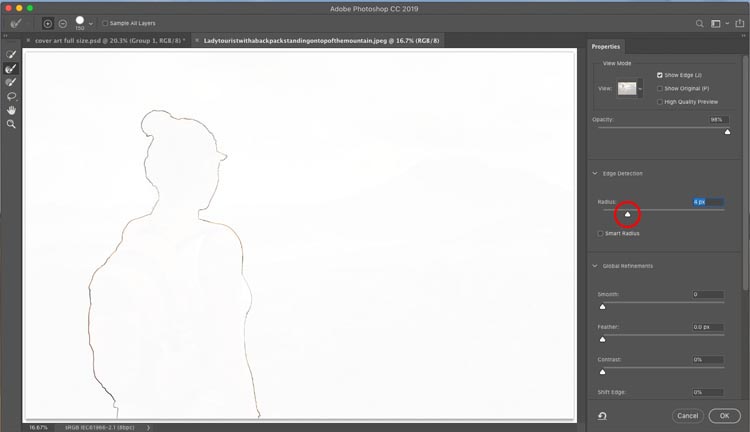
Turn show edges off again

Step 4.
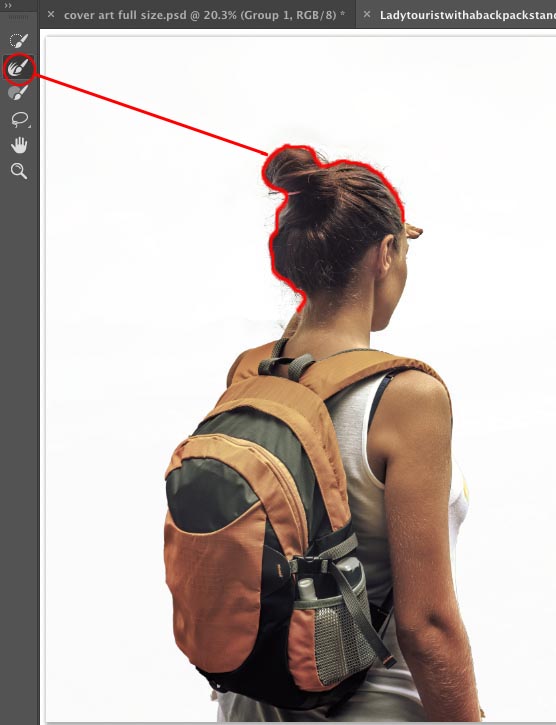
Choose the refine brush and go around the edges of the hair to get a better selection.
Step 5.
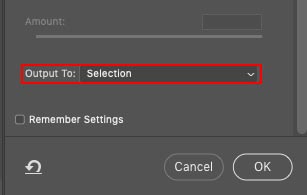
Choose Selection as the output option and click ok
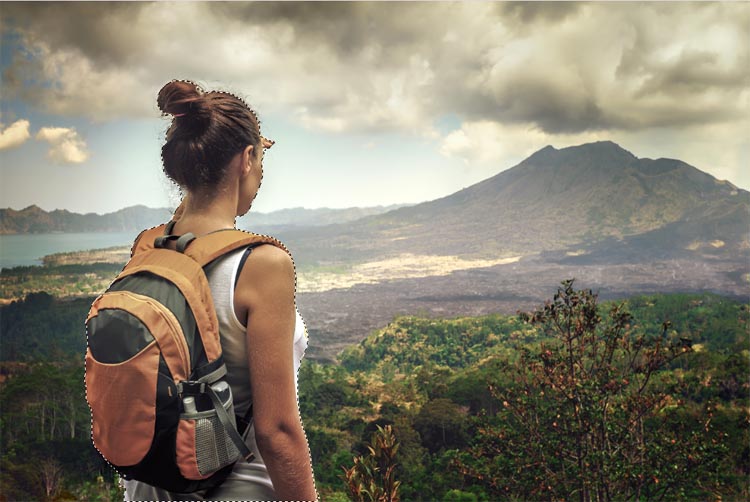
Step 6.
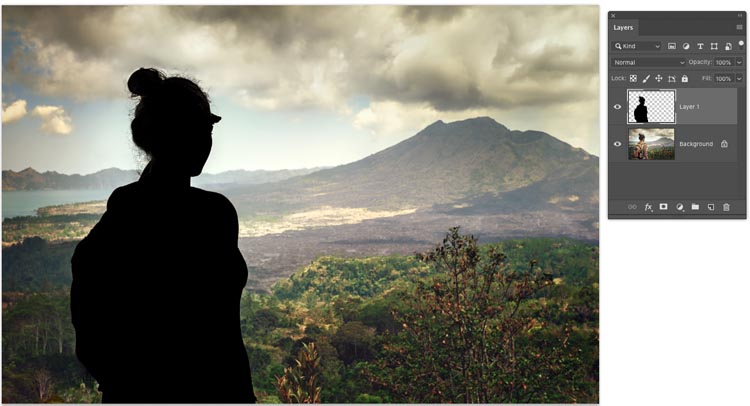
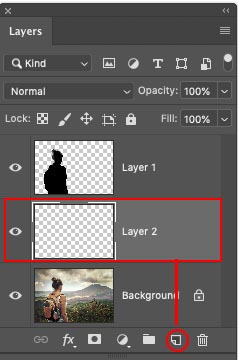
Now you have a selection around our woman,
Click on the new Layer icon in the Layers panel to create a new layer.
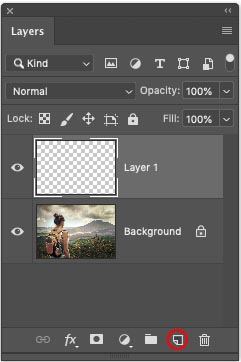
Fill the selection with black on the new layer. (Press D to reset the color and use Option+Delete (Mac) Alt+Backspace (windows) to fill.
Press Cmd/Ctrl+D to deselect
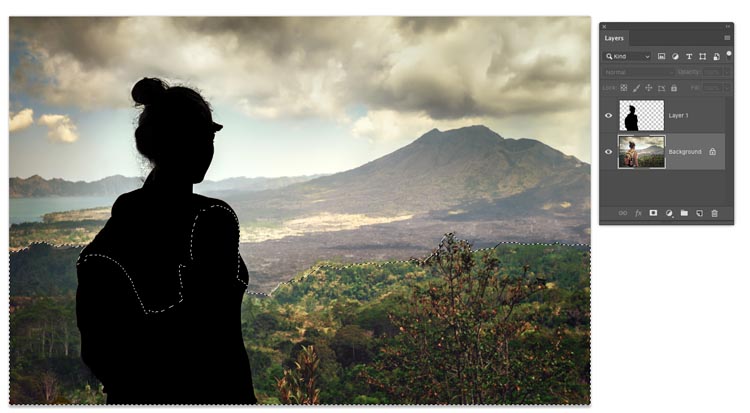
Step 7. Selecting the midground
Choose the background layer in the layers panel
Grab the quick select again. This time select the ground near our traveller. Use the alt/option key to remove from a selection if you went too far.
Step 8.
Choose select mask
Turn on show edges
This time make the outline thicker
Turn off Show Edges
Step 9.
Use the refine tool to clean up the selection around the bush
Step 10.
Click ok
Make a new layer
Step 11.
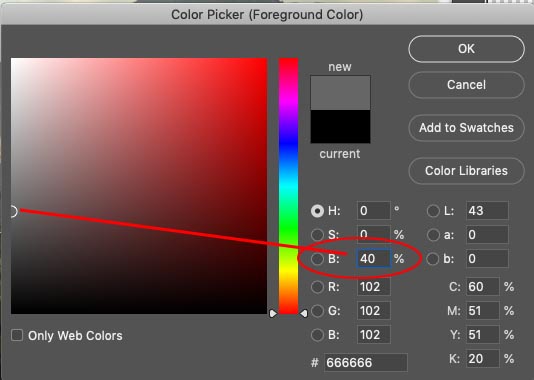
Choose 40% gray as the foreground color
To get 40% gray, click the color swatch. ![]()
Choose black, and then under HSB, change the B to 40 (B is for brightness).
Press Cmd/Ctrl+D to deselect
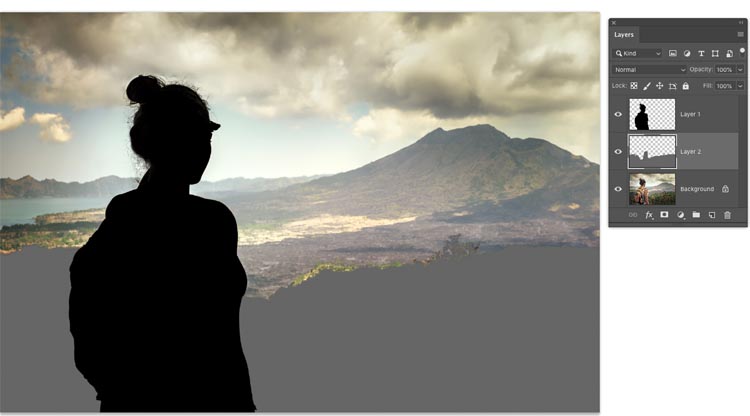
Fill the selection with 40% gray
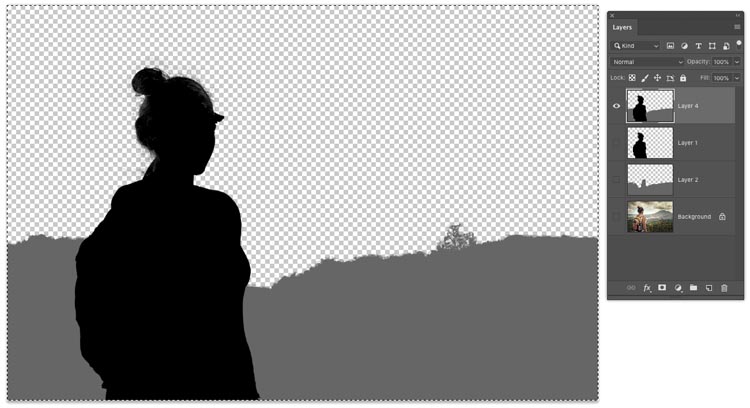
Step 12. Making the Depth Map
Hide the background, so only the black and gray layers are showing.
Step 13.
Press Shift+Cmd+Option+E (Mac) Shift+Ctrl+Alt+E (Windows) This will create a new layer on top that contains the content from the 2 visible layers.
Hide all the layers except for the new merged layer we made in step 13.
Press Cmd/Ctrl+A to select all
Press Cmd/Ctrl+C to copy
Step 14.
Open the Channels panel
Click the new icon to create a new Channel (alpha 1)
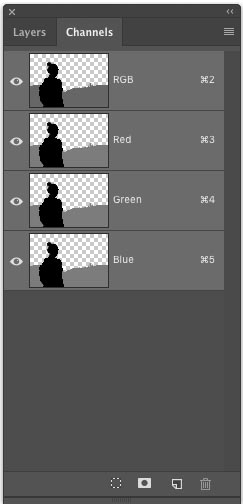
Step 15.
If the channel is black, press Cmd/Ctrl+I to invert it and make it white
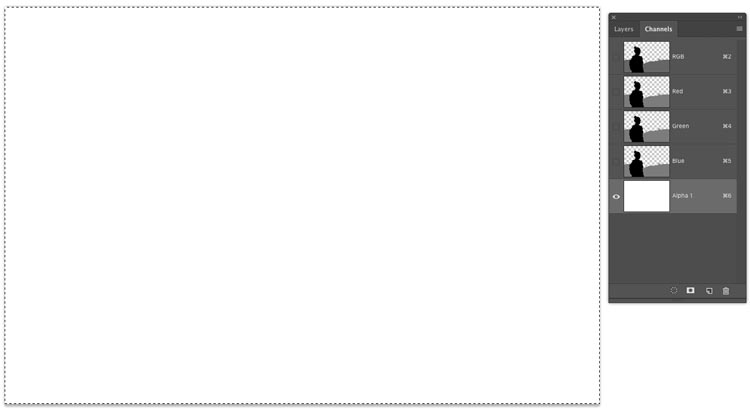
Step 16.
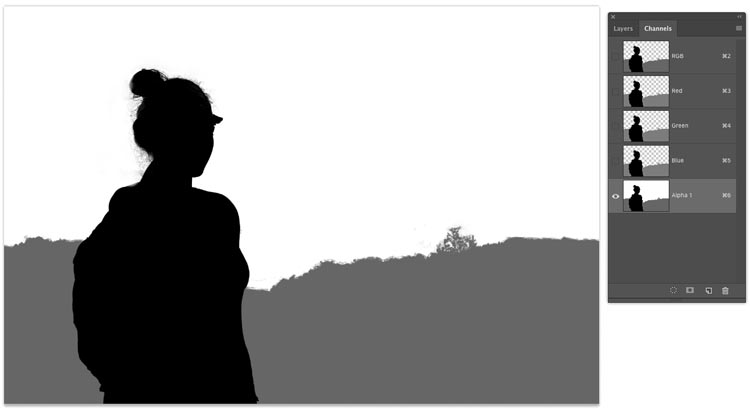
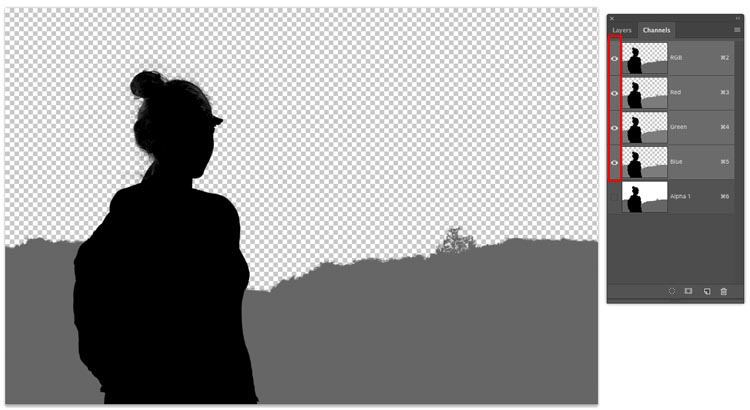
Press Shift+Cmd/Ctrl+V to paste in place. (The Shift key makes it paste in place)
You should see a black foreground, gray midground and white background. This is our mask, or depth map
Step 17.
Click on RGB at the top to make sure that the RGB is selected and showing and the eye next to the Alpha channel is off. (If it looks red, you haven’t done this step correctly, look at the screen shot carefully)
Step 18.
Go back to the Layers panel and hide everything except for the background which is our image. Click on the background to make it active.
Press Cmd/Ctrl+J to duplicate the background, this gives us a safety layer.
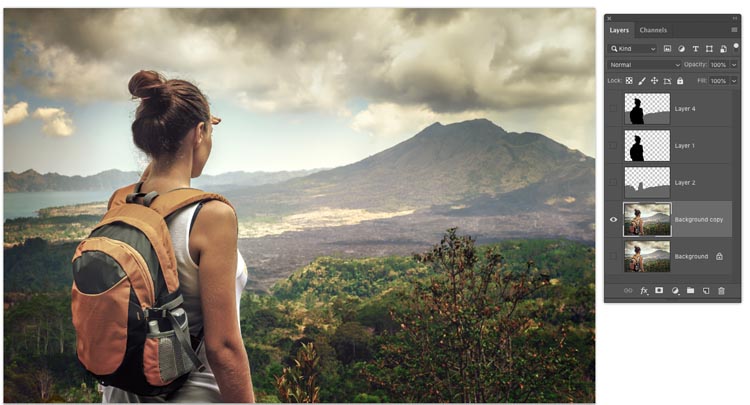
Choose the duplicated background layer if it’s not already selected. This is where we are going to apply our effect.
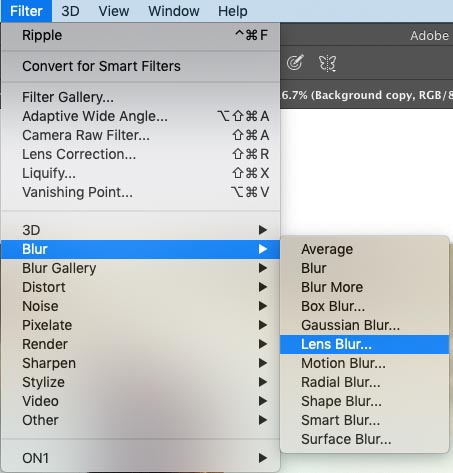
Step 19 applying the Lens Blur
Choose Filter>Blur>Lens blur
Step 20.
Change the blur amount to add more blur to the photo. The problem is, everything blurs.
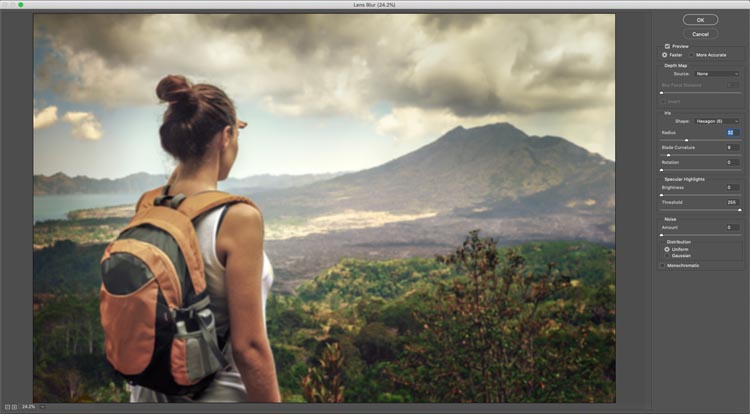
Here is the key.
Under Source at the top, choose alpha 1 (our map) for the dropdown menu.
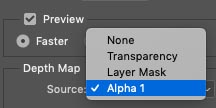
Now it should protect our woman in the foreground and apply the full blur to the background.
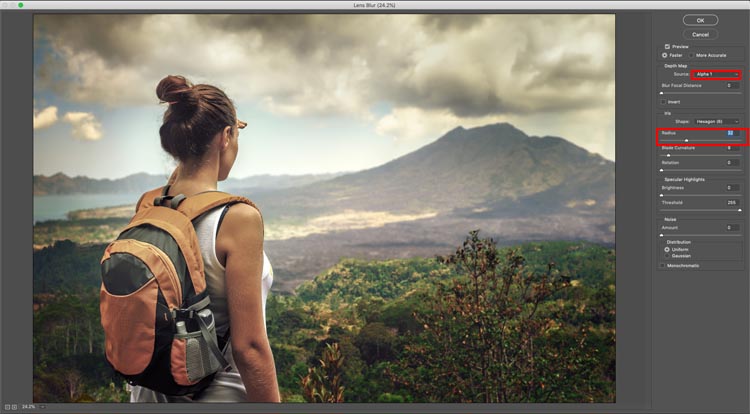
Something interesting happened in the mid-ground where we made it gray. It only blurs 40%. the same percentage as the shade of gray. This means that the amount of blur is directly proportional to the shade of gray used.
Click ok to apply
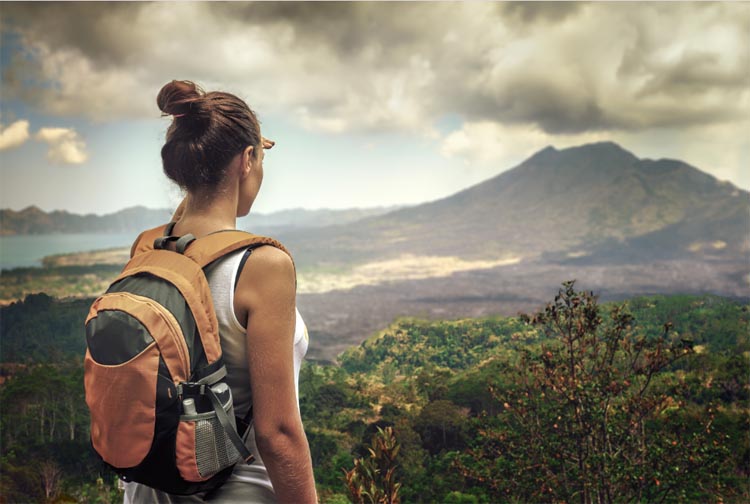
This is just a simple example of how this effect can be used, with 3 level of blur. You can use gradients or multiple shades of gray to build up a very complex blur mask if you put the time in.
I really hope you enjoyed this week’s tutorial here at PhotoshopCAFE.
PS Don’t forget to join our mailing list and follow me on Social Media>
(Ive been posting some fun Instagram and Facebook Stories lately)
You can get my free Layer Blending modes ebook here
The post How to blur a photo background in Photoshop using blur masks and Depth Maps appeared first on PhotoshopCAFE.