
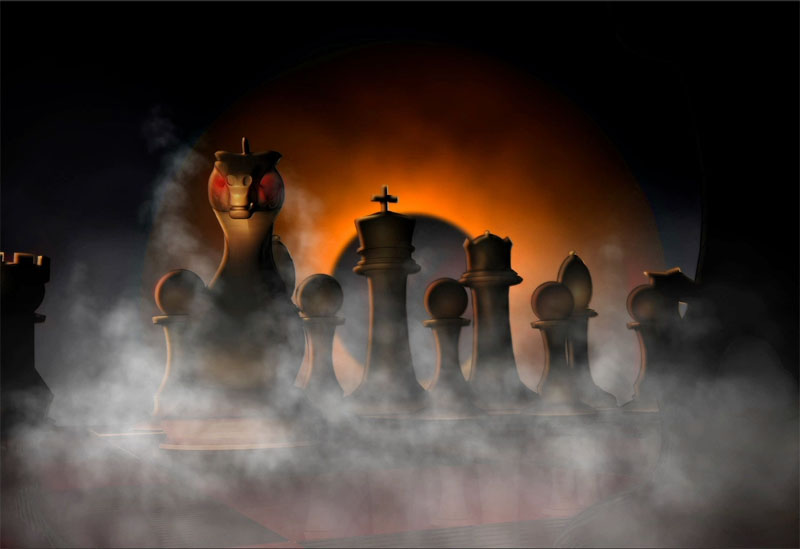
Make Smoke in Photoshop, and steam, fog, clouds etc.
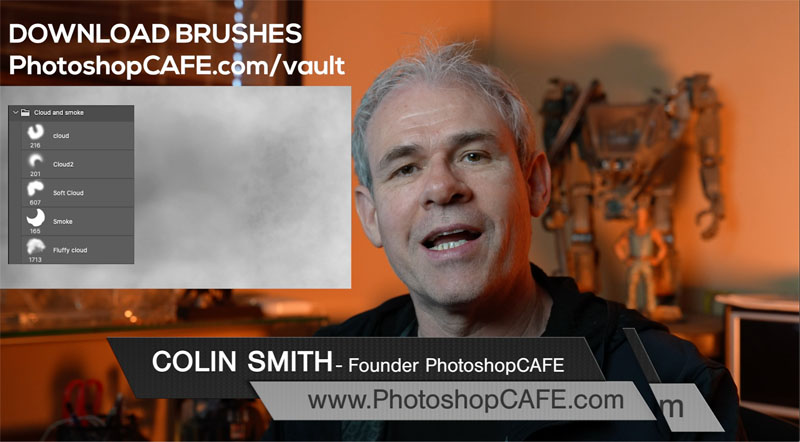
This Photoshop tutorial shows you how to make Smoke and steam with Photoshop Brushes. You will also learn how to make the brushes. If you would rather just download the brushes, grab them here.
Learning how to make brushes, is a useful skill in Photoshop. See the written steps here. To really see the brush in action, the video will show this the best.
Using Smoke/clouds brushes
We are going to start with using the brushes, because some people will have already downloaded them and want to learn how to use them. Then in the second part, I’ll show you how to make them.
Tip: Double click the brushes you downloaded to load them into Photoshop.
You can grab a set of brushes at PhotoshopCAFE.com/vault or Make your own (later on in this tutorial)
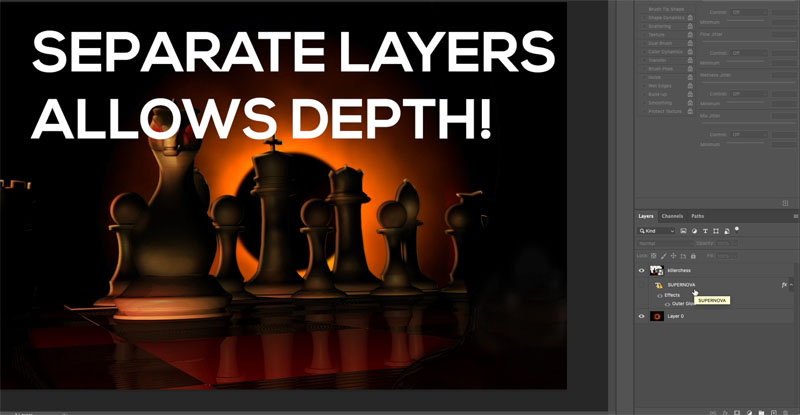
This step is optional, but if you seperate the subject from the background, you can also apply smoke behind the subject. How to cut something out in Photoshop
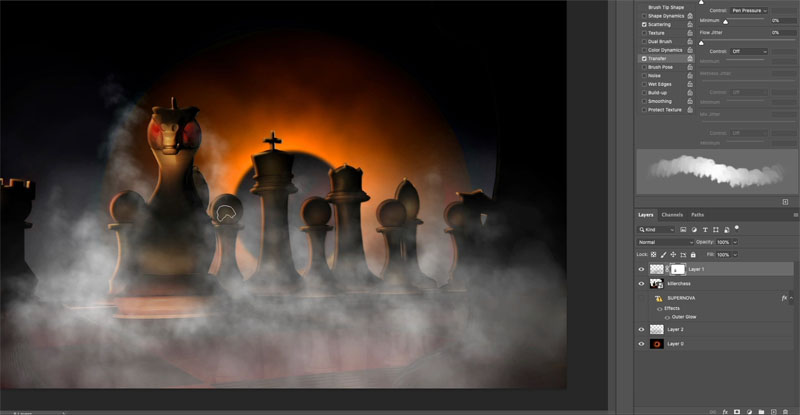
Choose the Brush tool (B key)
Choose a Cloud brush
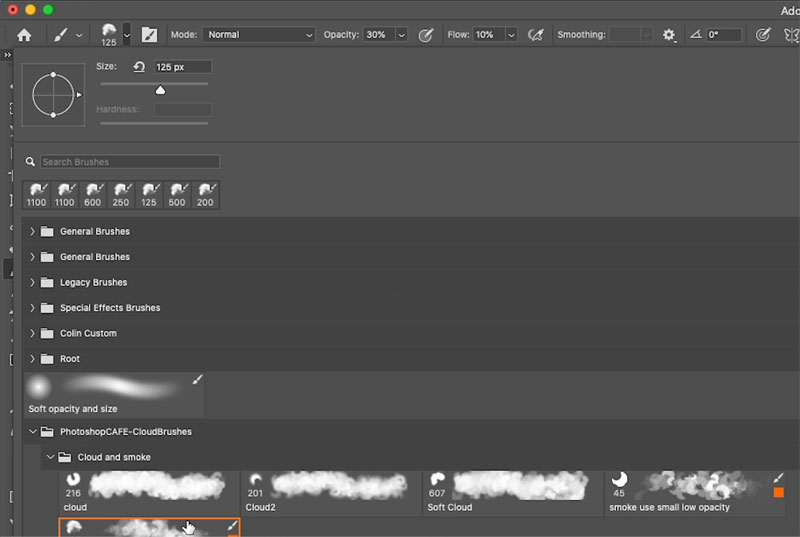
If you are using a Pressure sensitive tablet such as a Wacom, Choose Shape dynamics to change the size with pen pressure and also Transfer to use Pen pressure for opacity.
Choose a gray color in the color swatch
Drop the flow to around 10% an Opacity to 15-20%.
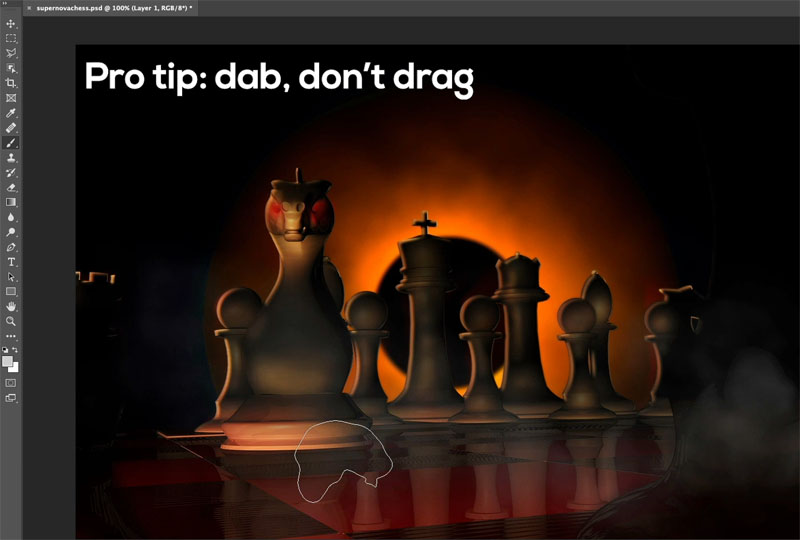
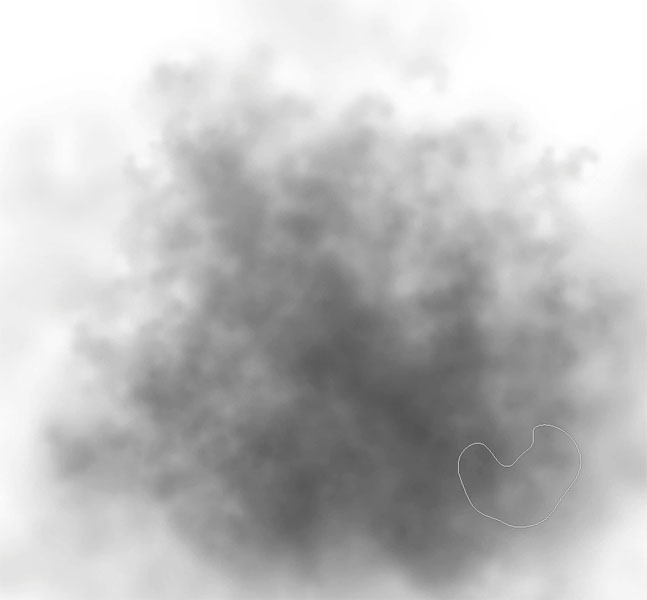
Apply the brush, dabbing, rather than dragging to preserve more texture.
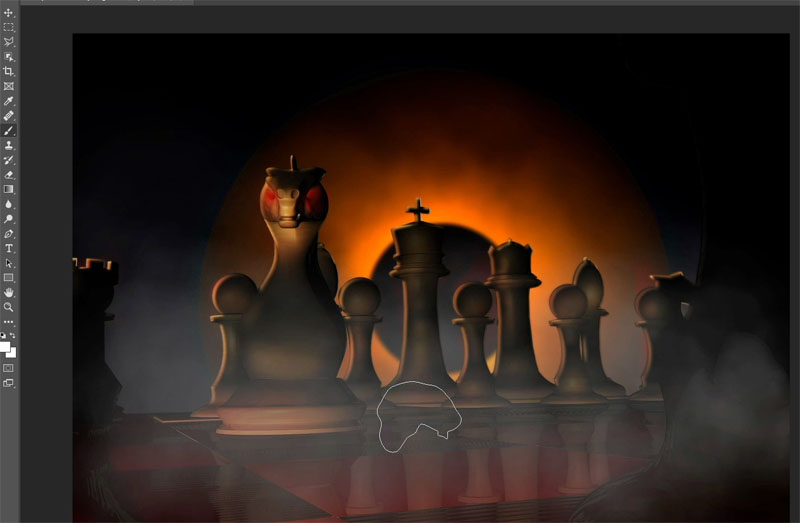
Keep building up the smoke.
Choose white and add more smoke. Varying the tones (grays and white) will give more depth.
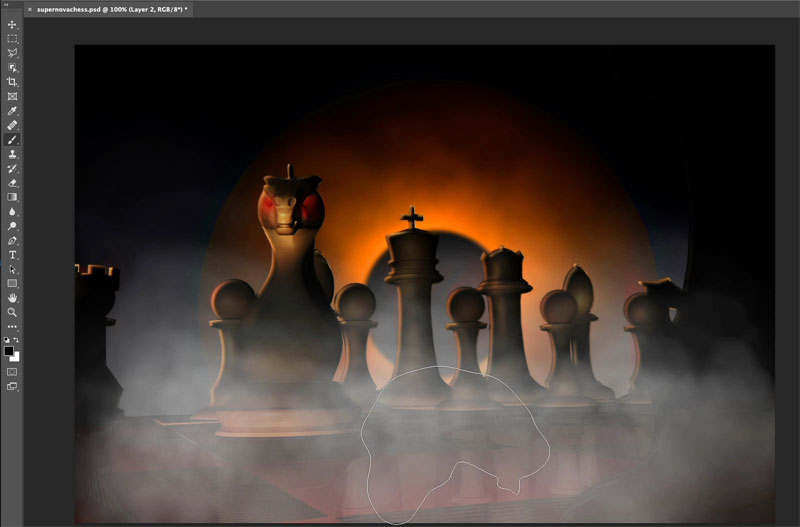
If you want to separate your objects from the smoke, apply a layer mask.
Click on new layer mask in the Layers panel.
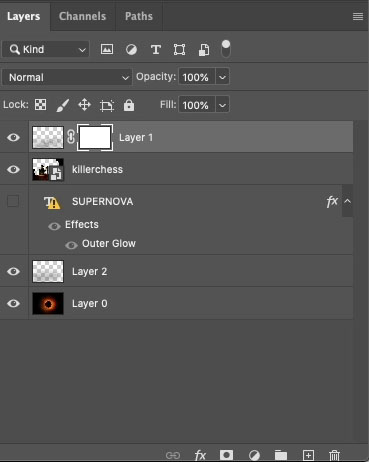
Change the foreground color to black and keep using the cloud brush. As you paint on the layer mask, you will mask away the smoke in the areas that you want to reduce it.
The video shows the brush work much better and explains it in detail.
How to make a cloud brush, smoke brush in Photoshop
To make a brush, first start with a white canvas. File>New
Choose a soft round brush, turn opacity and flow to 100.
Dab to create a roundish shape. It can be on a new layer, or on the background, it doesn’t matter.

Switch between black and white and create a half round looking shape that is a little irregular and soft edged.
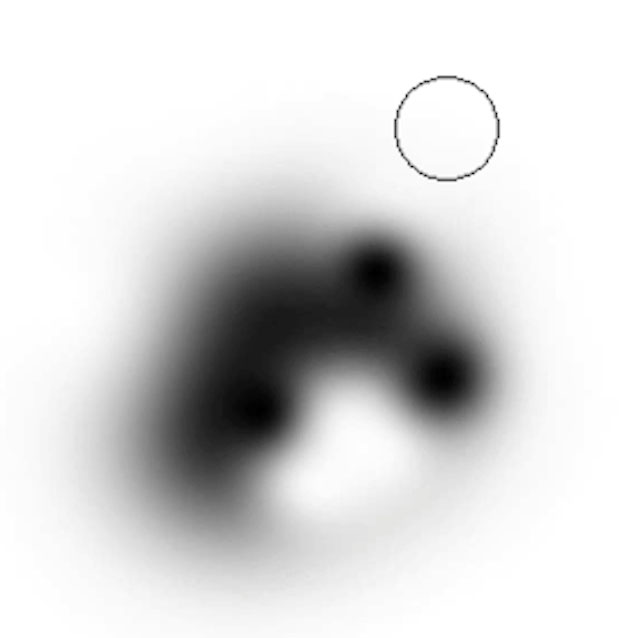
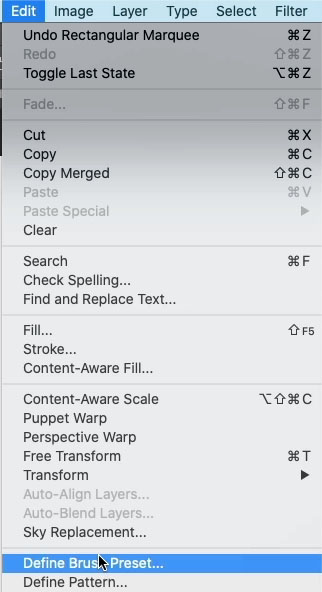
Using the rectangular marquee tool, make a selection around the brush shape you have created.
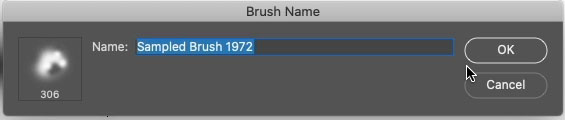
Choose Edit>Define Brush Preset
Give it a name and click on to make a new brush.
You can find the new brush in the Brushes Panel or the Brush Settings.
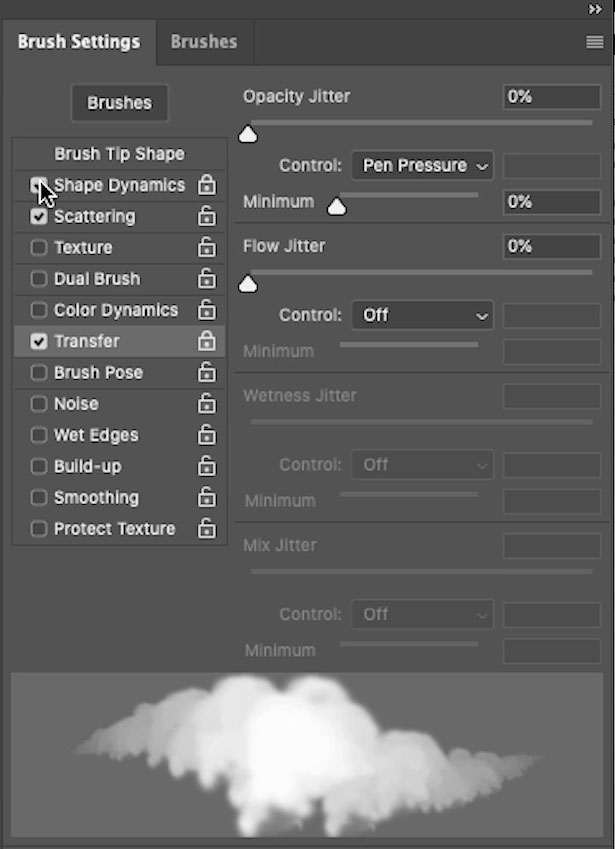
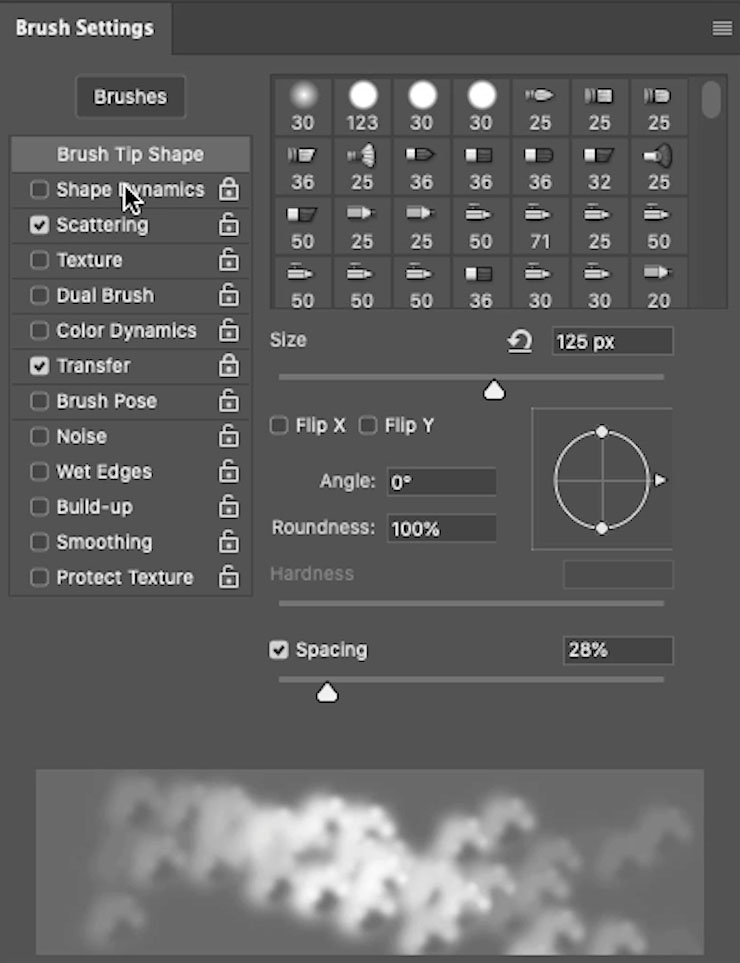
Choose Scattering in Brush Settings. (Window>Brush Settings)
I’m going to share the settings that I used in this tutorial. However, you don’t have to use these settings, and I would probably use different ones each time I create a brush. The point it to see the settings that need to be changed and keep testing the brush until its just the way you want it. After all, not all counds and smoke are the same.
Increase scatter to over 150% somewhere. Different amounts will produce a different result, so, experiment, depends how dense you want to your clouds or smoke.
Change count to 2

Choose Brush Tip Shape
Adjust the spacing until you see some overlapping in the preview, but not too much.
Choose Shape dynamics
Increase Size Jitter (Jitter means randomness). Here I used 42%
Put a small amount of Roundness Jitter, around 9% or so and turn Angle Jitter to 100%
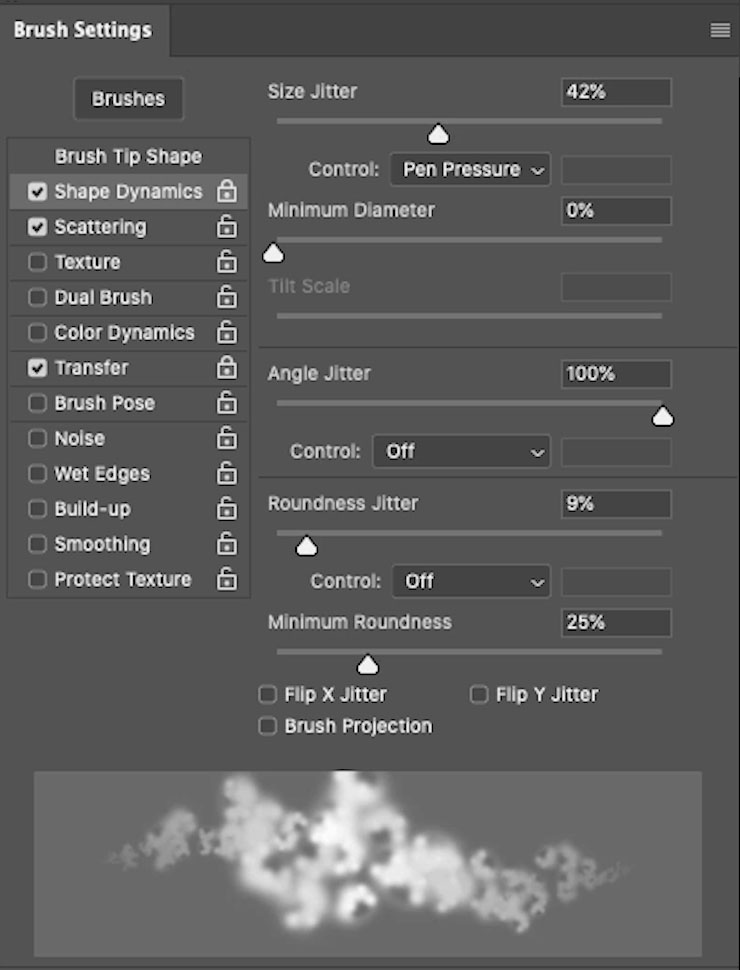
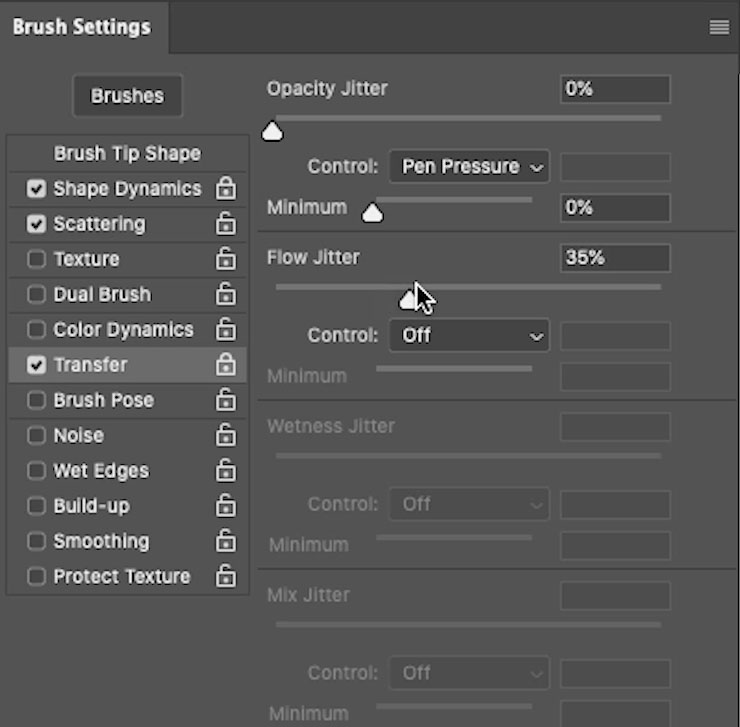
Under Transfer jitter, adjust the flow to around 35%
Here I’m testing the brush and it seems to be working nicely.
Remember to lower the opacity or flow (or both) before using the brush.
I hope you found this little tutorial useful.
Let me know in the comments what you’d like to see me make tutorials on.
The post How to make smoke, steam and clouds in Photoshop, brushes included. appeared first on PhotoshopCAFE.