
Luminosity masks allow us to target precise tones in your photograph, so you can adjust exactly where you want without the need for selections, because it works on image tones. For example, you can lighten just the darkest darks, or add punch to the mid highlights. In this tutorial, we will split the image into 7 zones and make adjustments.
Note, this is an ADVANCED tutorial, which produces advanced results. Don’t complain about it being too hard please, people are at different levels of development.
If you want a simpler way, use this tutorial instead.
Here are the steps 🙂 (Ctrl on windows is Cmd on Mac | Alt on Windows is Option on Mac | Ctrl/Cmd is the Windows and Mac keyboard shortcut)
Record an action, so you only have to do this once | BTW, It’s NOT as complicated as it sounds
Making Highlight Zones:
(Remember to watch the video for full instruction (this is a reference), and also ,make an action its included with the paid tutorial)
1. Open the Channel Panel
2. Ctrl/Cmd+Click on the RGB Thumbnail to load the Luminosity
3. Click the new Channel Button to make a channel out of the selection

4. name it light 1 (These are your highlights)
5. Press Ctrl+Alt+Shift (Cmd+Option+Shift) and click on the Light 1 thumbnail to Intersect the selection.
6. Click the new Channel button and name it Light 2 (These are your brighter Highlights). Repeat…
7. Press Ctrl+Alt+Shift (Cmd+Option+Shift) and click on the Light 2 thumbnail to Intersect the selection.
8. Click the new Channel button and name it Light 3 (These are your brightest Highlights).
Making Shadow Zones
1. Ctrl/Cmd+Click on the RGB Thumbnail to load the Luminosity,
2. Press Ctrl/Cmd+Shift+I to inverse the selection. Now we do the same thing we did for highlights.
3. Click the new Channel Button to make a channel out of the selection
4. Name it dark 1 (These are your shadows)
5. Press Ctrl+Alt+Shift (Cmd+Option+Shift) and click on the Dark 1 thumbnail to Intersect the selection.
6. Click the new Channel button and name it Dark 2 (These are your dark shadows.)
7. Press Ctrl+Alt+Shift (Cmd+Option+Shift) and click on the Dark 2 thumbnail to Intersect the selection.
8. Click the new Channel button and name it Dark 3 (These are your darkest shadows).
Making Midtones
1. Press Cmd/Ctrl+A to select all
2. Hold down Ctrl+Alt (Cmd+Option Mac) and click on the highlights 1 channel. This removes the highlights from the selection.
2. Hold down Ctrl+Alt (Cmd+Option Mac) and click on the Dark 1 channel. This removes the shadows from the selection. You should see a warning that No pixels more than 50% are visible.
3. Add a new Channel and name it midtones.
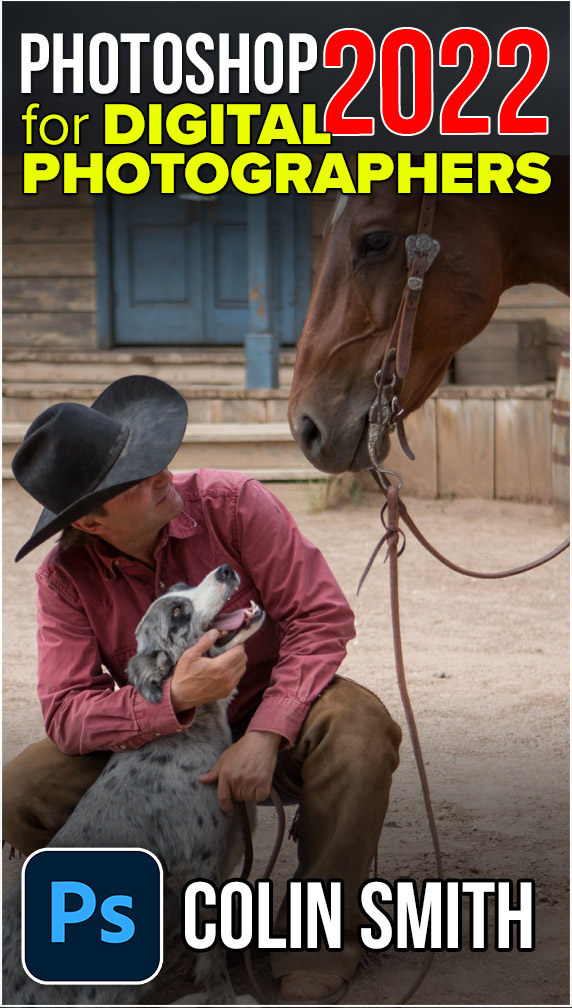
This tutorial, is one of the lessons from my brand new training course, Photoshop 2022 for Digital Photographers. This A-Z training will show you how to make your photos look amazing in Photoshop. It includes all the same images I use, so you can follow along.
Buy it here
Great to see you here at the CAFE
Colin
The post How to use Luminosity Masks in Photoshop tutorial appeared first on PhotoshopCAFE.