
Lightroom 2022 new feature Masking (Camera RAW Masking)
With this week’s exciting new features in Photoshop and Lightroom, coming the highly anticipated masking in Lightroom and Camera RAW. Spoiler alert, it works identical in both apps. This tutorial is in Lightroom Classic 2022 )Lightroom 12) but it works for Camera RAW too.
You may have seen the Adobe sneak peek on the masking in Lightroom. This tutorial shows you how to use all the different features so you can get up and running right away.
In the past, there were 3 icons for Brush, Radial and Gradient. Then there were range masking options for each. All of these tools have been combined into the new Masking tool.
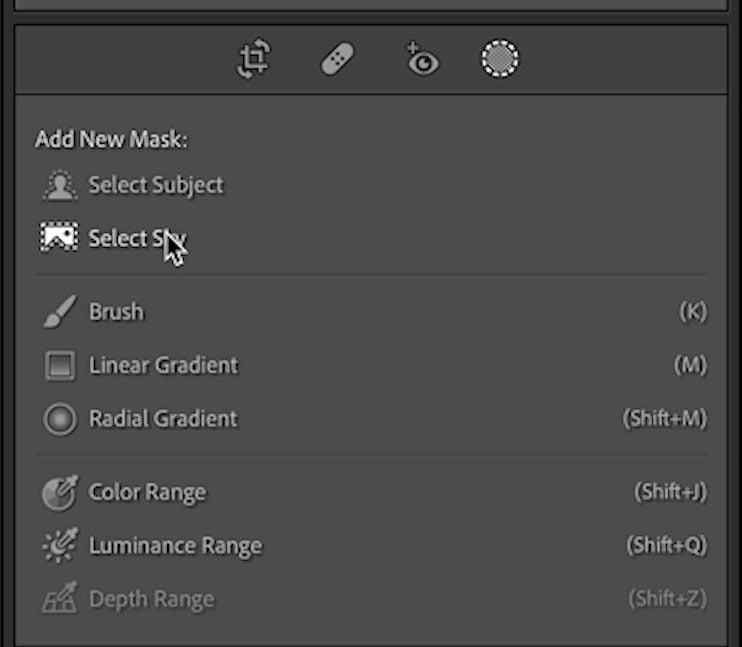
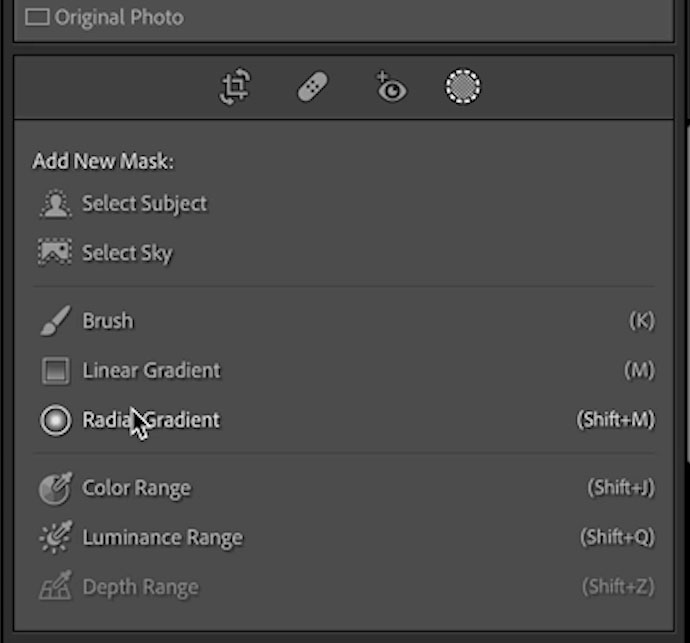
Click the masking tool in the Develop Module (or right toolbar in ACR) to open the options (the dotted circle)
There are 2 AI powered auto selection tools, similar to in Photoshop. They are select Subject and Select Sky.
Choose Select Subject
Hereis the masking tool in Camera RAW

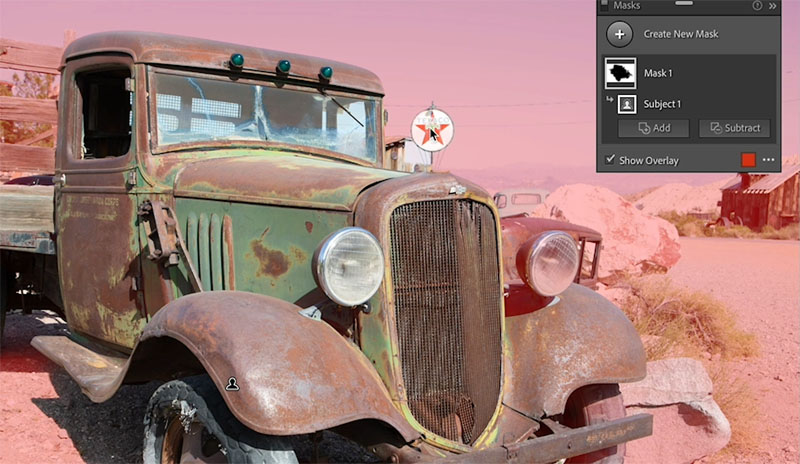
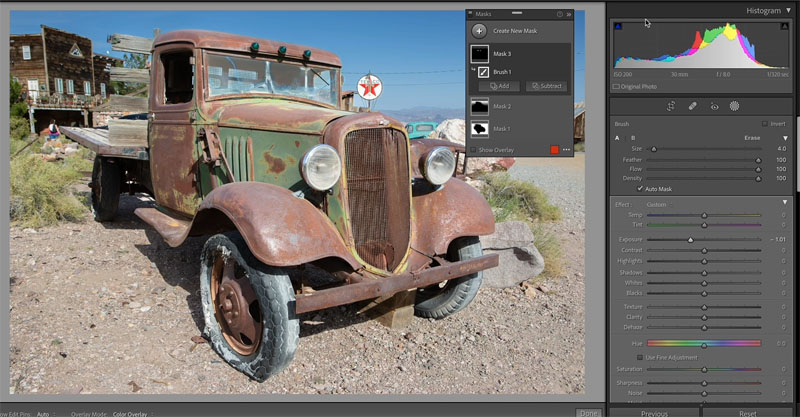
The truck is selected. Notice a floating mask panel now appears.
You can see the mask has subject selected, thats the select subject.

You can drag the floating panel into the panels to dock it if you like.

Or drag it out to keep it floating.
Lets select everything but the truck, so we can adjust the background separately.
Click on the eclipses and choose invert.
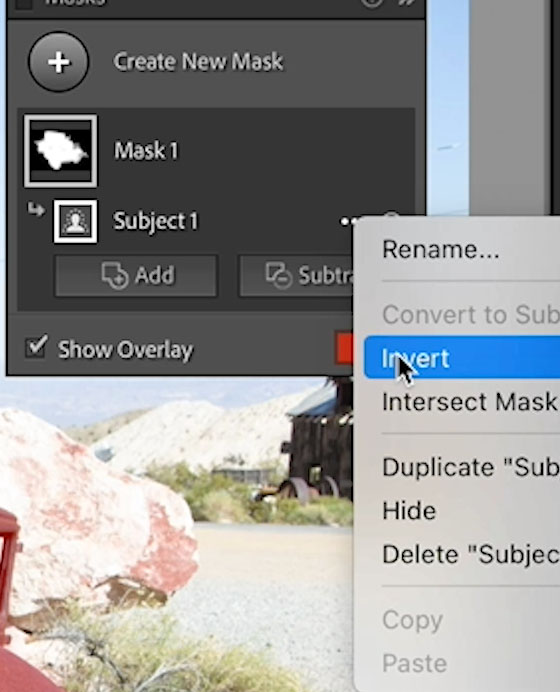
Looking good.
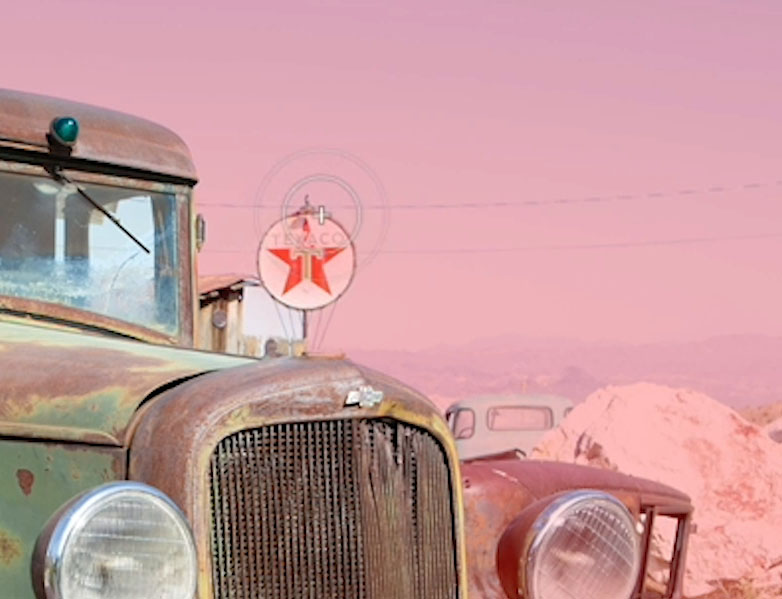
Let’s clean up the selection because some bits got missed like the sign.
Click add and Brush

Brush over the areas to add to the selection.
There are areas selected that shouldn’t’ be such as the headlight on the truck.
This time choose Subtract and choose brush.
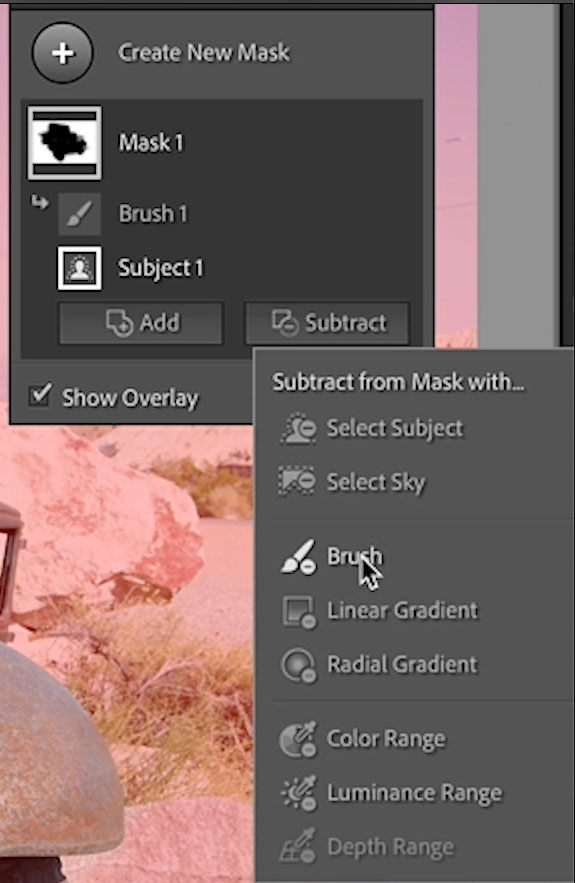
Brush away the areas to remove from the mask.
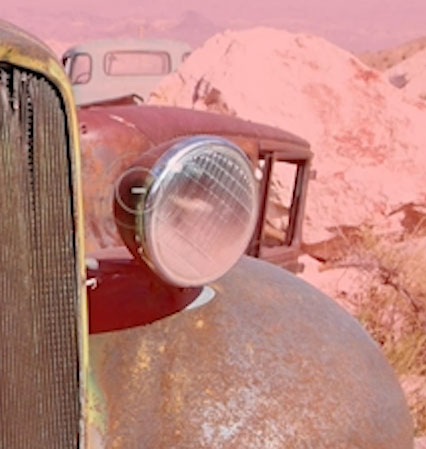
Now when we turn down the exposure everything but the truck darkens and the truck is excluded because of the mask. (Watch the video it will be clear)

Using Multiple masks
Click create new mask to add a second mask

Choose linear gradient.

Drag it to cover the sky
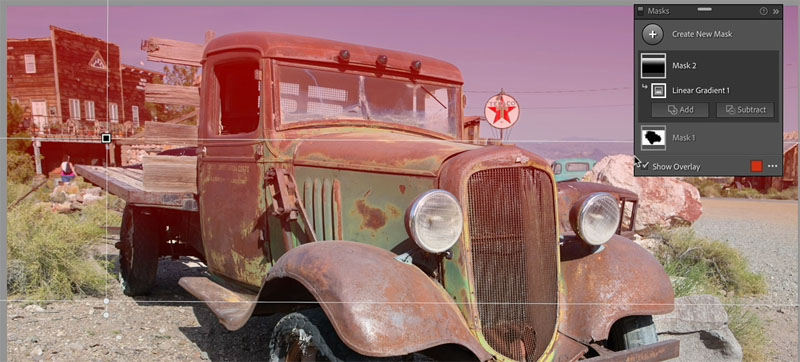
When we darken it, notice it also darkens the top of the truck. That’s bad.
Choose Subtract and Select subject
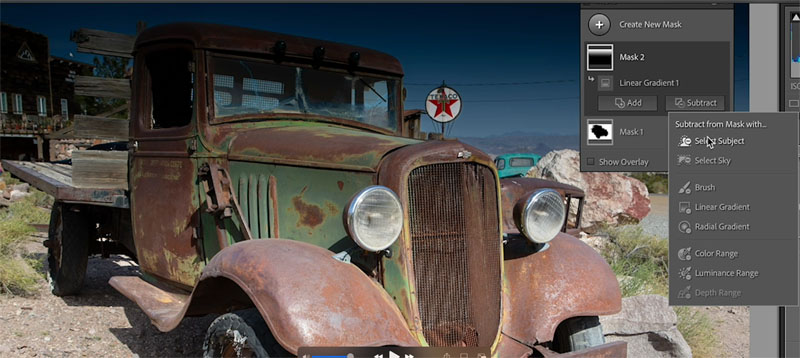
Notice the truck is now protected from the gradient.

Reduce the brightness to reasonable level and we were able to quickly add a gradient in the sky without affecting everything else.
Intersecting Masks
This could appear confusing to use, but its really easy, let me show you how.
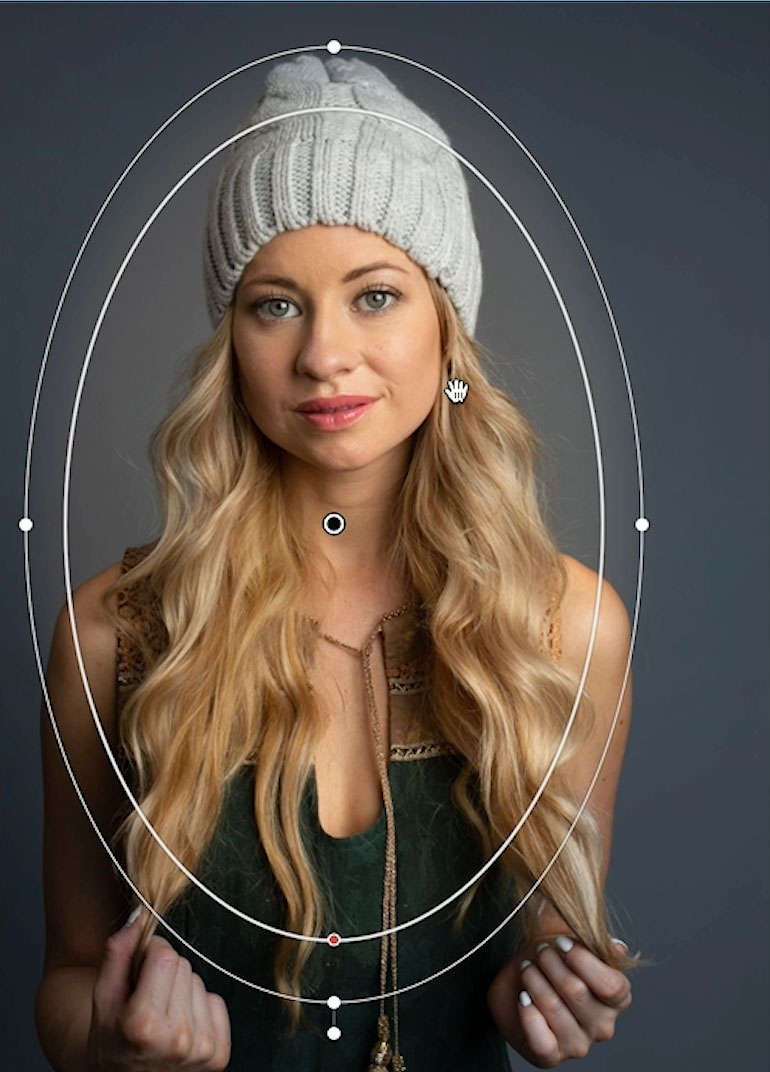
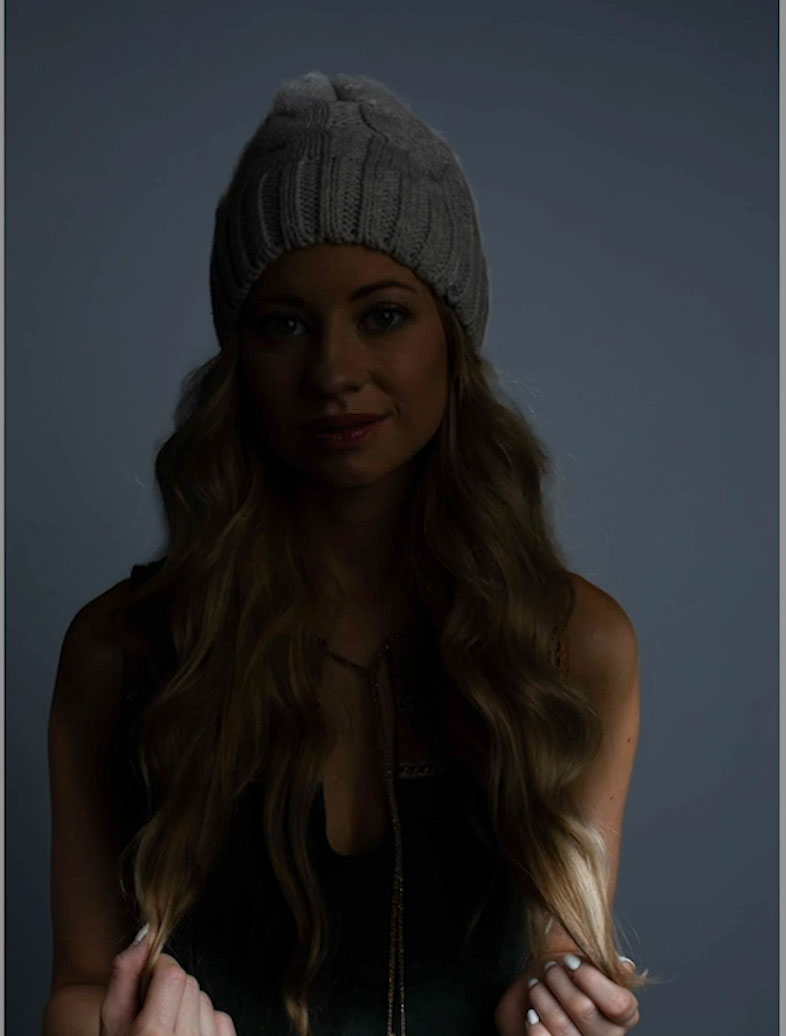
With the image of a woman, choose Radial Gradient.
Drag out the gradient just like we always did before.

Lighten and warm the inside of the oval.
I only want it affecting Callan (The model) and not the background.
Click the ellipses on the mask and Choose intersect with Select Subject,
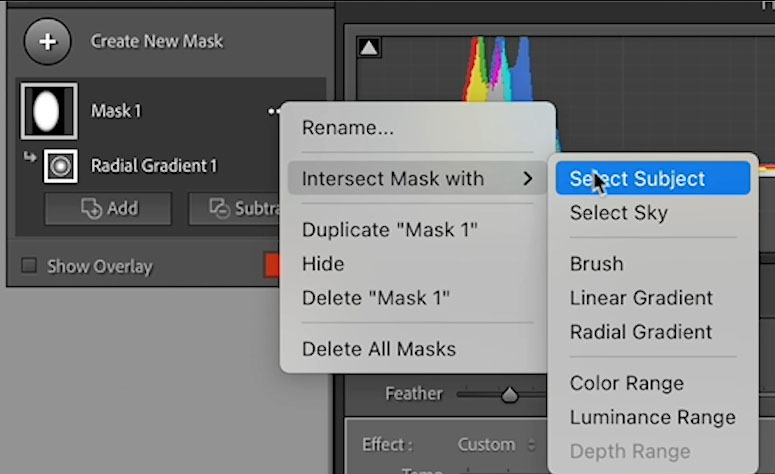
Notice that only the area when the subject and the Oval overlap get the adjustment.


This new tool opens up a world of possibilities!

I hope you enjoyed this tutorial
Check out the Photoshop 2022 New Features Learning serie here at PhotoshopCAFE.
I’m adding a new feature tutorial every day this week!
Photoshop 2022 Superguide
All the top new features in Photoshop 2022
LIGHTROOM CLASSIC 2022 NEW FEATURES
Instant Selection with Object Finder
See you at the CAFE
Colin
I’ve got a whole bag of goodies you can have for free at the Vault. Grab free goodies here, including Photoshop brushes, actions, presets, sky images, ebooks and a whole bunch more.

Consider Consider joining our mailing list so you don’t miss any of my tutorials.
For more, follow us on Social Media
The post How to use the new Masking + AI in Lightroom 2022 (Lightroom 12) appeared first on PhotoshopCAFE.