
What’s new in Photoshop 2022 Photoshop v23
Here is a list of the new features in Photoshop 2022 along with tutorials in how to use them. Watch the top feature video and then I’ll be adding a new video every day this week! As always, we have you covered here t photoshopCAFE on day ONE!
New Features in Photoshop 2022
Every year, at the beginning of Adobe MAX, Adobe drops the biggest update to most of its CC products. Photoshop, Camera RAW and Lightroom are definitely a big part of that.
Check out my other post on the new features in Lightroom (Masking Panel, it’s HUGE!)
The biggest features in Photoshop (IMO) are Improved Object Selection and some powerful Neural Filters.
Object Selection
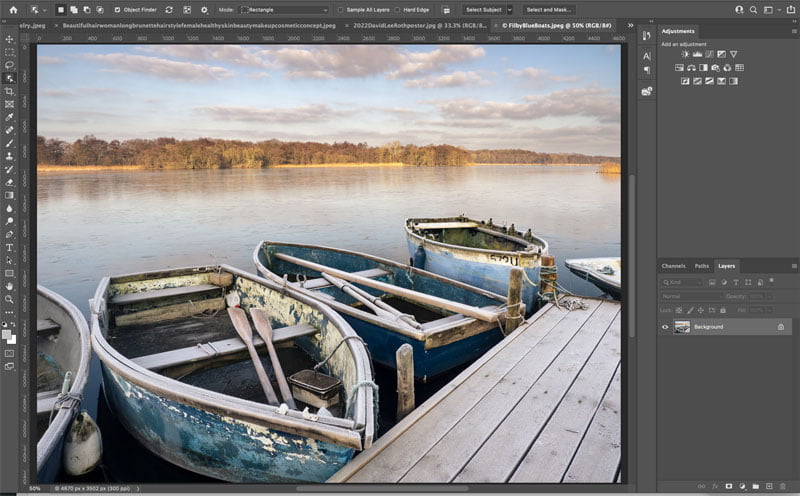
Object Selection gets a major update. It’s like science fiction, or maybe just how friends and clients always though Photoshop worked from watching TV shows, where they yell “enhance” or click something and suddenly its extracted from the background.
This is exactly what happens.
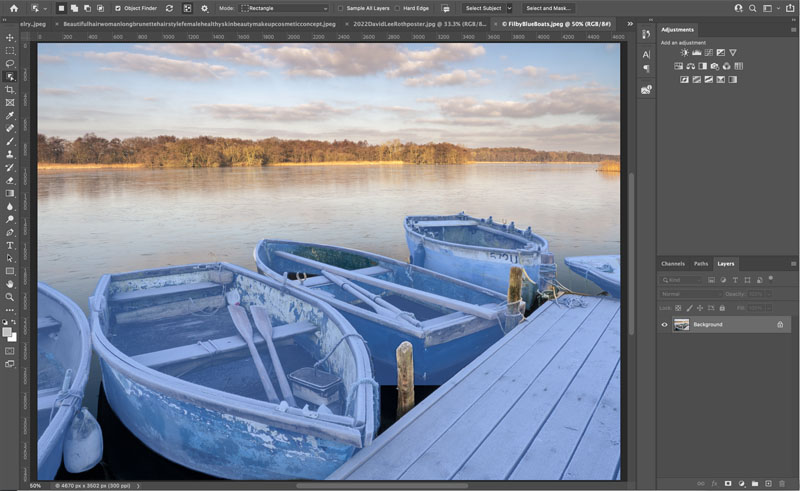
When you choose the Object Selection tool, Photoshop automatically analyzes the image using AI and decides which objects can be extracted. As you roll over different people or objects, a blue silhouette will appear over them. Simply click and a selection will be created around the object. This is different than the select subject button, because this new method can identify and isolate many different objects in an image.
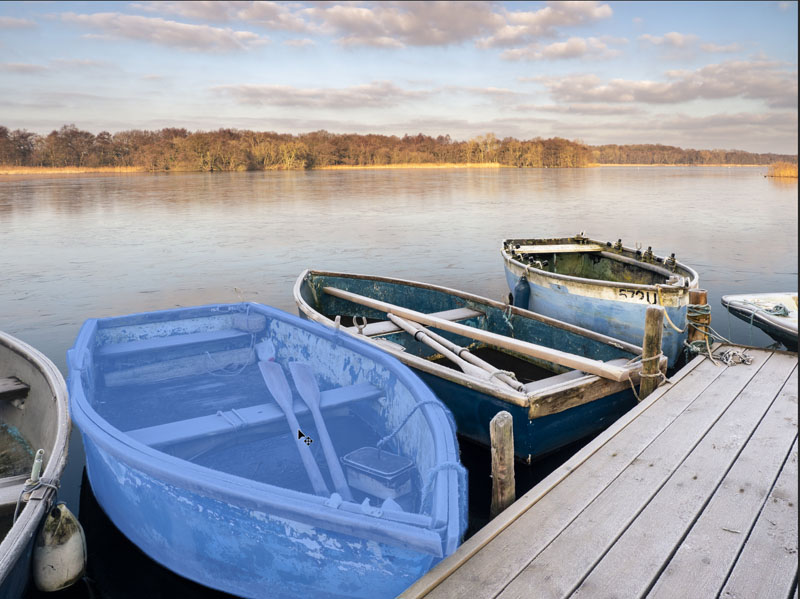
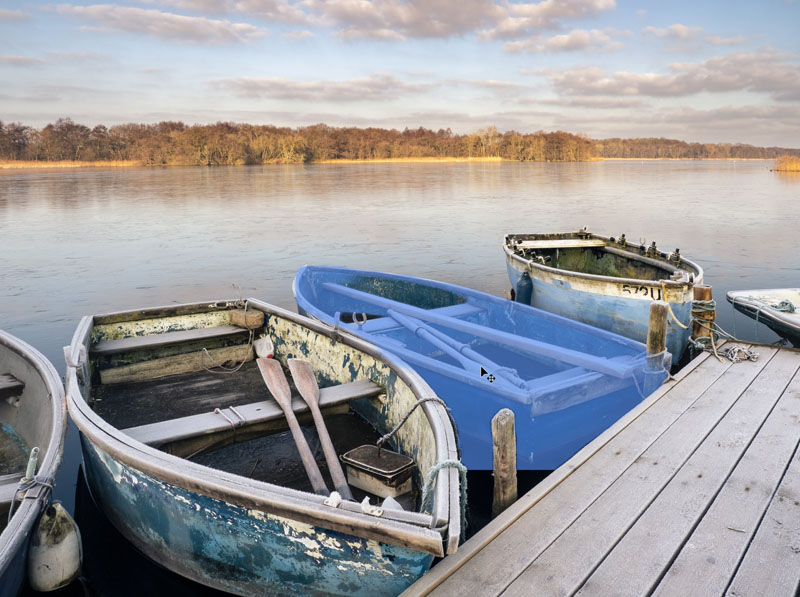
The algorithm for making AI powered selections has been improved for even more accurate selections than before.
At the time of testing, the “object Finder” is only enabled when the Object Selection tool is enabled. You will see a spinning arrow to indicate the tool is at work. If you find this is distracting while working there is an Object Finder checkbox, so you can quickly turn this feature on or off.
Click the options to enable lots of options such as color and opacity of overlay, as well as an option to add an outline to it.
You can also Turn the overlay to always on, always off or auto (rollover the default). Interesting to note, in always off, you can still click an object to select it.
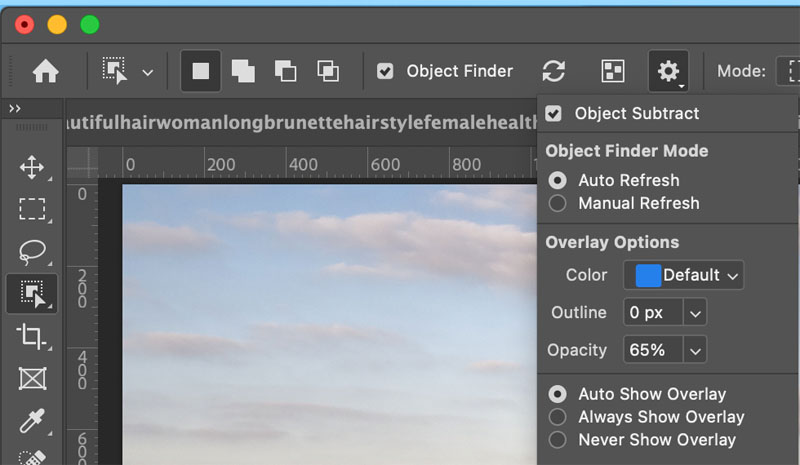
You will see another option to auto refresh and manual refresh under Object Finder modes. The manual would be useful for those times when you are cloning etc and you don’t want it constantly updating the overlays.
Apart from the obvious, cutting out and masking separate objects, these quick selection can come in handy for retouching, dodging and burning and other enhancement tasks with adjustment layers, or working on a single layer.
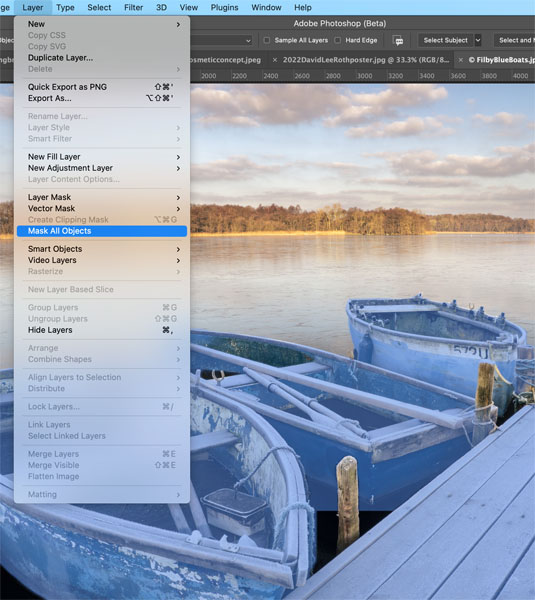
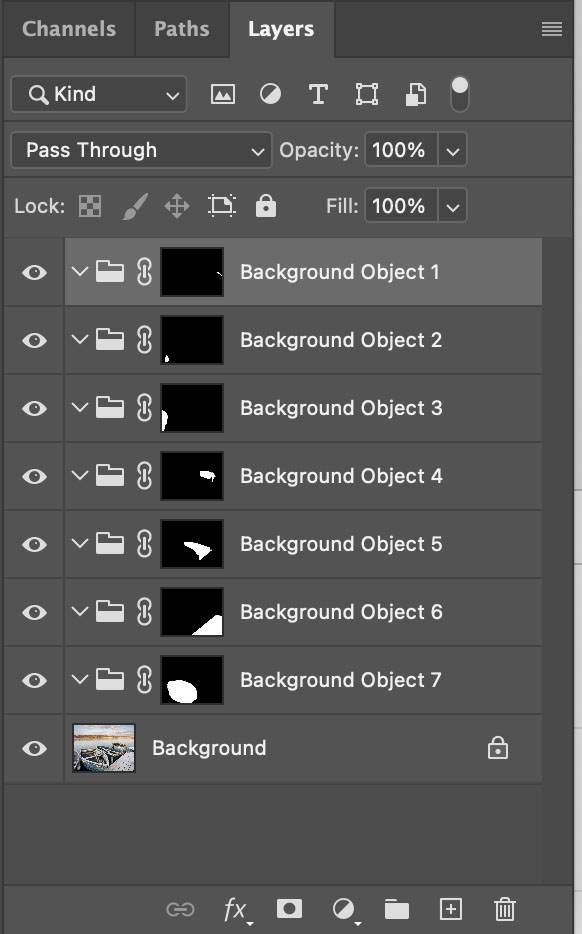
There is also a really handy option to turn every detected object into a separate layer mask. Choose Layer>Mask all Objects. This creates an empty layer group with a mask for each object. This has lots of uses.
AI Powered selections and Masks in Camera RAW
This is a huge, if not the biggest improvement to come to Camera Raw and Lightroom in many, many years. We have the ability to select sky and select object in Camera RAW. Because this works identical to Lightroom, I won’t repeat everything here, see my Lightroom New Features article for and in depth look at this feature.
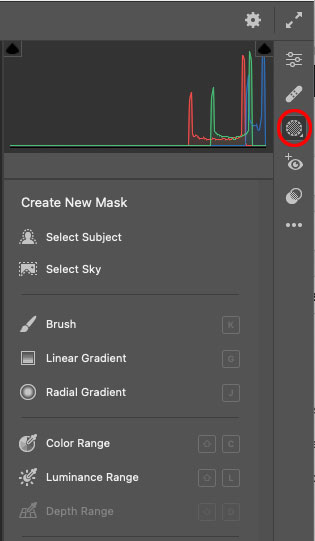
This also comes with a masking panel that allows to to select the different masks, as well as combine, extract or intersect with each other or other local tools including gradient, radial and adjustment brush. All of these tools as well as the 3 range masking tools all live in the same place and can be called by clicking on the mask button.
New Neural Filters
There are 3 new AI powered Neural filters added to this release of Photoshop.
Harmonizer, Color Transfer and Landscape Mixer.
Harmonizer.
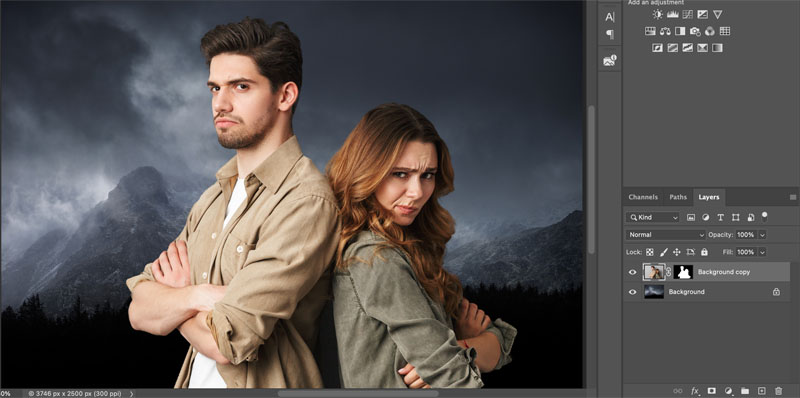
A welcome update to Match Color. When you are combining images, (compositing and collaging) very often (usually) the color and tones don’t match between the different photographs. Its a lot of work to match the images so they look like they actually belong together.
Now you can choose the layer you want to adjust, choose Filters>Neural Filters>Harmonize.
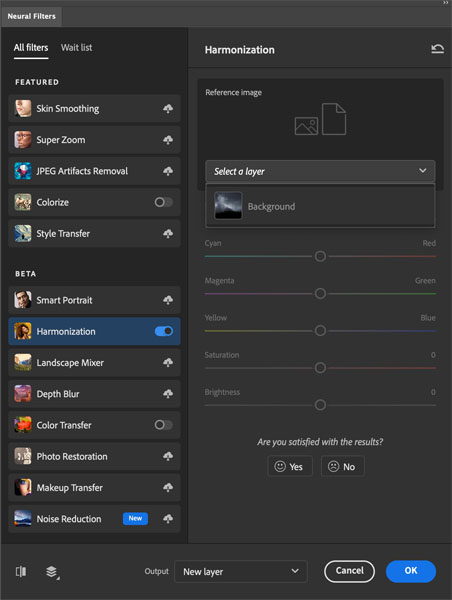
Choose the layer you want to match under the Reference Image.
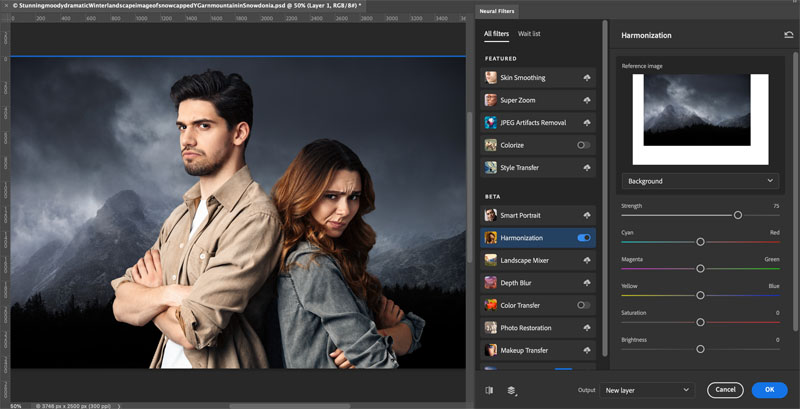
AI goes to work and adjusts the tone and color of your layer.
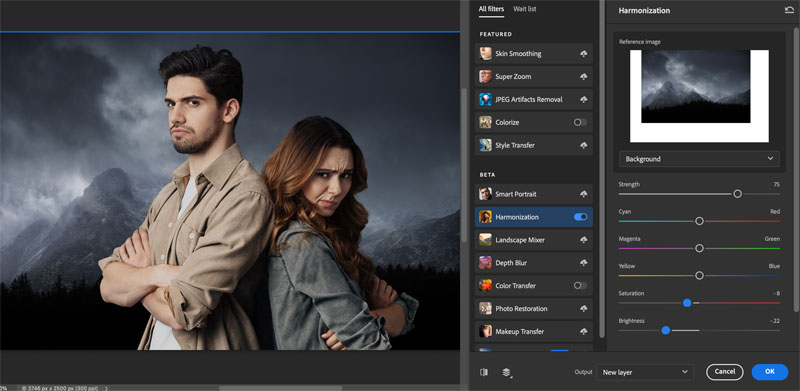
You can change any of the color values (all 6 primaries are there).
The common sliders you will adjust are the Saturation and Brightness.
You can output onto same Layer, new Layer or Smart Object.
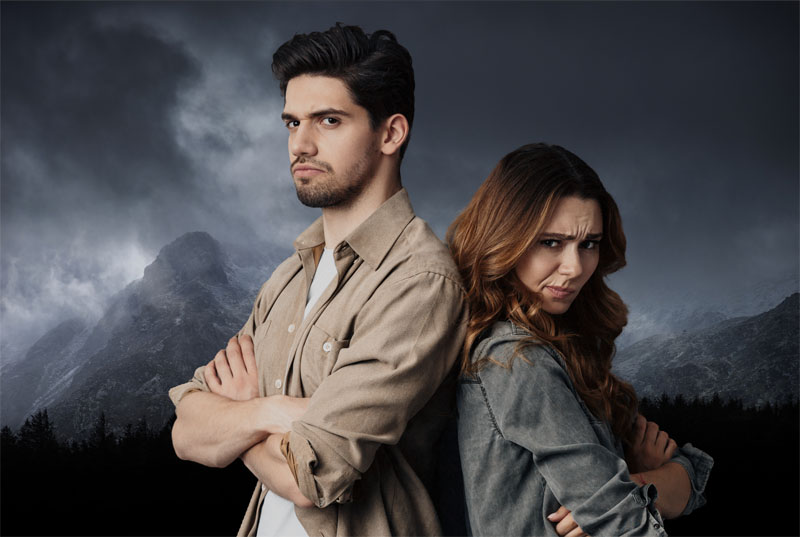
I can see this being a very popular tool with compositors.
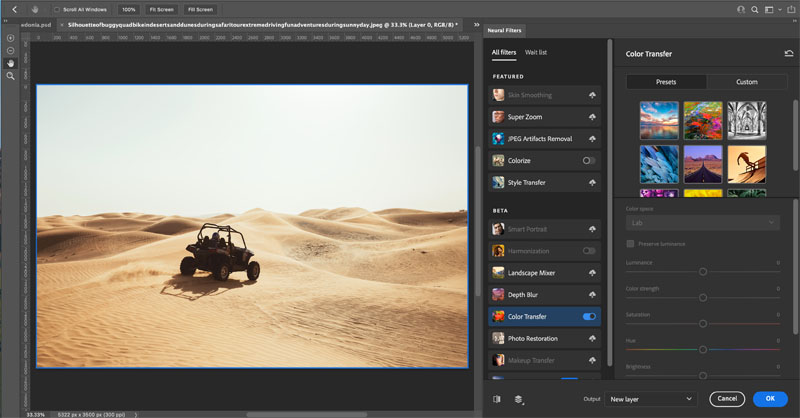
Color Transfer.
Another AI Powered tool that I think people will really love is the Color Transfer. I’m sure you have used color or gradient overlays, perhaps even gradient Maps These are really good tools for color grading images.
Color transfer takes this to a different level.
I’m going to start with a creative way I would use this and then we will look at the basic options (kinda reverse of what people normally do).
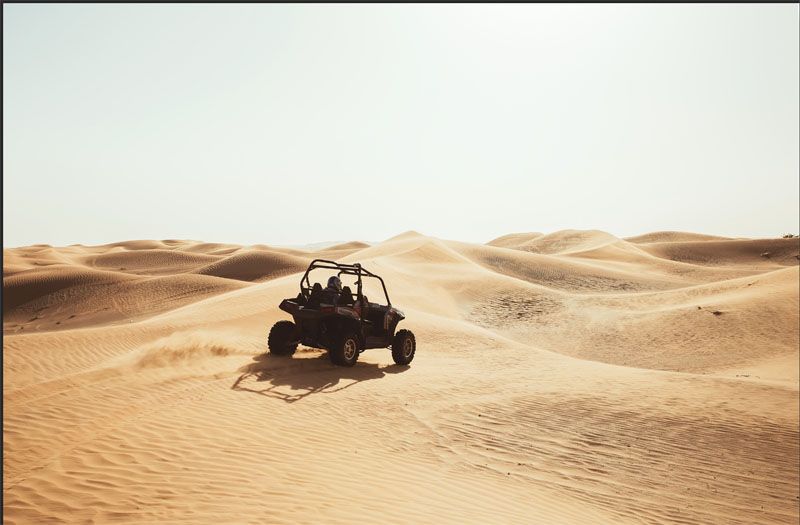
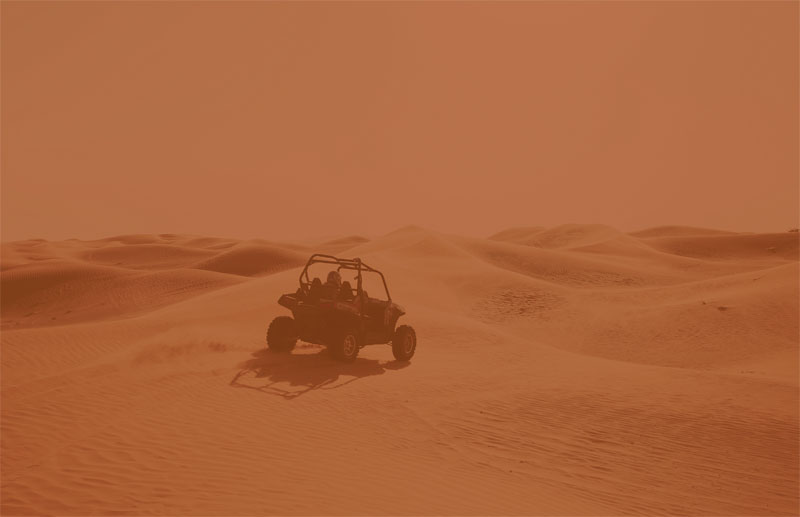
Lets make this photo of dune buggy look like its on Mars.
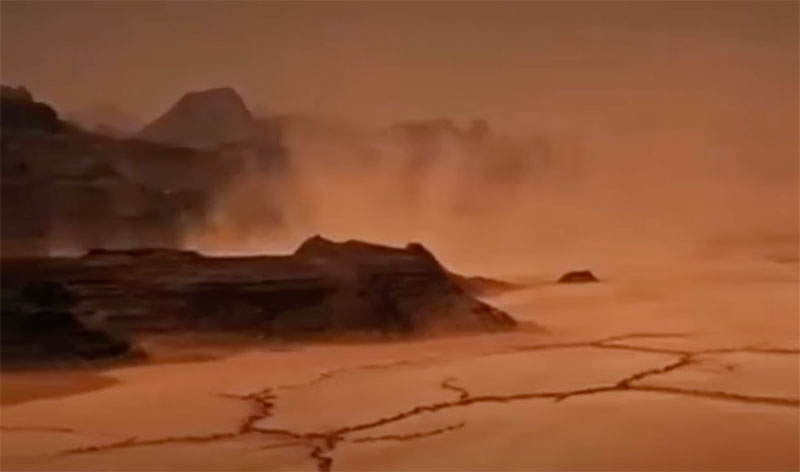
I took a screen capture from the movie The Martian.
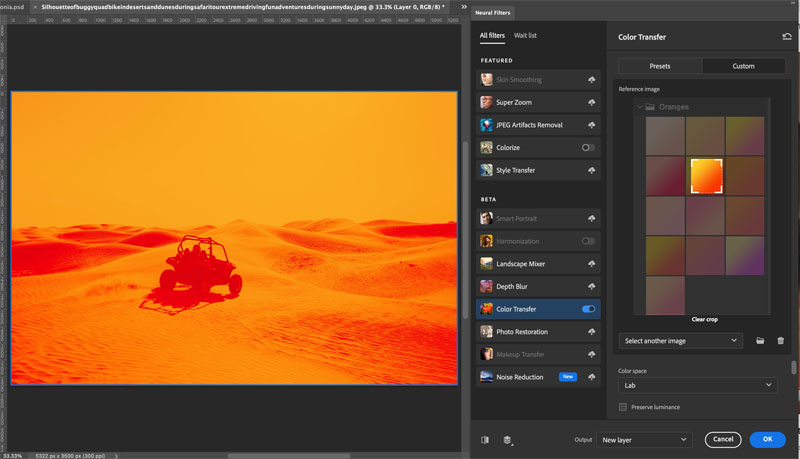
Choose Filter>Neural Filters> Color Transfer.
Choose custom and select the screen capture from the File Browser.
Notice how it applies the color effect is a really good way.
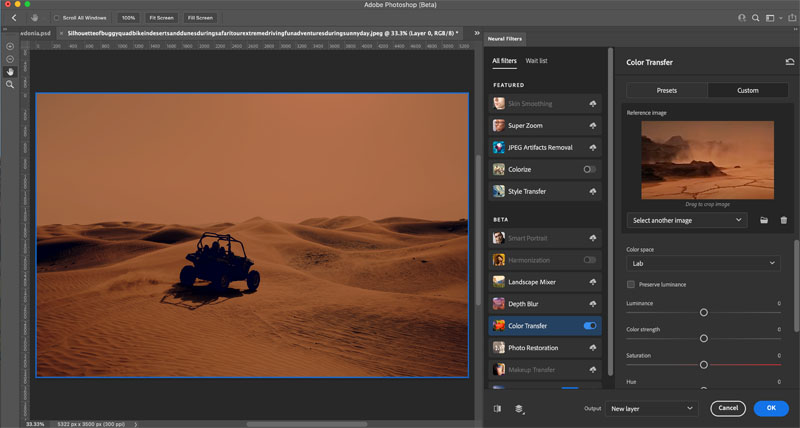
You can change the settings to customize the result.
There are masking tools on the left so you can remove the color effect selectively.
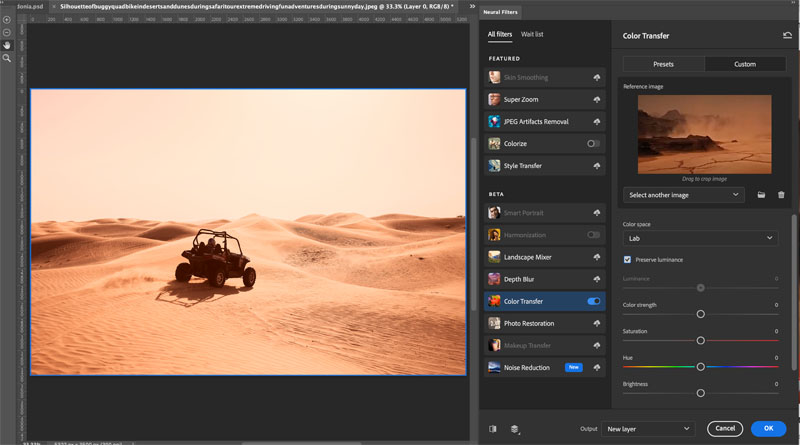
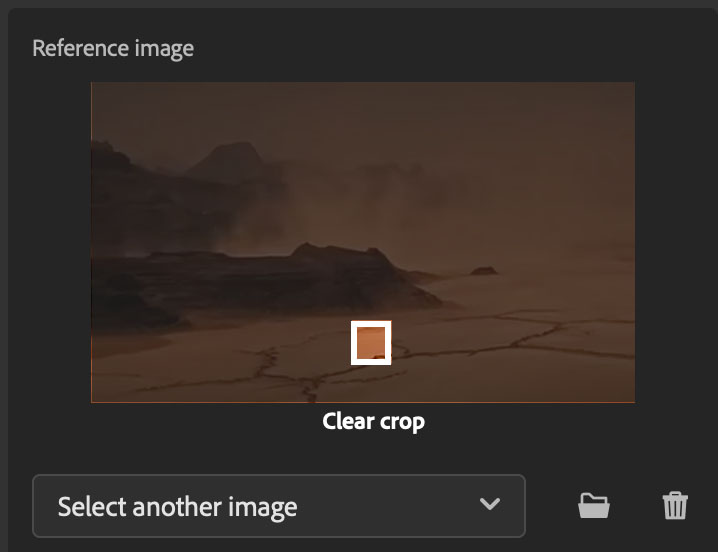
The other option, is to drag a box in the reference image window. This box enables us to isolate a part of the image to be used for the transfer, rather than the entire image.
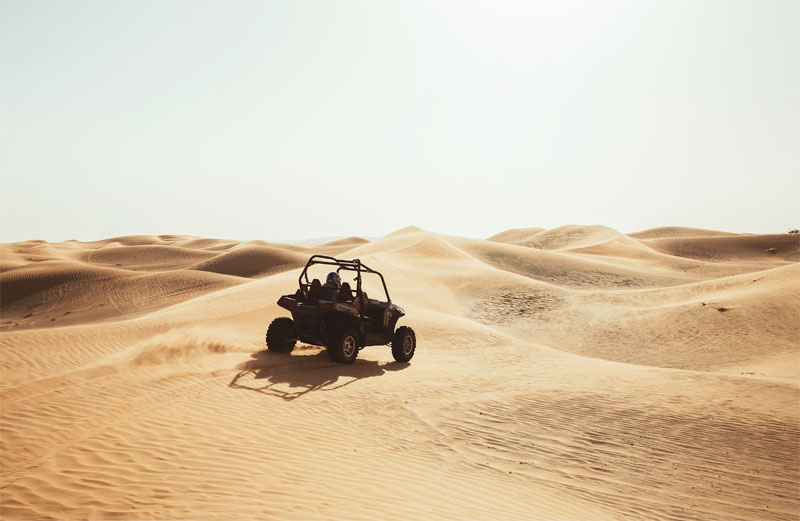
See the result we can get. So show how well it works, I took a screen capture of the gradient panel and applied a single gradient using the color transfer with the selection tool.
If you want to just go quick, start with the presets and choose one from the list. Personally I think the power of this filter is in using custom images.
Landscape Mixer.
Maybe not as practical as the other 2 filters I just showed you is the landscape mixer. This is a very powerful and a little unusual. I think concept artists will like it. This is the way to copy the properties from one environment to another. For example, take a desert scene and apply an oasis to it.
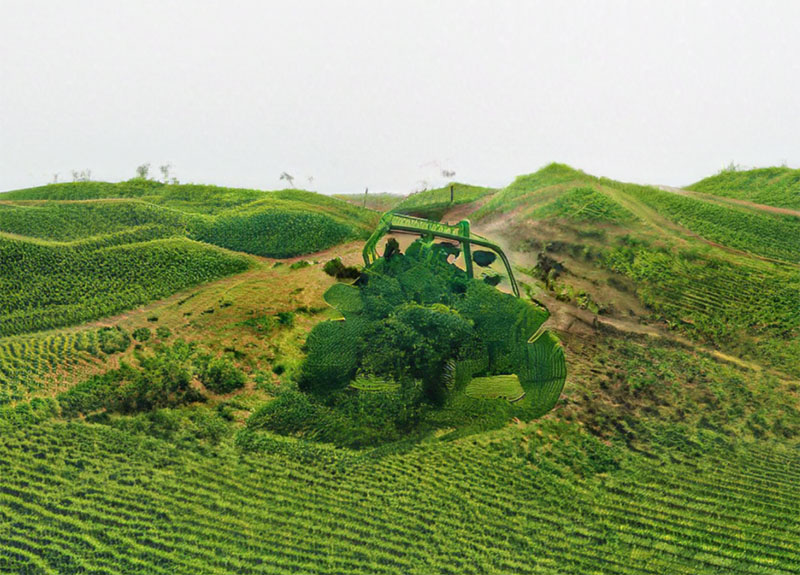
Look at our same desert scene with the dune buggy. You can make it grassy or snowy.
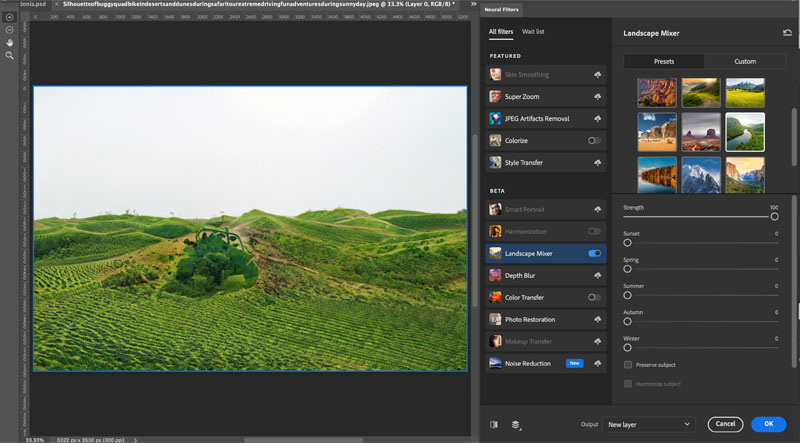
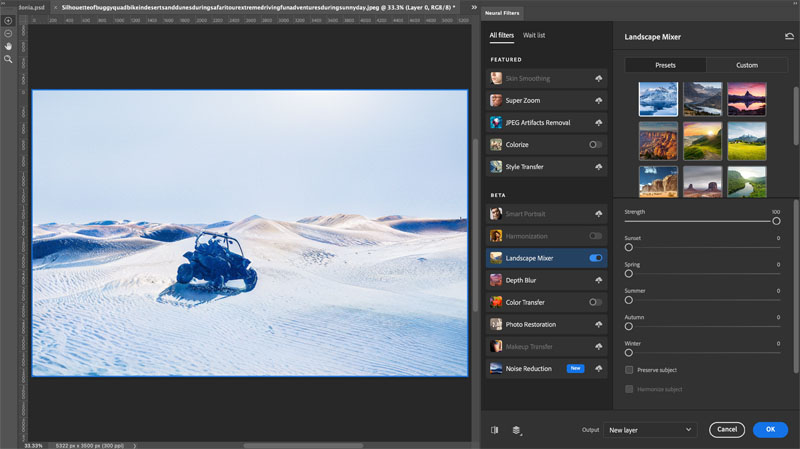
You may have noticed the dune buggy also changes.
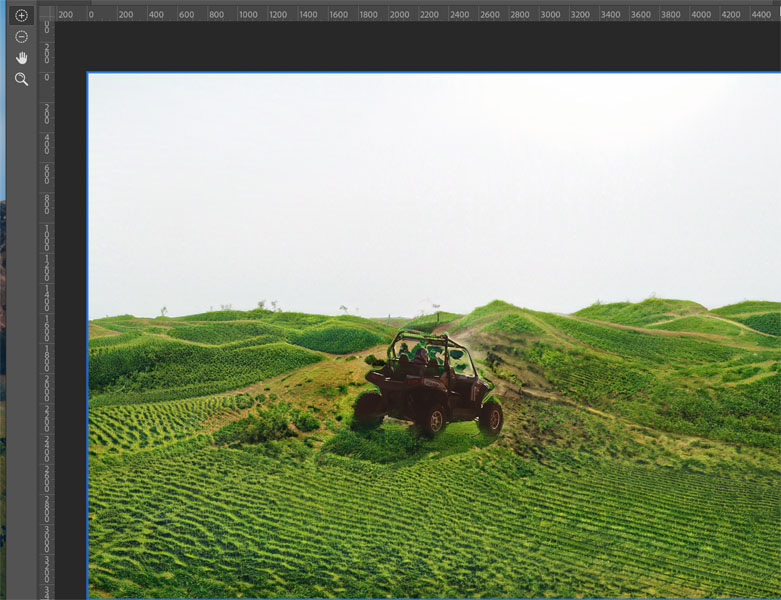
Fortunately Masking is available, including select subject from the top
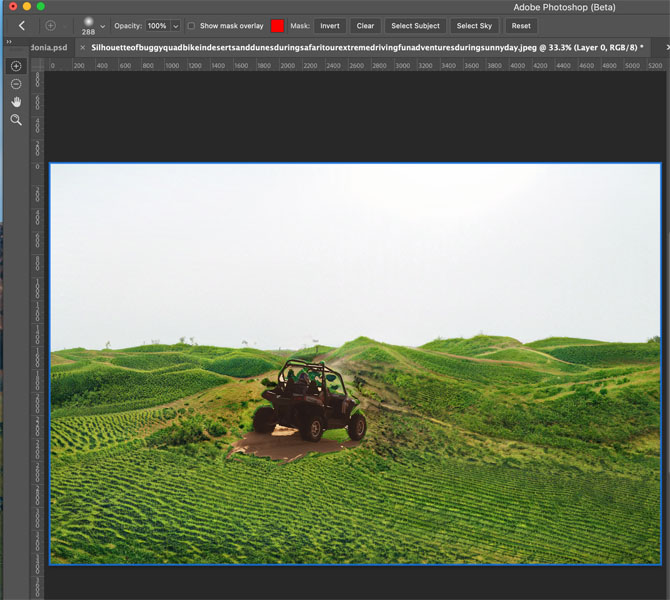
You can also mask manually using the brushes on the left. Or just output to a new layer and mask in photoshop using the object selection tools.
Other new features worth mentioning are:
- illustrator to PS (Paste as layer into Photoshop for Illustrator and maintaining vector shapes in Layers).
- Share commenting
- Apple XDR Monitor Support
- Export As 2 up
- Content Authenticity
- Oil Paint GPU
- GPU rulers
- Enhanced Stylus support Windows
- Improved Color management
- Masking in Lightroom
This is the start of our Photoshop 2022 Learning Center. Drop back every day this week for new content!
Photoshop 2022 Superguide
All the top new features in Photoshop 2022
LIGHTROOM CLASSIC 2022 NEW FEATURES
Instant Selection with Object Finder
See you at the CAFE
Colin
I’ve got a whole bag of goodies you can have for free at the Vault. Grab free goodies here, including Photoshop brushes, actions, presets, sky images, ebooks and a whole bunch more.
Consider Consider joining our mailing list so you don’t miss any of my tutorials.
For more, follow us on Social Media
The post Photoshop 2022 Learning Center. New Features in Photoshop 2022 appeared first on PhotoshopCAFE.